
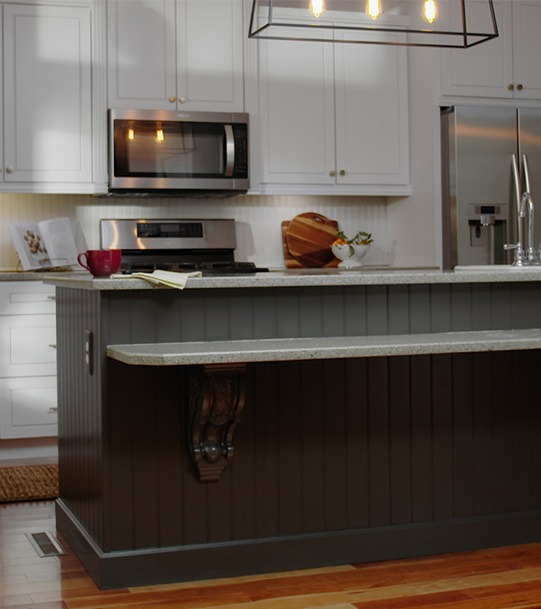
Upgrading your kitchen with some vibrant color changes is a trend these days. A change in color scheme can make a big difference. Check out some cabinet project information at Sherwin-Williams.
Call the Paint Doctor for professional help because this project comes with a WARNING: Removal of old paint by sanding, scraping or other means may generate dust or fumes that contain lead. Exposure to lead dust or fumes may cause brain damage or other adverse health effects, especially in children or pregnant women. Controlling exposure to lead or other hazardous substances requires the use of proper protective equipment, such as a properly fitted respirator (NIOSH approved) and proper containment and cleanup. For more information, call the National Lead Information Center at 1-800-424-LEAD (in US) or contact your local health authority.
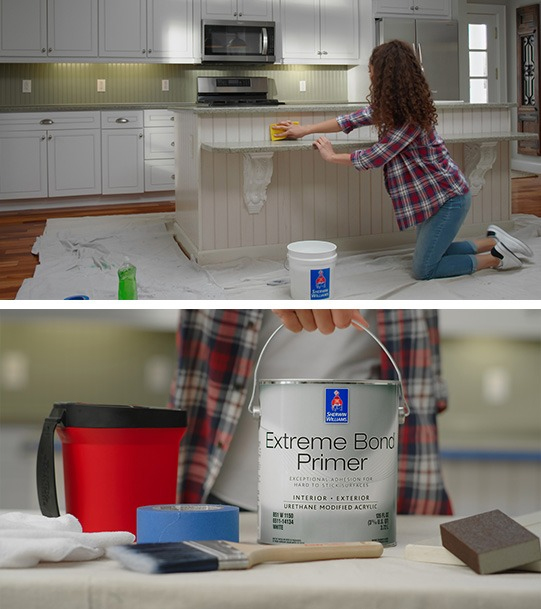
After removing the hardware, we recommend that the cabinets be thoroughly cleaned with a good cleaner degreaser to remove all grease and oils that normally buildup on kitchen cabinetry over time. Once cleaned, we recommend applying a test sample of Extreme Bond Primer in an inconspicuous area.
Let the primer dry at least 24 hours and sand again using a “very fine” grit sandpaper. Gently smooth out the primer coat, then wipe the primed cabinets with a damp cloth to remove any debris before applying your first coat of paint.
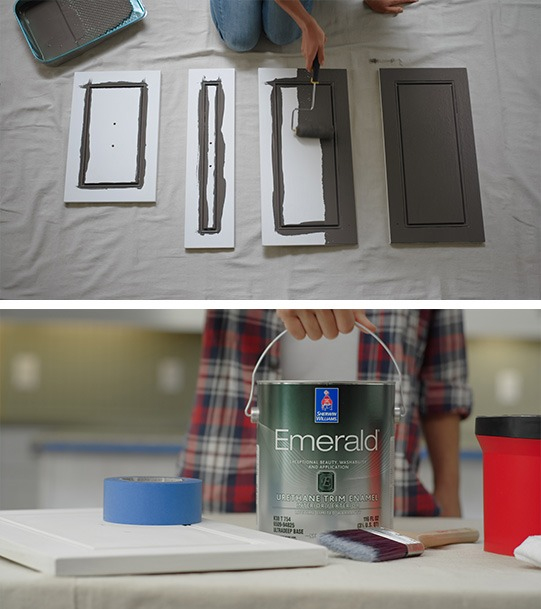
Using a 1″ or a 1½” angled brush, first apply paint to the recessed or detailed areas of the cabinet door. Avoid getting brush marks on the flatter and smoother areas. Next, immediately paint the remaining flat areas of the door using a mini roller. Gently roll over any overlapping brush marks or paint drips to smooth the surface.
Let your first coat dry for about 24-48 hours, then apply a second coat in the same manner. Again, wait 24-48 hours and once the second coat is dry, you can reinstall your existing hardware, or add new hardware to complete the makeover.