Common Painting Mistakes and How to Avoid Them

As experienced professional painters, our standard operating procedures help us avoid these common mistakes often experienced by DIYers. Check out these common painting mistakes:

  1. Skipping the Prep Work

    Mistake: Not cleaning or repairing surfaces before painting.

    Solution: Always clean, sand, and repair surfaces to ensure the paint adheres properly and looks smooth.

    1. Using the Wrong Tools

    Mistake: Choosing the wrong brushes or rollers for the job.

    Solution: Select high-quality brushes for detailed work and rollers for large, flat surfaces. Use the appropriate nap length for the texture of the surface.

    1. Ignoring Primer

    Mistake: Skipping the primer coat.

    Solution: Use a primer to create a smooth base, especially on new or repaired surfaces, or when changing from a dark to a light color.

    1. Overloading the Brush or Roller

    Mistake: Applying too much paint at once.

    Solution: Dip the brush or roller lightly and tap off excess paint. Apply thin, even coats for a smoother finish.

    1. Not Using Painter’s Tape Properly

    Mistake: Applying painter’s tape incorrectly, leading to uneven lines.

    Solution: Press the tape down firmly to avoid paint seeping under it. Remove the tape while the paint is still slightly wet to prevent peeling.

    1. Painting in Poor Lighting

    Mistake: Painting in dim or uneven lighting.

    Solution: Ensure good lighting to spot any missed areas or uneven coverage.

    1. Rushing the Job

    Mistake: Painting too quickly, resulting in drips and streaks.

    Solution: Take your time and use steady, even strokes. Allow each coat to dry fully before applying the next one.

    1. Not Mixing Paint Properly

    Mistake: Failing to mix the paint thoroughly.

    Solution: Stir the paint well before and during use to keep the color and consistency uniform.

    1. Painting in Unfavorable Conditions

    Mistake: Painting in extreme temperatures or humidity.

    Solution: Follow the paint manufacturer’s recommendations for optimal conditions to ensure proper drying and adhesion.

    1. Neglecting to Clean Up

    Mistake: Leaving paint trays, brushes, and rollers uncleaned.

    Solution: Clean your tools immediately after use to prolong their lifespan and maintain their performance.

    Perhaps the biggest mistake of all? Not knowing when to call the Paint Doctor, 541-497-3804
    Natural Wood Finish vs Paint

    Many projects can be finished in clear coats or stained to take advantage of the natural wood grains rather than covering them with a uniform paint color.

    You can take advantage of the natural wood grain patterns on the right project by using stain, which changes the hue without obscuring the natural grain. In fact, wood stain tends to accentuate the wood grain by creating contrast in the patterns created by the growth rings in the wood. The pigments soak in more in parts of the grain while not penetrating as much in other parts.

    Clear coats such as lacquers, shellacs and polyurethanes do not change the color as much, but also accentuate the wood grain. Clear coats tend to provide varying degrees of tint depending on the product. Clear coats can also be applied over many types of stain to provide protection against water intrusion and to provide a change in sheen ranging from glossy to matte.

    In order to consider stains and clear coats, the projects must be made of natural wood rather than a simulated wood grain. If you are using a stain, the project should be free of caulk and glue residue, which will either still be visible or repel the color tints in the stain and appear as problem areas. Projects that have previously been finished with a clear coat cannot be stained a new color. The cells in the wood are sealed and will not absorb the stain. Sanding would have to go very deep to get below all of the product penetration to make re-staining work.

    If a natural wood stain project was made with veneers (a thin layer of real wood), sanding and new stain is not recommended because you could easily go through the veneer layer by sanding too much or too aggressively.

    Feel free to ask us about the possibility of using stain and clear coats on your projects and we will advise with the possibilities, limitations, and recommendations. We have done many projects that preserve the natural wood grains resulting in beautiful, long lasting finishes. Call Mike 541-497-3804
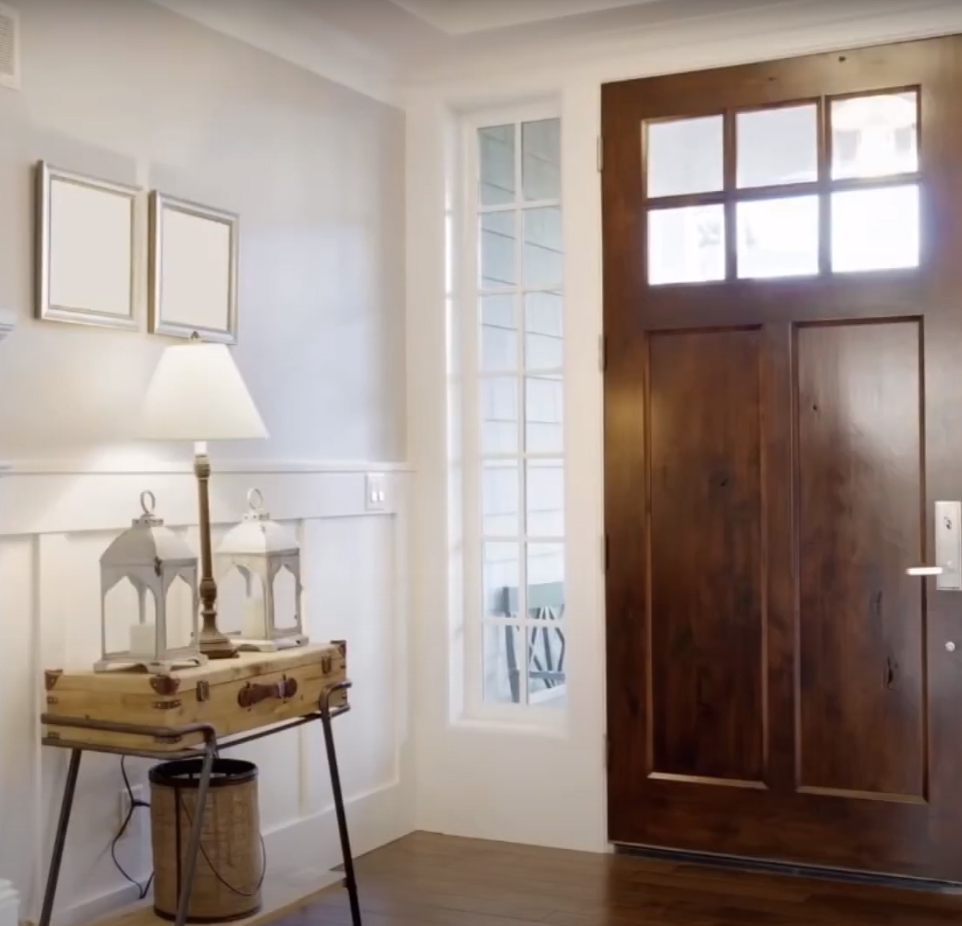
    Entry with natural wood door.
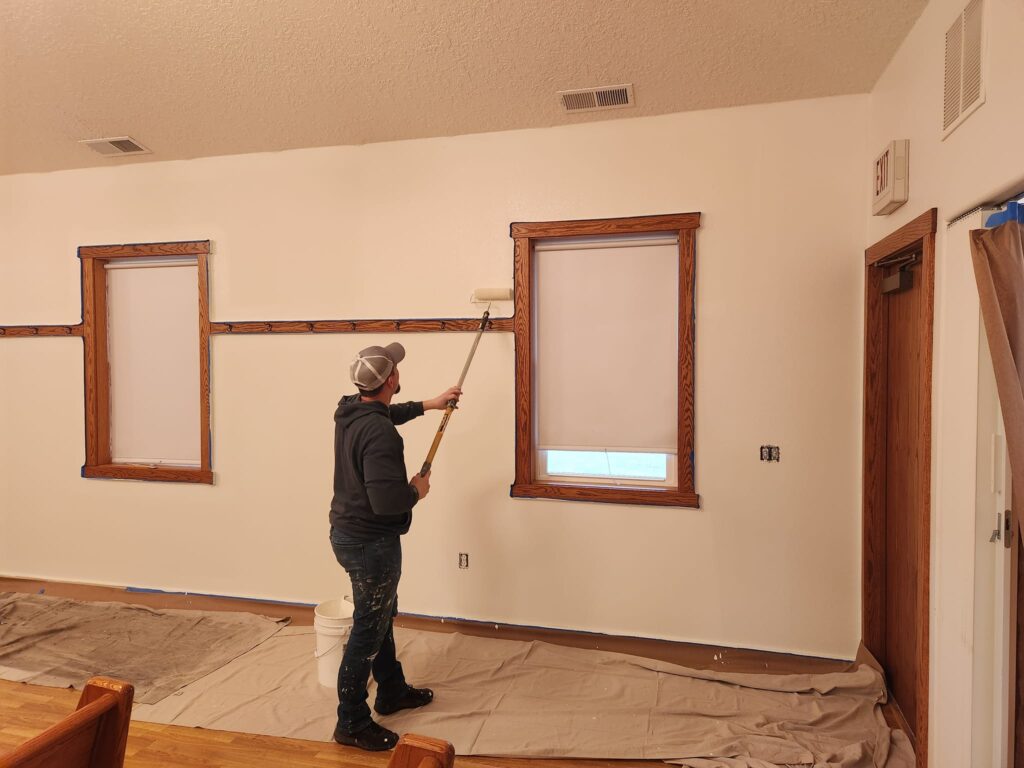
    white walls natural wood trim
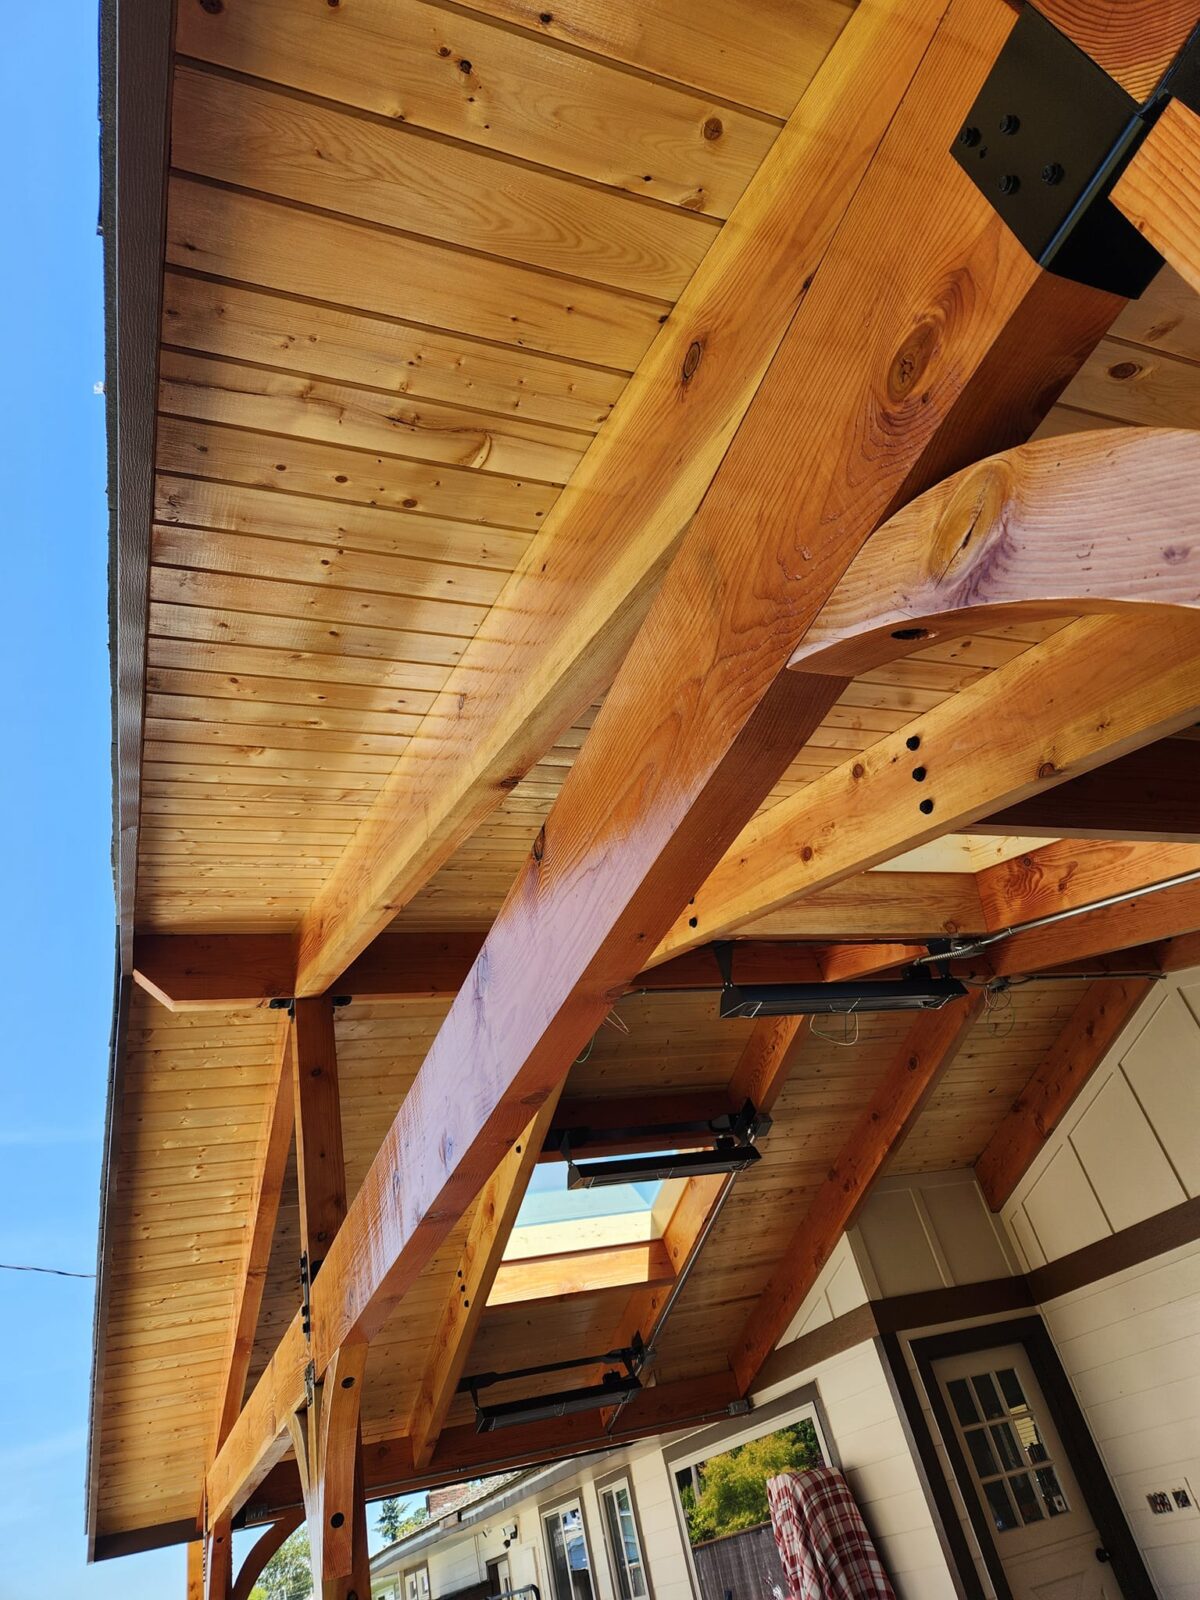
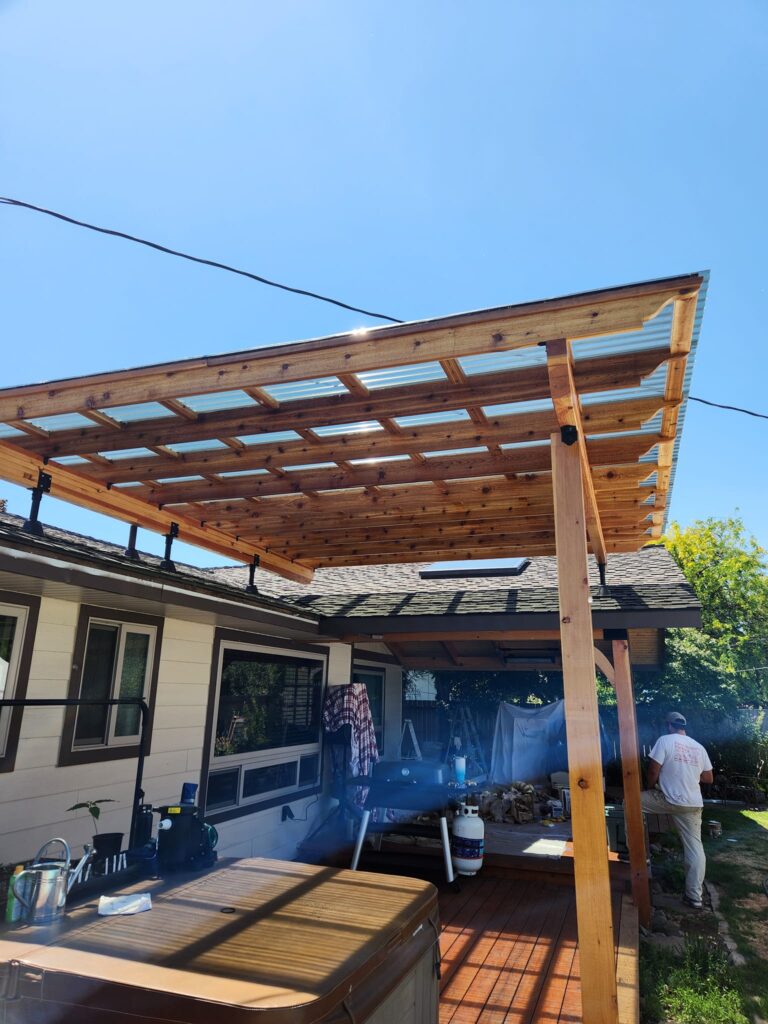
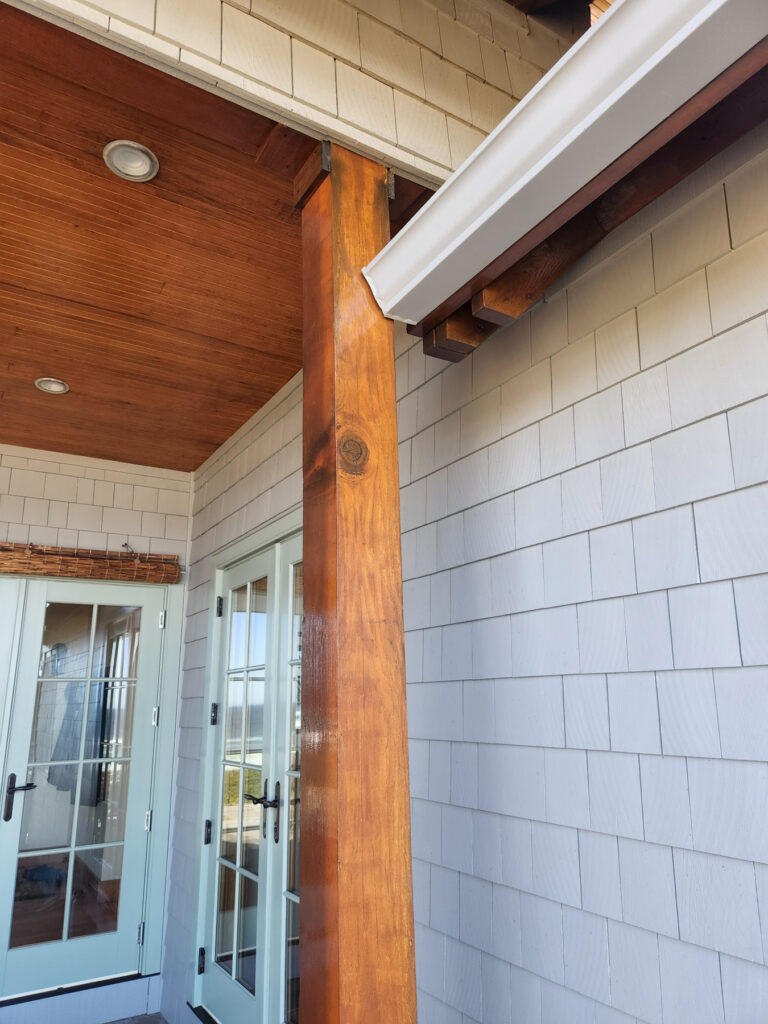
    natural wood posts and ceiling

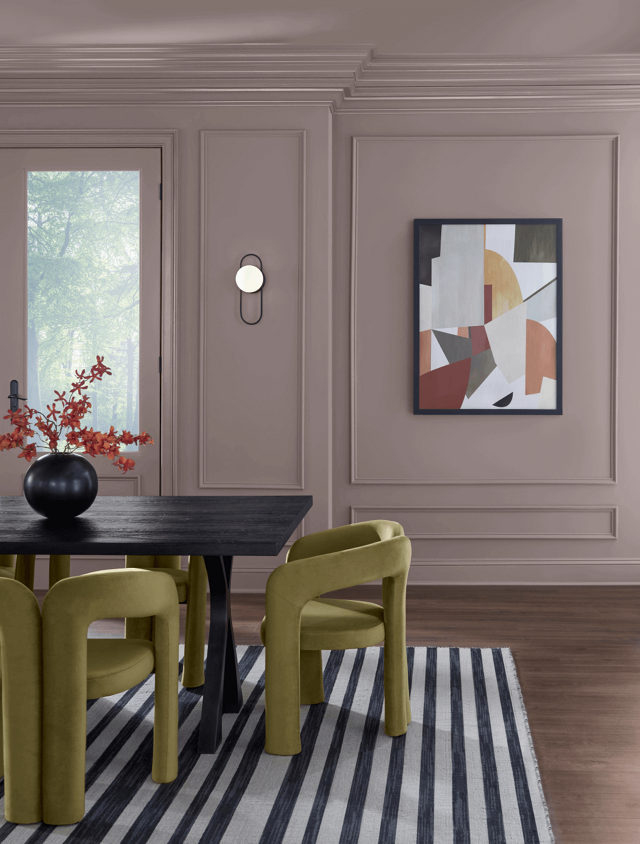
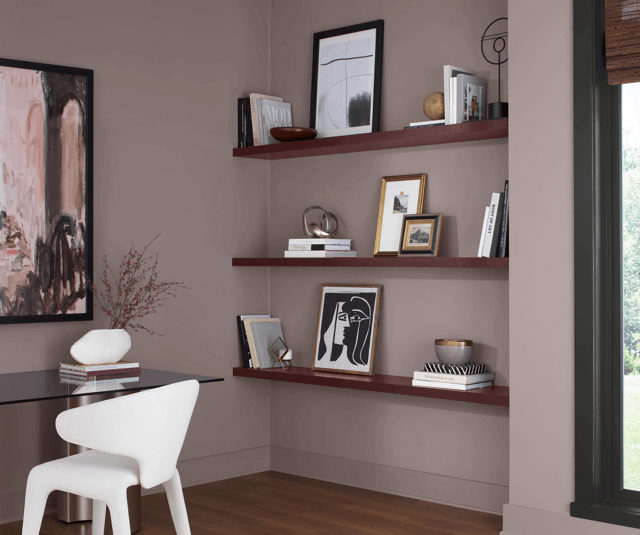
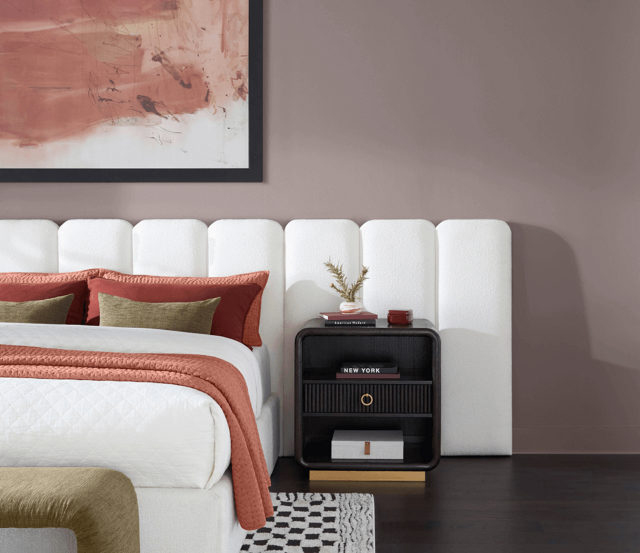
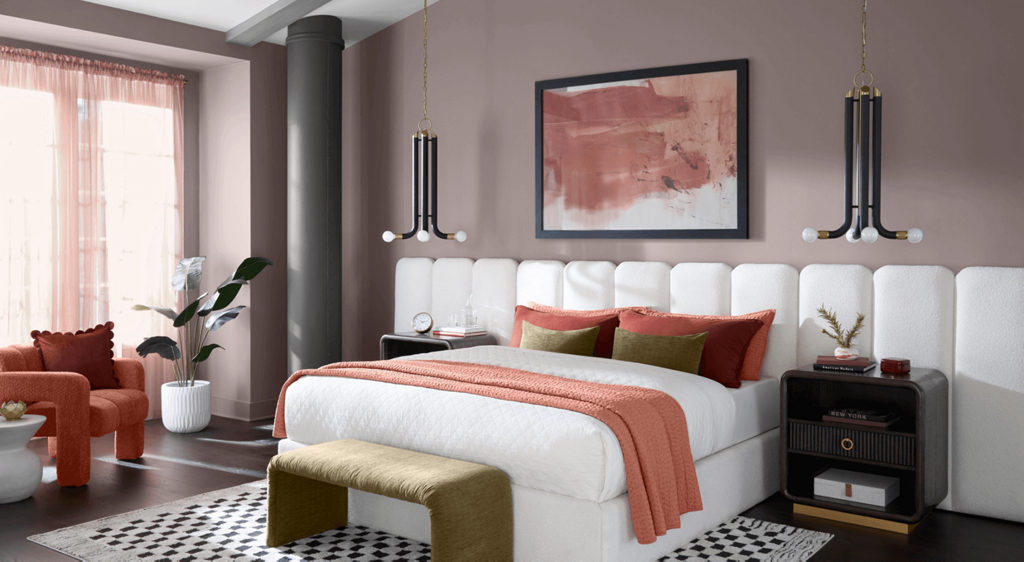
    November 2024 Color of the Month


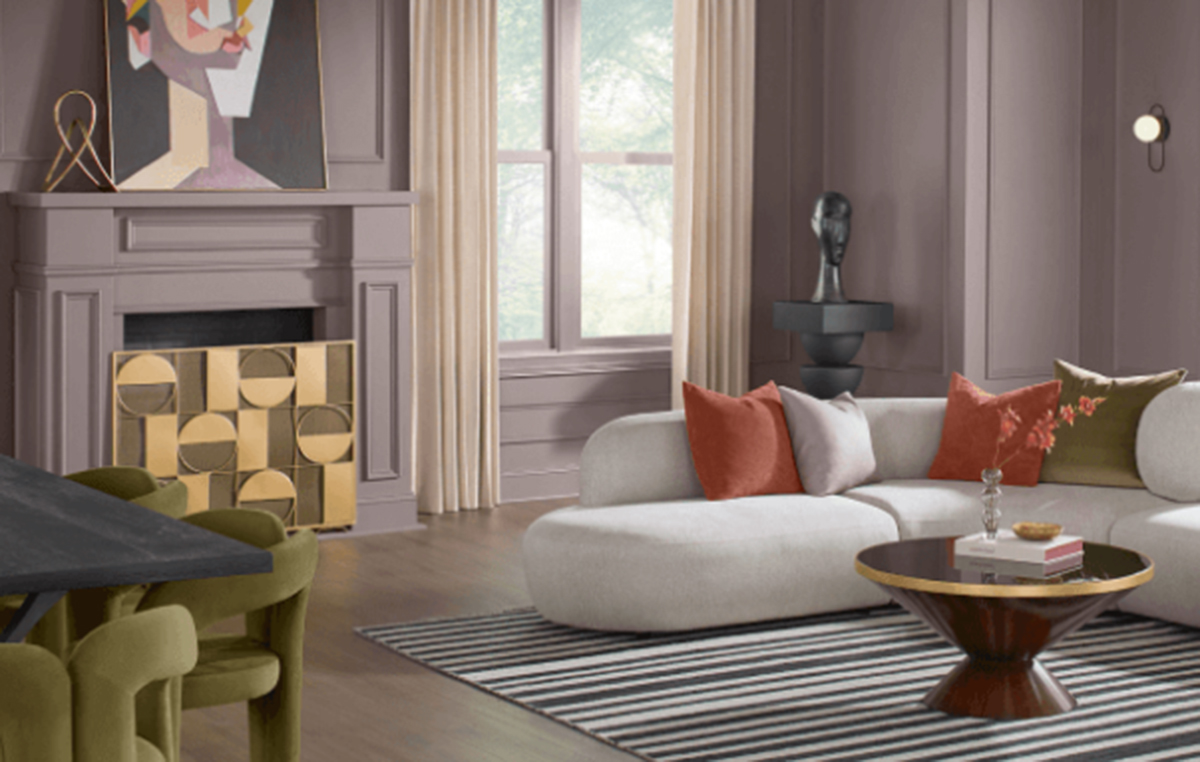
    “Chinchilla brings a luxurious dose of drama to any space. Through its muted undertone, the hazy purple paint color captures the essence of tranquility. Watch this eclectically urban shade come to life next to warm and cooltones alike – an effect that feels almost neutral in nature. Find balance within the bold with this purposeful color selection,” says Sherwin-Williams.

    Chinchilla not your jam? Look for other color ideas in previous blog posts right her at the Paint Doctor. Call Mike to schedule your project 541-497-3804.

    Colors with Natural Wood

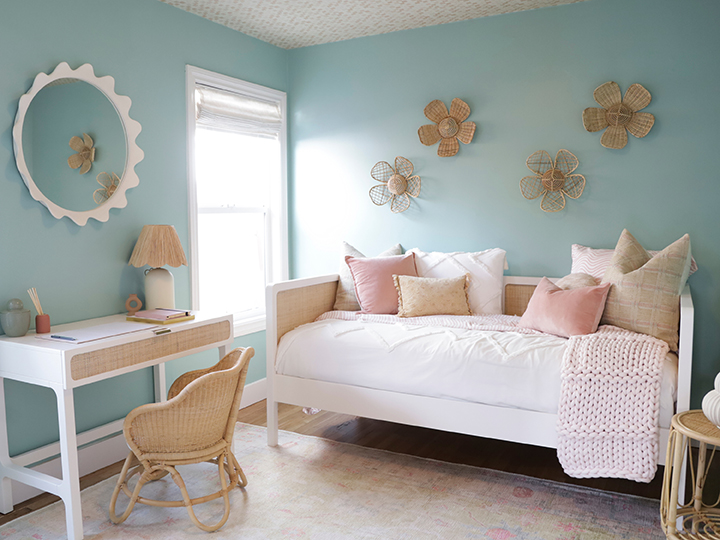
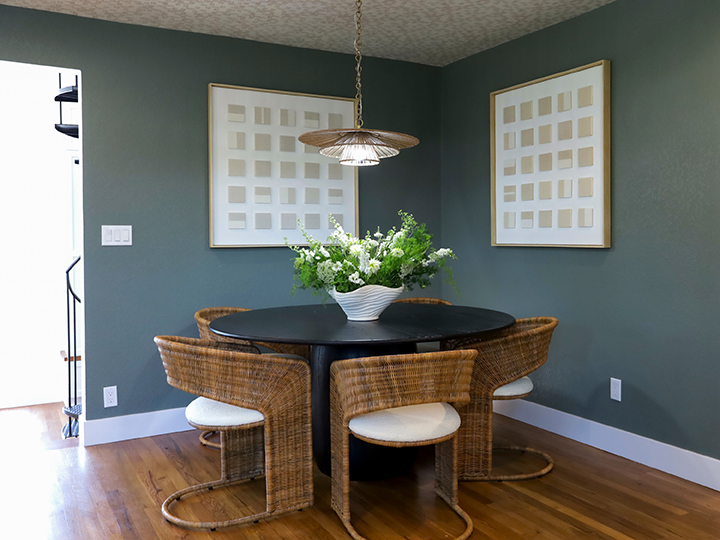
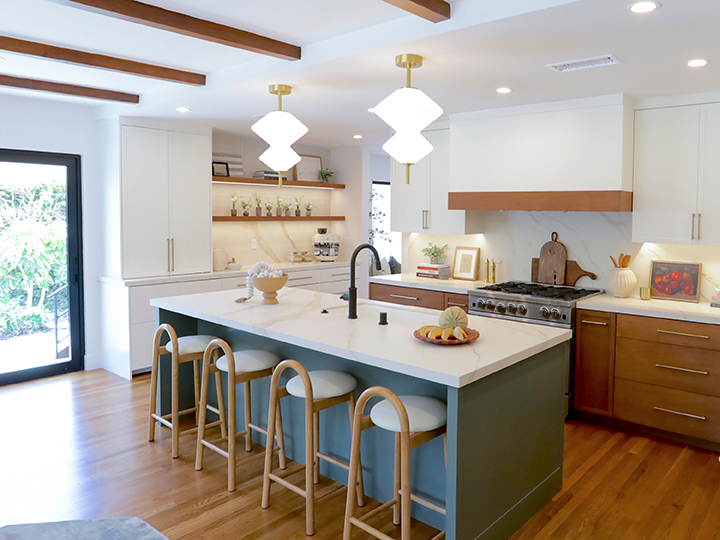
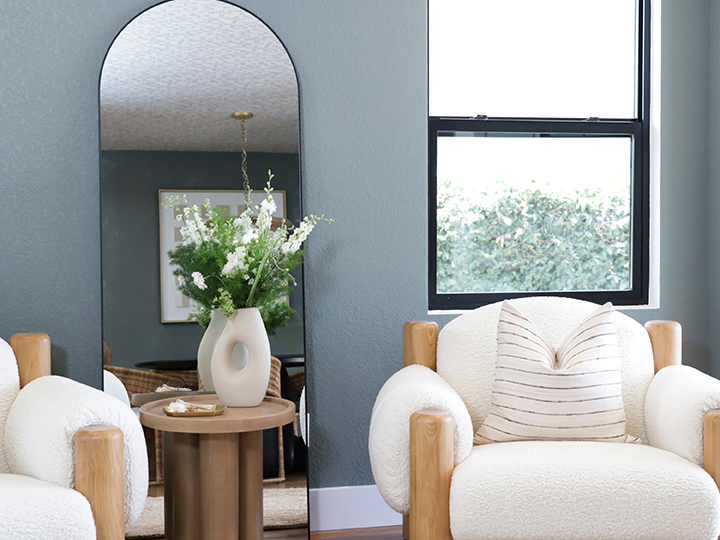
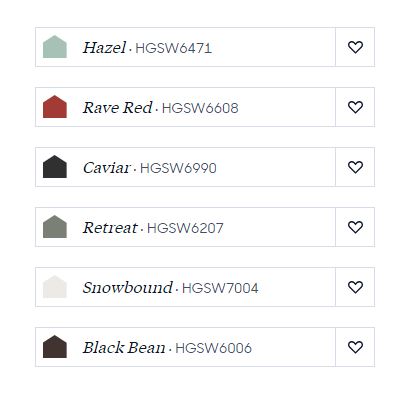
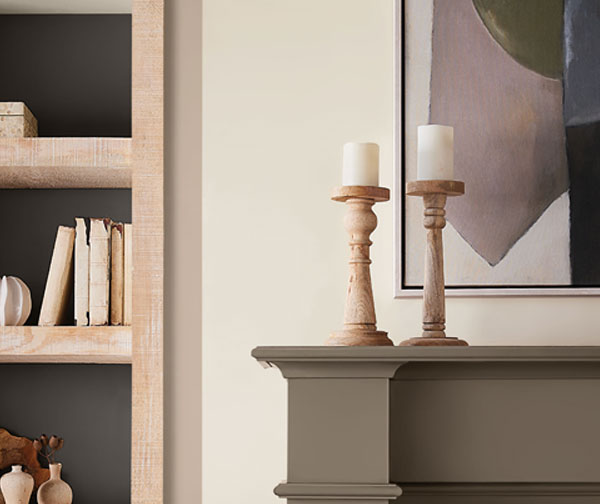
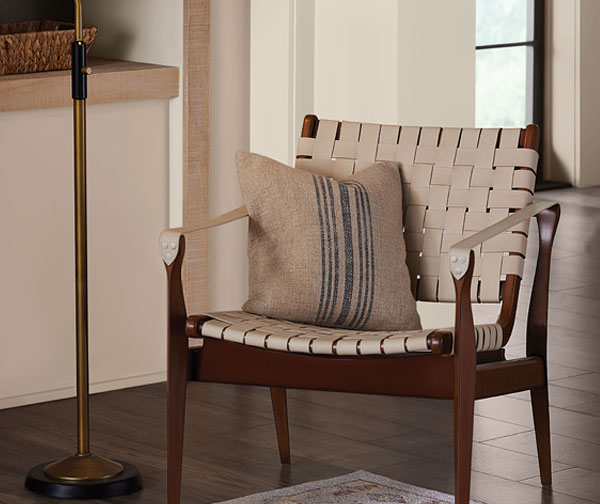
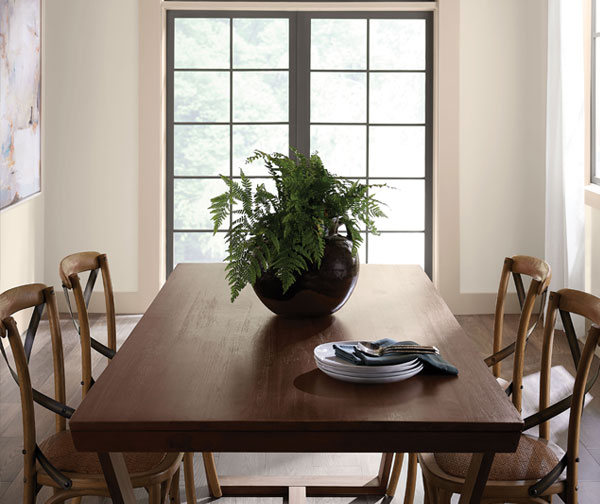
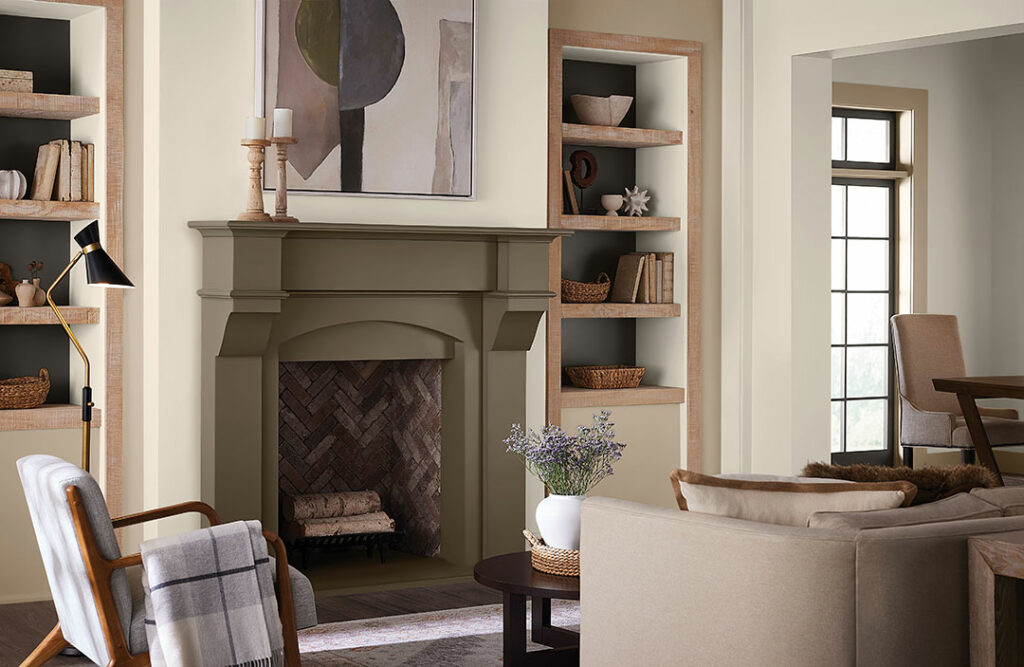
    Light natural wood, bamboo, and rattan, are right at home with the color schemes found on Christina on the Coast at HGTV Home by Sherwin Williams. Get these colors in your home by calling Mike 541-4973804

    Living Room Ideas

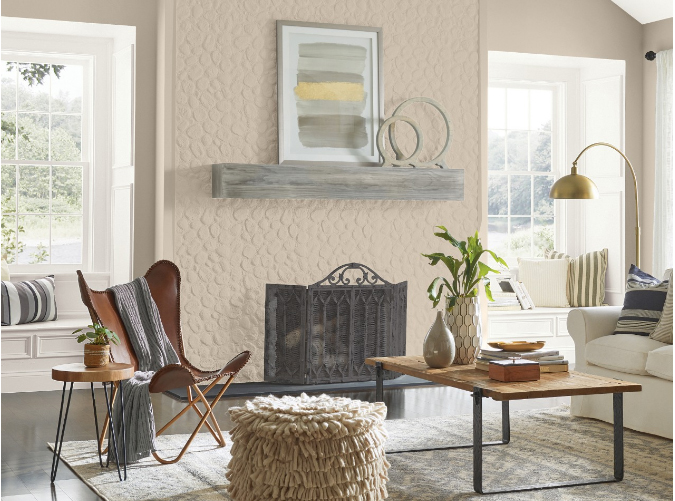
    With interior painting season just around the corner, it’s time to think about some colors for your living room paint project. Call Mike 541-497-3804 to let him know you would like to be put on the schedule for interior paint this winter. Check out these living room color ideas.

    Dover White SW 6385

    Pure White SW 7005 and Sequin SW 6394
    Silver Strand SW 7057
    Shiitake SW 9173

    Cleaning Painted Walls

    According to Sherwin-Williams, “You can’t stop walls from attracting dirt, but you can preserve their newly-painted beauty and extend the life of your paint with a few good cleaning habits. Check out our suggested resources and tips below for the best ways to clean painted walls.”

    Supplies for This Project

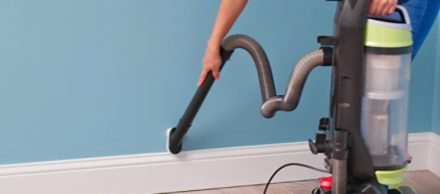
    • Vacuum cleaner with dust brush attachment
    • Tack cloth/cheesecloth
    • Wash bucket
    • Mild household cleaner
    • Grease-cutting dishwashing soap
    • Baking soda
    • Cloth rags
    • Touch-up paint
    • Plastic mixing container
    • Mini paint roller and roller cover
    • 2″ or 2½” angled bristle brush

    Dusting

    Regardless of paint type or sheen, regular dusting is in order. So before you do any washing, run the dust brush attachment of your vacuum over ceilings and walls, and wipe your walls down with a tack cloth or cheesecloth.

    General Washing

    Wait at least two weeks after painting before using any water or cleaner on your walls.

    Typically it’s best to use a soft cloth or sponge with mild, soapy water.

    Wipe by applying gentle pressure in a circular motion.

    Rinse with a clean, damp cloth afterward to remove any leftover cleaner. Too much water can ruin your paint finish, so remember to thoroughly wring out your cloth.

    Spot Cleaning

    For spot cleaning a scuff mark or stain, try mixing a paste of baking soda and water instead of cleaner for walls.

    Gently rub your solution over the problem area. Then rinse with a sponge. And dry with a soft cloth.

    For hard-to-remove stains like grease splatters on kitchen walls, try a grease-cutting dishwashing soap mixed in warm water.

    Follow the label instructions to make sure the cleaner won’t harm your paint finish.

    Tip:It’s always a good idea to test your cleaning solution and technique to make sure it doesn’t damage your paint finish. Pick an inconspicuous spot on your wall to perform your test. If the paint still looks bright and there are no water marks left after drying, you’re good to go.

    Touch-Up

    Follow these guidelines for nicks or scrapes in your walls that require touch-up painting.

    If possible, use paint from the original can. If you need to buy more, make sure it’s the same color and the same sheen.

    If you’re touching up walls where the paint was originally applied with a roller, use a small trim roller. If the paint was originally brushed on, use a brush.

    Apply a small amount of your touch-up paint and gently roll or feather-brush the area.

    Yellow House

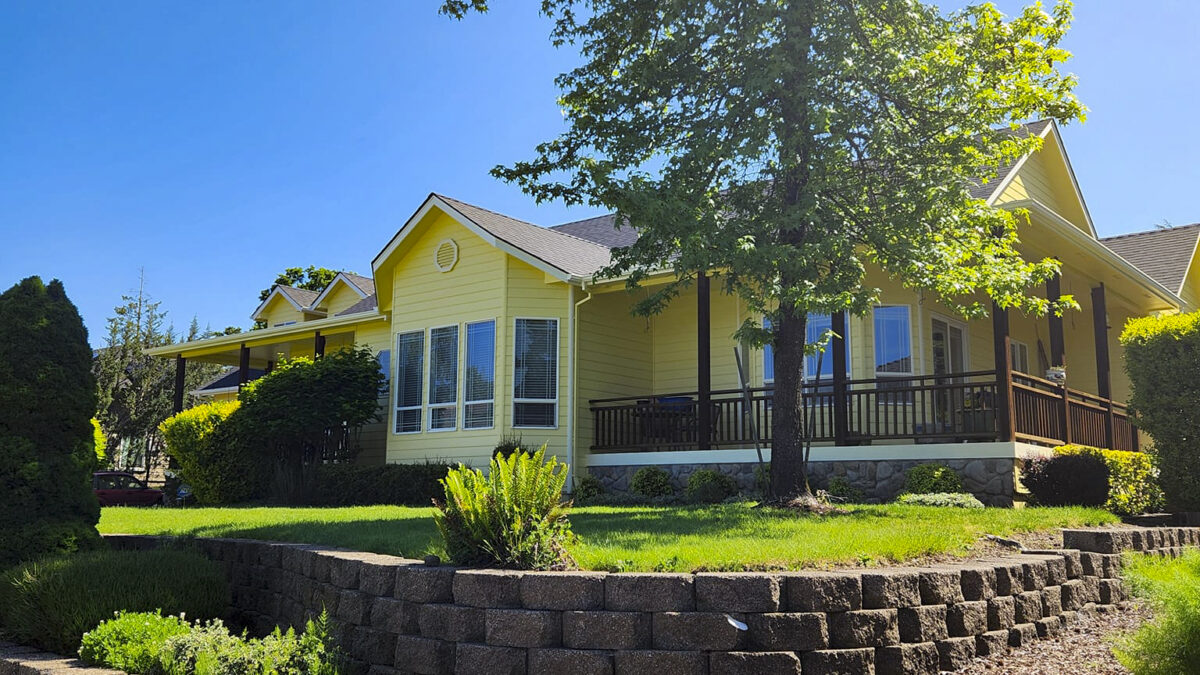
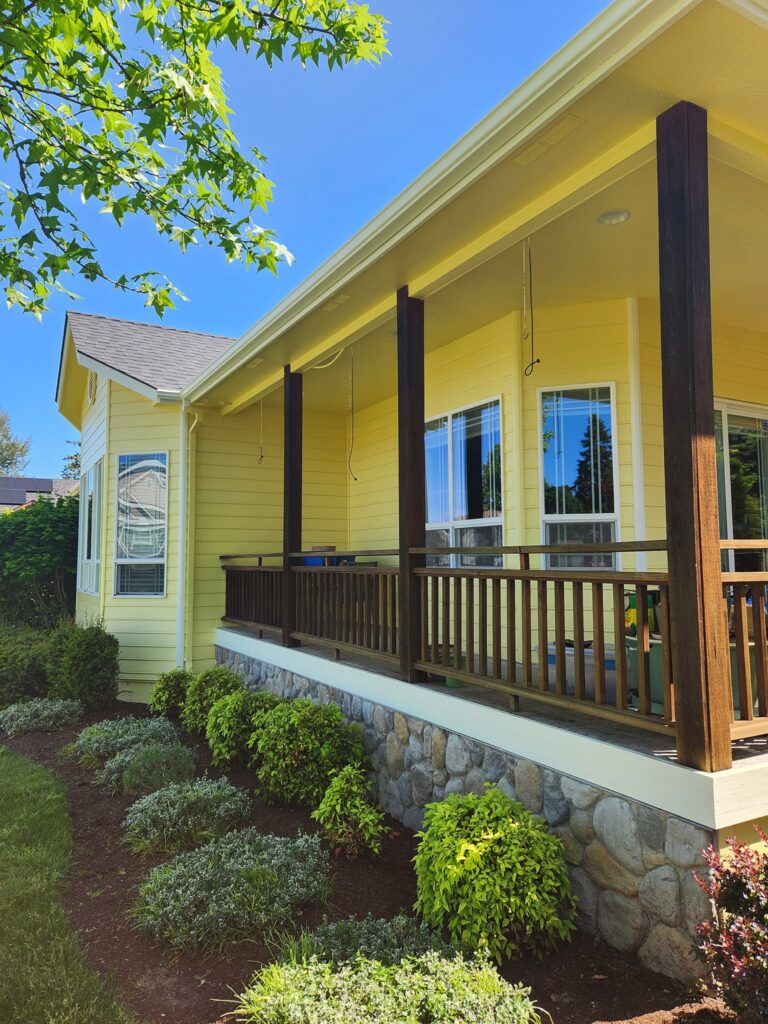
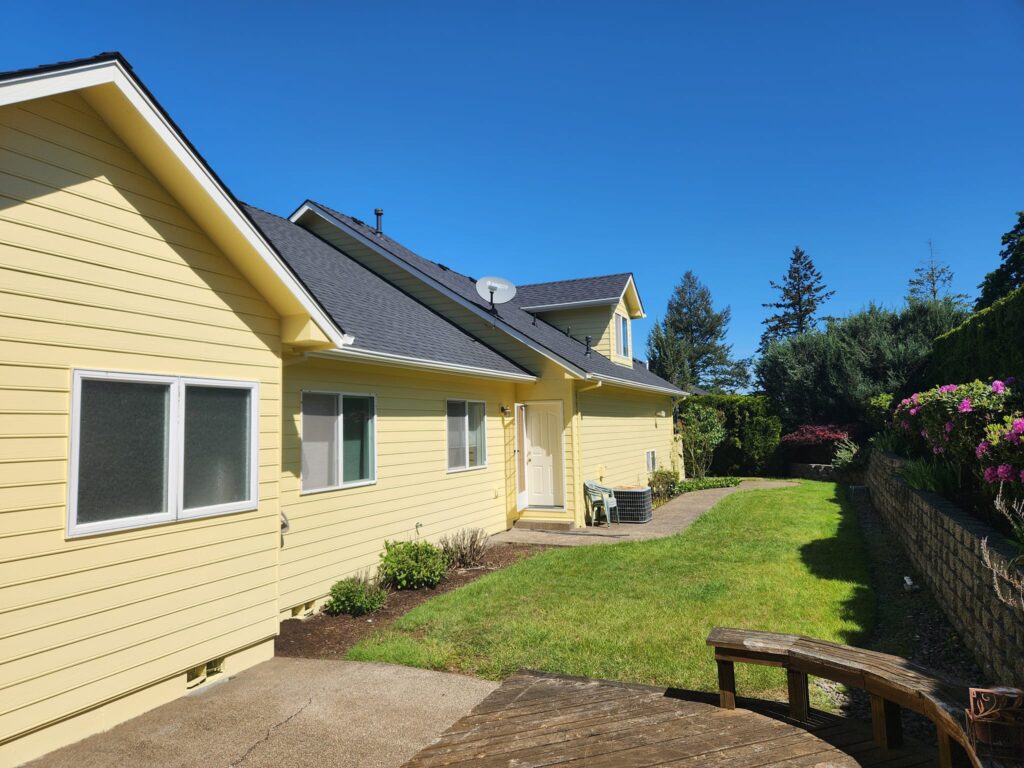
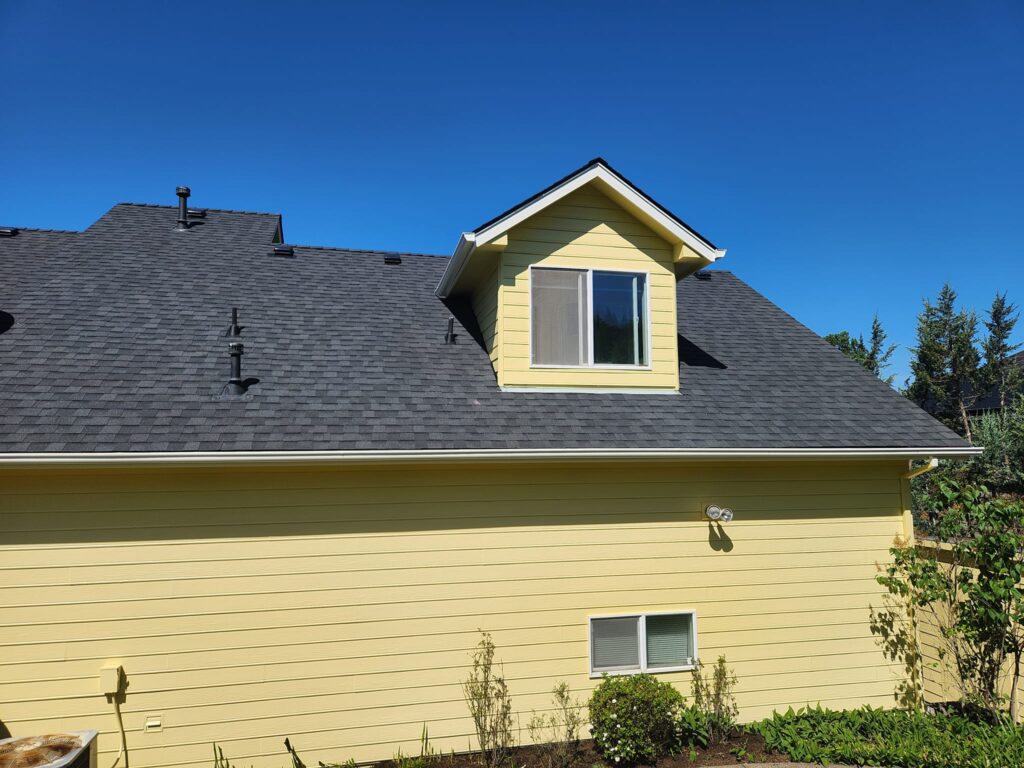
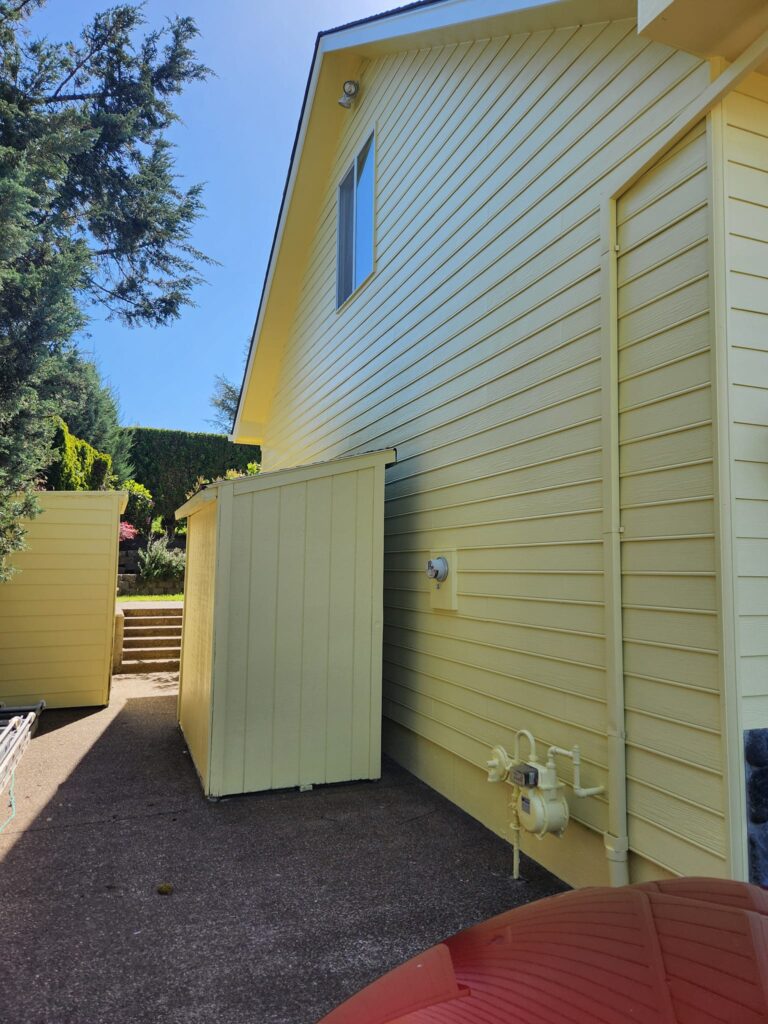
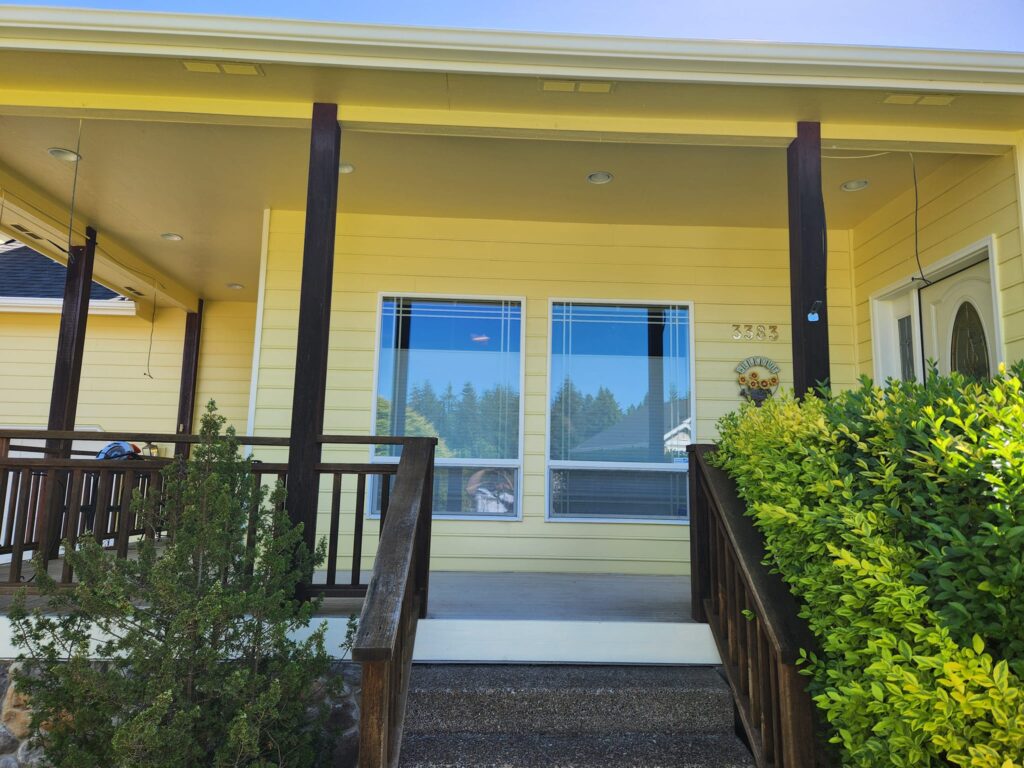
    Michael Murphey’s song Yellow House says it’s the color of old sun beams, which is a good description of this recent project by Paint Doctor’s Painting Service. It’s warm, comfortable and inviting. The new paint really added to the house’s curb appeal. Call Mike at 541-497-3804.

    This freshly painted yellow house looks great with white trim and dark wood porch railing.
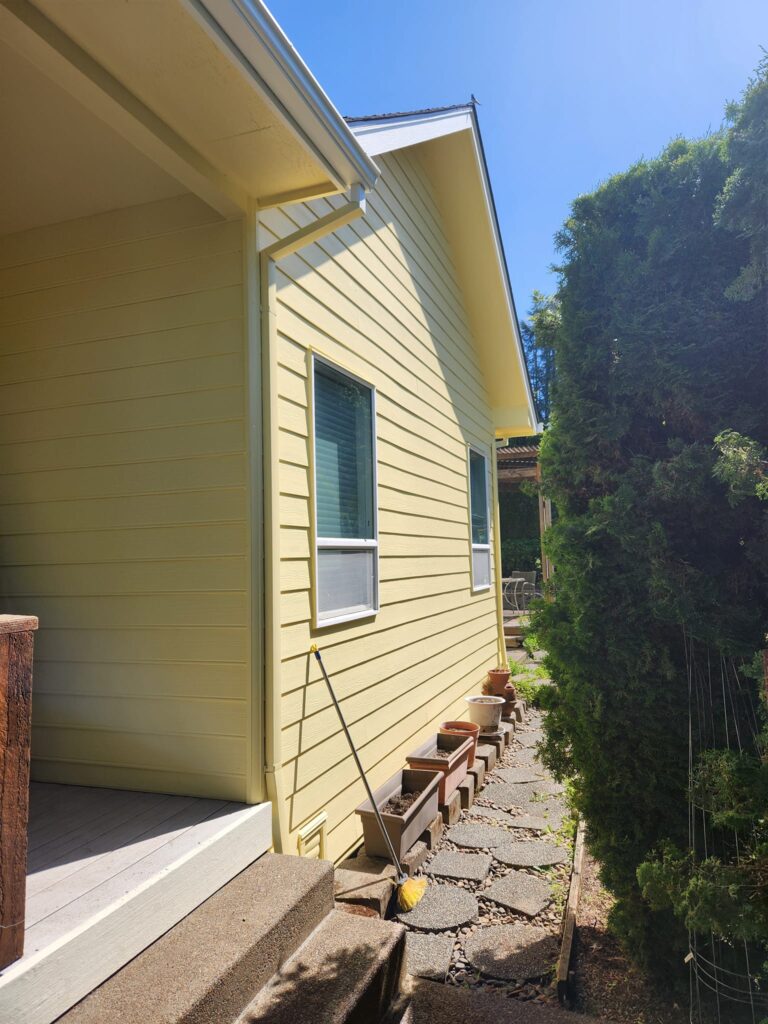
    Paint Doctor's Painting brightened up this backyard with new house paint.
    This house had several dormers which are a big challenge for most homeowners but to problem for our crew at paintdrspainting.com
    The sheds were included in the bid for this house repaint project by paintdrspainting.com

    Kestrel White

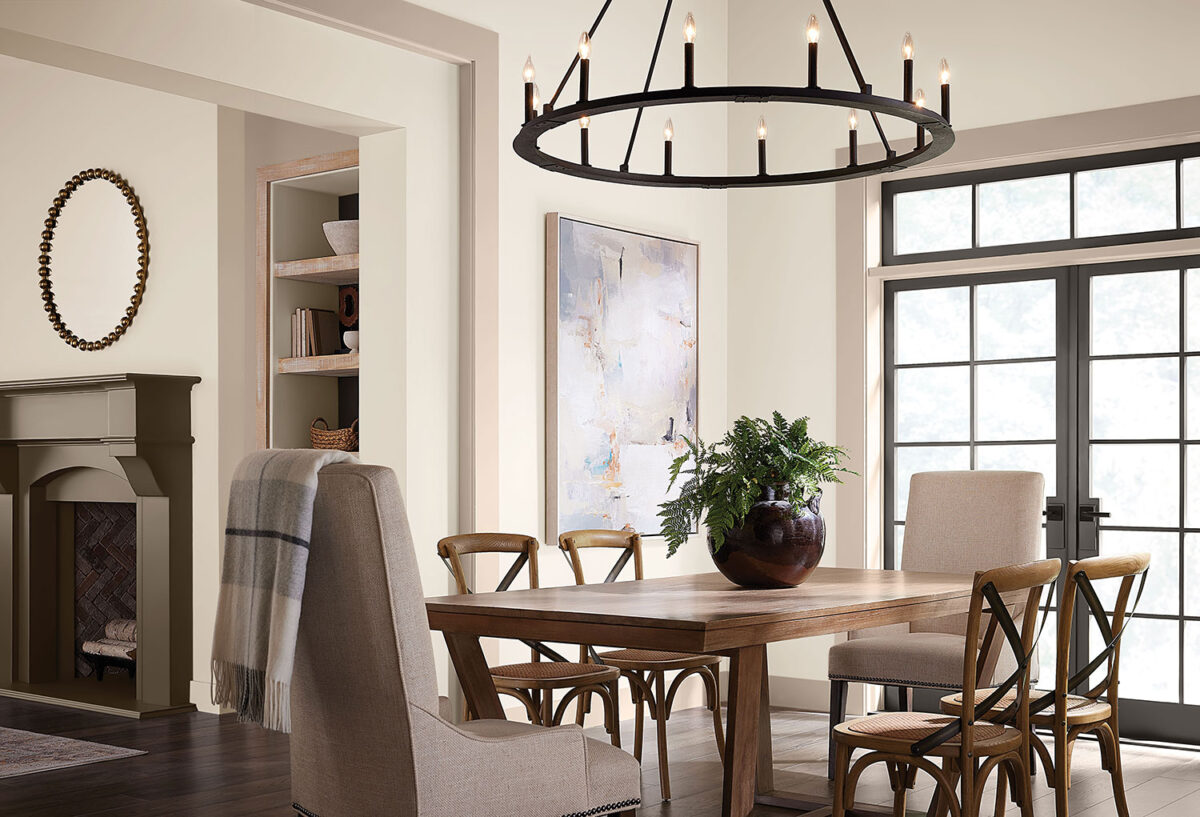
    It’s hard to beat the classic color of a well tinted white like Kestrel White from Sherwin-Williams. This is one of those colors you can use throughout the house with no concerns about it going out of style. Are you considering changing furniture soon? Neutral wall colors are a great way to get the latitude you want so other décor will fit right in. Lasting beauty can be applied by our crew while you shop for your new look in wall coverings and furniture. Call us at 541-497-3804.

    Color palette to go with off white.

    Back in Black Interior Trim

    Black stair trim and black doors – a very cool choice and well executed by our crew. Give Mike a call for your interior update 541-497-3804.

    Black doors compliment the stair parts in this recent project by paintdrspainting.com

    Yellow, A Happy Color is Calling

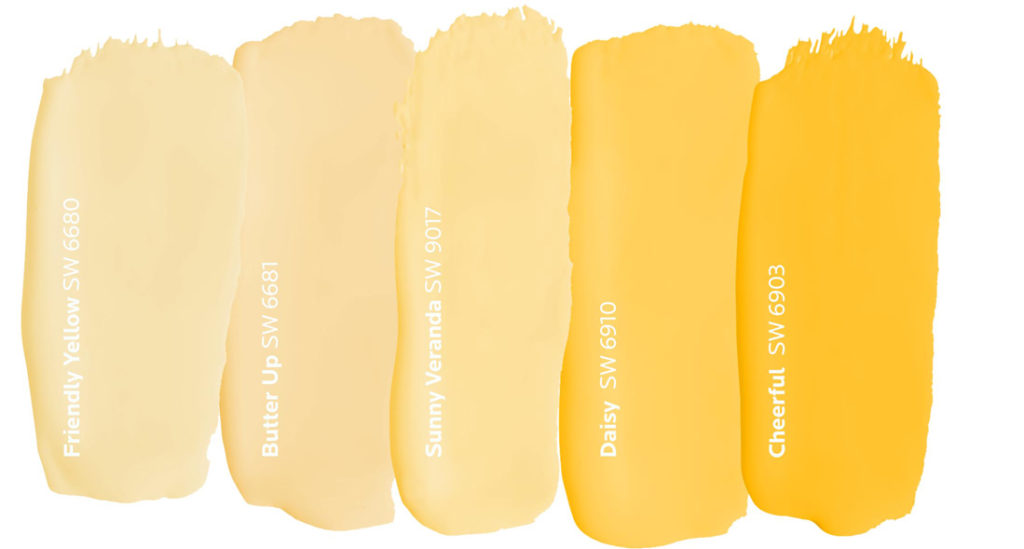
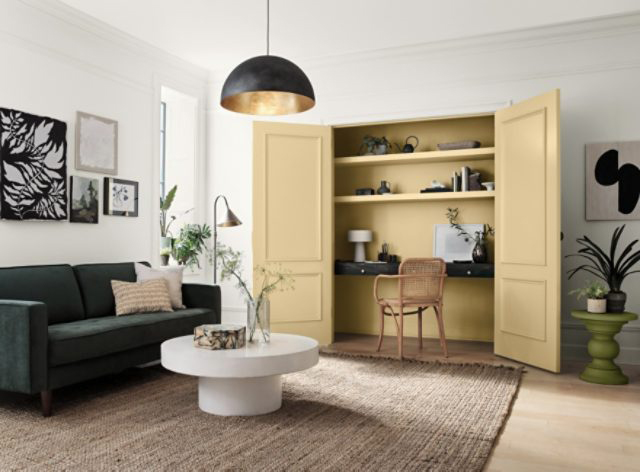
    If you’re looking for a warm and inviting color for your home, yellow paint colors are a great choice. Yellow is associated with happiness and optimism, making it a perfect choice for areas like kitchens and living rooms. Pale yellow paint colors can create a sunny and cheerful atmosphere, while deeper shades of yellow can add a touch of sophistication. When deciding on the right yellow paint color for your space, consider what other colors will be used in the room.

    Using yellow paint is like infusing your interior space with a drop of sunshine. Yellow adds an unmatched brightness and inner glow. Paler shades of yellow are perfect for nurseries. Brighter yellow paint colors are great for sun porches and kitchens.

    Yellow tones can produce a warmer feel to your living room.
    The Paint Doctor in Albany Oregon can transform your interior spaces with new colors.
    Lantern Light SW 6687 adds an elegant warmth as a bedroom accent wall.
    Napery SW 6386
    Overjoy SW 6689 is a bold choice to brighten up this kitchen.
    Start you day with a ray of sunshine with Sunrise SW 6668.