Caulk it Like You Mean It

As we often say at Paint Doctor’s Painting, painting is prep, which means you can’t get a quality paint job without all of the necessary preparation done well. One of the critical steps in paint preparation is caulking.

The importance of properly applied caulk cannot be overstated. It seals, smooths, protects and greatly increases the lifespan of both the paint job and the building. Good caulking covers minor imperfections and provides a beautiful transition between trim and wall, between baluster and rail, between adjacent corners. Caulking also provides a very useful adhesive that gives strength to the fasteners and glues that keep construction components in place.

Our professional painters know what caulking product, when to use it and how to apply it for the best protection and presentation of your project. It’s a very real skill set. If you’ve every seen someone try to caulk that doesn’t possess the skills or if you’ve seen the results of an unskilled caulker, you know what this looks like and it’s not pretty.

Proper caulk, you know that’s a real thing, right? Call the pros at Paint Doctor’s Painting.

Painter or Chemist? Yes!

When top professional painters talk chemistry they are in their element. To get the desired results (bonding, coverage, leveling, sheen, UV, protection, etc.) we need to know the surface type, environment during application and the ongoing environment of the finished product.

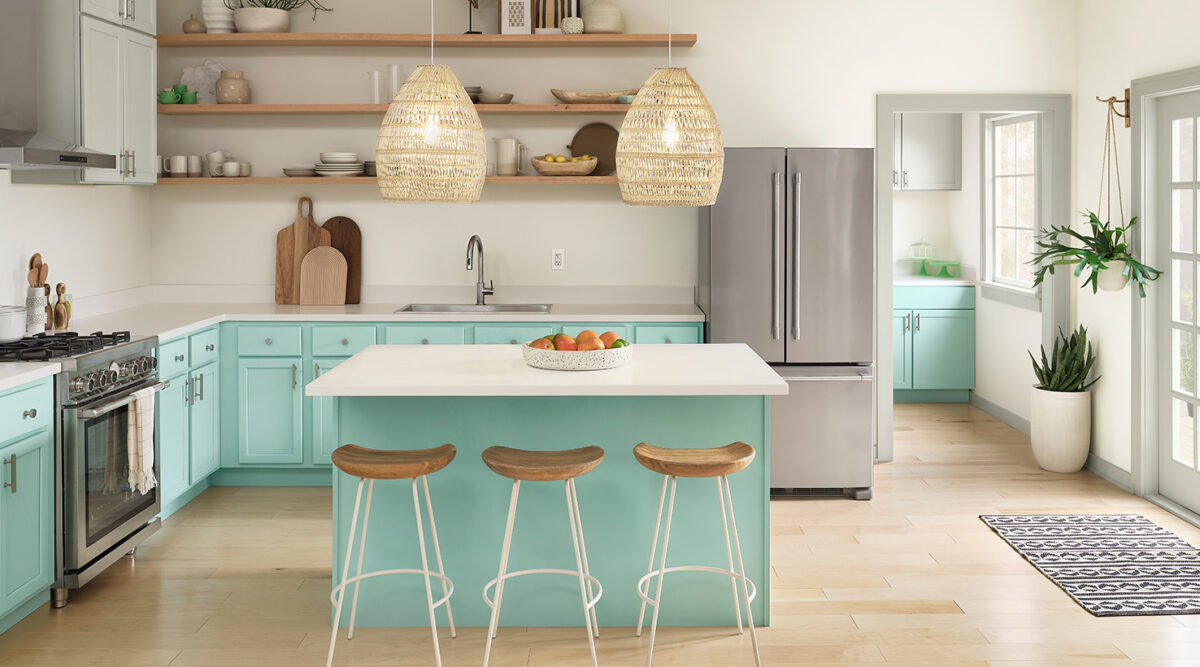
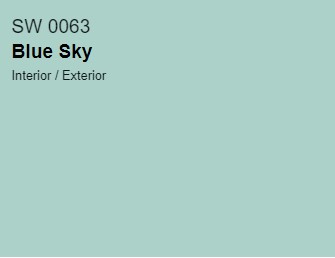
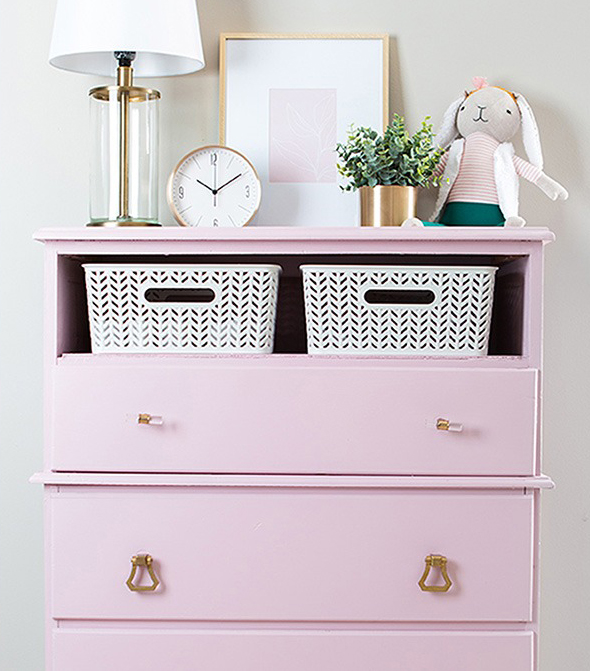
For example, you may want a painted look on your kitchen cabinets and choose a color. We know the look you want, but it’s unlikely we’ll use paint to achieve it. We may choose to use a polyurethane product beginning with Sayerlack Polyurethane Basecoat Thixo, which is a two-component solvent based polyurethane primer with excellent characteristics for kitchen cabinetry:

High speed of drying, allowing early recoating with topcoat
Excellent manual sandability
High thixotropy and hence reduced dripping at the bottom edge of picture frames or into convex parts
Improved building/hiding power on sharp edges
Uniform absorption between grainy and compact parts of wood

This all adds up to a great finished surface with excellent and consistent coverage, water resistance and durability. To the casual observer it’s just the color they wanted, but to us it meets the high standards that upholds our reputation as the best painting contractor in our area.

The Paint Doctor knows surface coverage chemistry to make sure your project has all the right stuff!

Mister Sandman

A big part of preparation on a lot of paint projects is proper sanding. Sometimes sanding is required to flatten surfaces that have been repaired with fillers. At times sanding is required to remove sheen from existing finishes to improve adhesion. Often projects require a variety of sanding tools to with a variety of paper grits, depending on contours and amount of material to be removed. Knowing how to step up to higher grit counts is a big part of the skill set. When the dust settles, the project is ready for the primer coat and ultimately the finish coats result in a smooth finish.

Having a rough time? We can smooth things over. Call the doctor…

Surface Preparation

Proper paint preparation takes time, tools, materials and skills. The most efficient way to get it done right the first time is to call the doctor (541-497-3804) and have the crew do it for you.

According to Sherwin-Williams: Preparation. It’s the key to good-looking, long-lasting results. A properly prepared surface is clean, solid and dry, without cracks and imperfections.

Warning! Removal of old paint by sanding, scraping or other means may generate dust or fumes that contain lead. Exposure to lead dust or fumes may cause brain damage or other adverse health effects, especially in children or pregnant women. Controlling exposure to lead or other hazardous substances requires the use of proper protective equipment, such as a properly fitted respirator (NIOSH approved) and proper containment and cleanup. For more information, call (in the U.S.) the National Lead Information Center at 1-800-424-LEAD or contact your local health authority.

Bare Wood

  • Easy-to-clean latex semi-gloss or gloss would be the best choice for the finished coat.
  • Fill nail holes, joints and cracks with patching paste.
  • Sand smooth and remove sanding dust with a tack cloth.
  • Prime all bare wood and patched areas with a primer.

New Plaster Walls

  • Latex is an excellent topcoat choice because it’s easy to work with.
  • These must be clean and completely cured.
  • Textured or swirl types and soft, porous or powdery plaster must be:

    – Treated with a solution of one pint household vinegar in one gallon of water.
    – Repeat the treatment until the surface is hard.
    – Rinse with plain water.
    – Let dry and apply primer.

New Drywall

  • Latex is your best choice here.
  • Panels must be securely nailed or glued in place.
  • All panel joints must be taped and filled before painting.
  • When joint cement and/or patching materials are thoroughly dry, sand smooth, wipe away dust, then prime.

Wallpaper

  • Always remove wallpaper before painting. Use a chemical wallpaper remover or rent a steamer, if necessary.
  • Once the paper is removed, wash off old adhesive. Rinse with water and allow the wall to dry before priming.

Previously Painted Surfaces

  • Wash off dirt, grease, soap and oil buildup with the appropriate cleaner. Rinse thoroughly.
  • Remove loose paint and powdery substances.
  • Patch holes and cracks with spackling or patching compound. Allow to dry, then sand smooth.
  • For glossy or nonporous surfaces, lightly sand to a dull finish or use an abrasive cleanser.
  • Remove sanding dust or cleanser residue.
  • Make sure to prime all bare areas prior to applying topcoat. (Avoid “spot priming,” which can result in a non-uniform appearance between primed and non-primed areas.)

Masonry, Concrete, Cement, Block

  • All new surfaces must be cured according to the supplier’s recommendations- usually about 30 days.
  • Remove all form release and curing agents.
  • Rough surfaces can be filled to provide a smooth surface.
  • If painting cannot wait 30 days, allow the surface to cure 7 days and prime the surface with masonry primer.

A note from the Paint Doctor:

As you can see, proper paint preparation takes time, tools, materials and skills. The most efficient way to get it done right the first time is to call the doctor (541-497-3804) and have the crew do it for you.

Too Many Details

This is how the expression, “The devil is in the detail” got started. You think it’s a simple task until you get into it…

For many home owners, do-it-yourself interior paint projects can be a lot more work than they bargained for. A simple thought about painting a room may overlook a lot of details.

There are holes to spackle, spackle to sand, joints to caulk, caulk to cove, edges to mask, drop cloths to spread, ladders to set up, areas to prime, clothes to wear and many more items before you get to see your new color go on. And all of the above? Yep, every hole, every joint, every edge. The details go on and on.

This is how the expression, “The devil is in the detail” got started. You think it’s a simple task until you get into it, until you experience just how many details need attention. And, by the way, each of these details involve a skill set that affect the outcome of the job.

Give the Paint Doctor a call to avoid the devil that is in the details. 541-497-3804

What’s Your Time Worth?

Some of us are old enough to remember Jim Croce’s song Time in a Bottle.

” But there never seems to be enough time
To do the things you want to do
Once you find them.”

Sometimes bringing in a pro to do a job makes economic sense because you can generate more during that time doing your area of expertise. However, another consideration is what you could do with that time to improve the quality of your life. Ever get to the end of the summer and realise you never used your RV or your boat one time? Ever wonder if your kids or grandkids will say their folks never had time to camp or fish or golf with them, they were always too busy?

Before you tackle that big painting project on your own, consider what your time is worth. Better call Mike and get a bid. It’s time.