Why Pay More for Quality Paint?

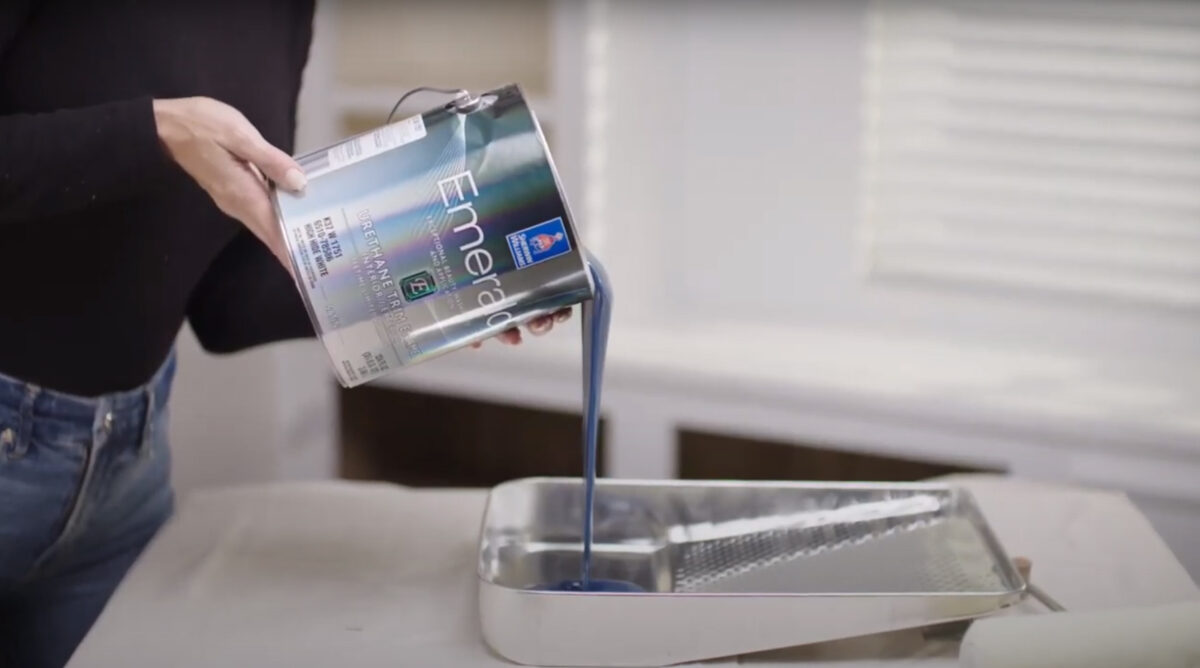
Quality paint costs more. Is it really worth it? There are a number of benefits that come with using a good quality paint.

1. Durability and Longevity:

Quality paint lasts longer. It can withstand exposure to the elements, it is formulated to withstand UV exposure, resist mildew and to retain its adhesion. This means less frequent repainting, which really saves you a lot in the long run.

2. Better Coverage:

High-quality paints tend to have better coverage, meaning fewer coats are needed to achieve a smooth, even finish. This not only saves paint but also reduces the labor involved.

3. Enhanced Aesthetics:

The finish of high-quality paint is typically superior, offering a more vibrant and consistent color. It just looks better.

4. Easier Application:

High-quality paints often have better flow and leveling properties, making them easier to apply. This means less frustration and a more professional-looking result, even if you’re a DIY enthusiast.

5. Resistance to Common Issues:

Quality paints are formulated to resist issues like mildew, mold, and fading from UV rays, ensuring that your walls stay beautiful and protected for longer.

6. Health and Environmental Benefits:

Many high-quality paints have lower VOC (volatile organic compounds) levels, making them a healthier choice for your home and the environment.

In the end, investing in quality paint can actually save you money, time, and effort, while also providing a better finish that lasts longer.

Quality paint promotes our company motto, Do it right the first time! Call the doctor for a quality application of your quality paint 541-497-3804

Prepping for Interior Paint

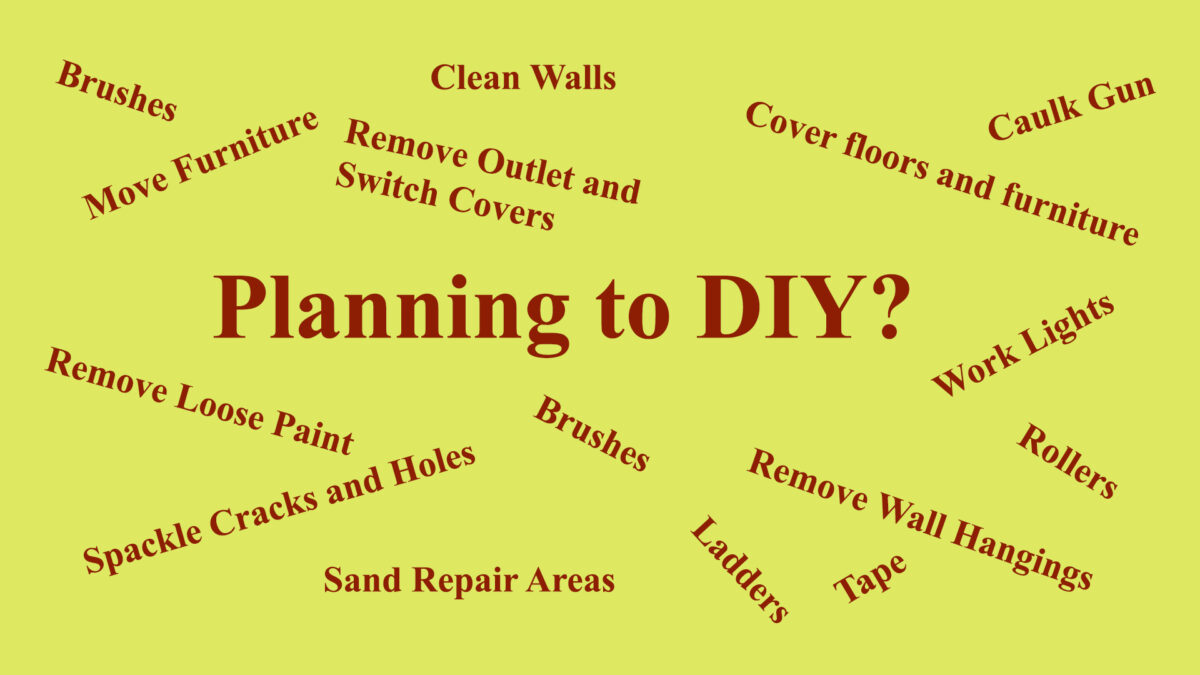
To the casual observer, painting an interior room is simply a matter of dipping a brush or roller in paint and brushing/rolling it on. The reality is that a quality paint job involves a lot of preparation. If you are thinking about doing your own interior paint project, here are some of the steps involved:

1. Clear the Area

Furniture: Move all furniture out of the rooms to be painted. If moving them out isn’t possible, push them to the center of the room and cover them with plastic sheets or drop cloths. Wall Hangings: Take down pictures, mirrors, and other wall decorations. Store them safely in a different room.

2. Clean the Walls

Dust and Dirt: Wipe down the walls to remove dust and dirt. A clean surface helps the paint adhere better. Grease and Stains: Use a mild detergent to clean any greasy or stained areas, especially in kitchens and bathrooms.

3. Protect Fixtures and Floors

Outlet Covers and Light Switches: Remove cover plates from outlets and switches. Cover the exposed outlets with painter’s tape for protection. Floors: Lay down drop cloths or plastic sheets to protect floors from paint drips and spills. Secure them with painter’s tape to prevent them from shifting.

4. Address Repairs

Nail Holes and Cracks: Fill any nail holes, cracks, or dents with spackle or putty. Allow it to dry completely, then sand it smooth. Loose Wallpaper or Peeling Paint: Remove any loose wallpaper or peeling paint. Smooth the edges and sand the area to ensure a uniform surface.

5. Gather Supplies

Tools and Materials: Gather any tools or supplies you might need, such as ladders, tape, brushes, and rollers. Organize them in a convenient location. Lighting: Ensure the room has adequate lighting. If the room is dark, consider adding temporary lights so you can see your work clearly.

6. Confirm Paint Details

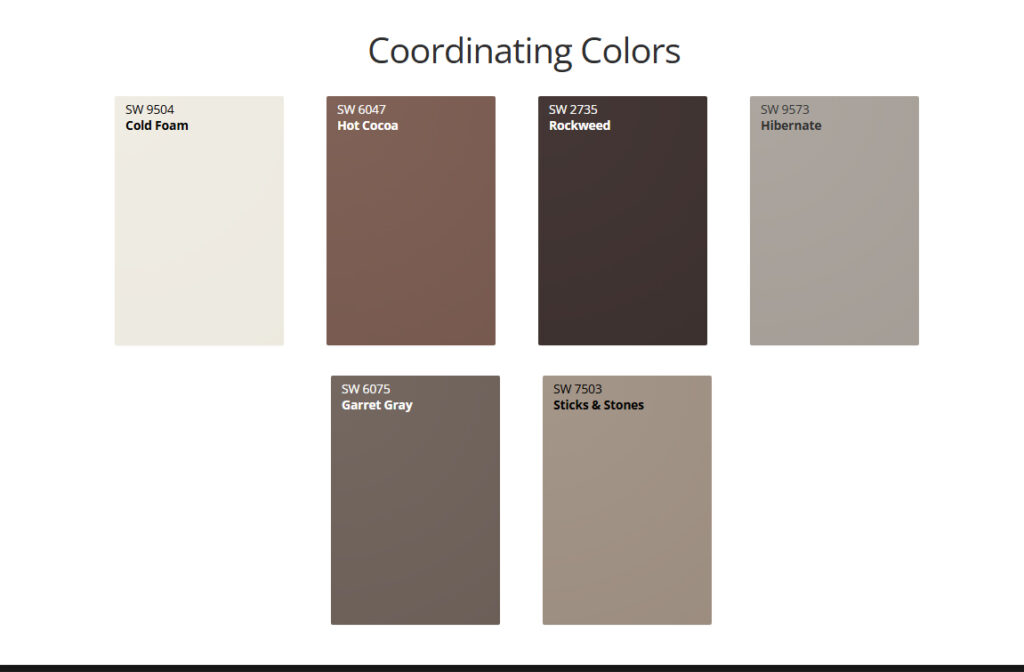
Confirm paint colors, coordinating colors and finish types.

7. Safety Considerations

Pets and Children: Keep pets and children out of the work area for their safety and to avoid interruptions. Ventilation: Ensure proper ventilation in the rooms being painted. Open windows or use fans to help with airflow and reduce paint fumes. Ladders: Falling is a serious hazard associated with ladder work and can result in injury or death.

Alternatively, you can call the Paint Doctor and we will take care of most of the steps listed above as normal part of our scope of work, 541-497-3804

December 2024 Color of the Month

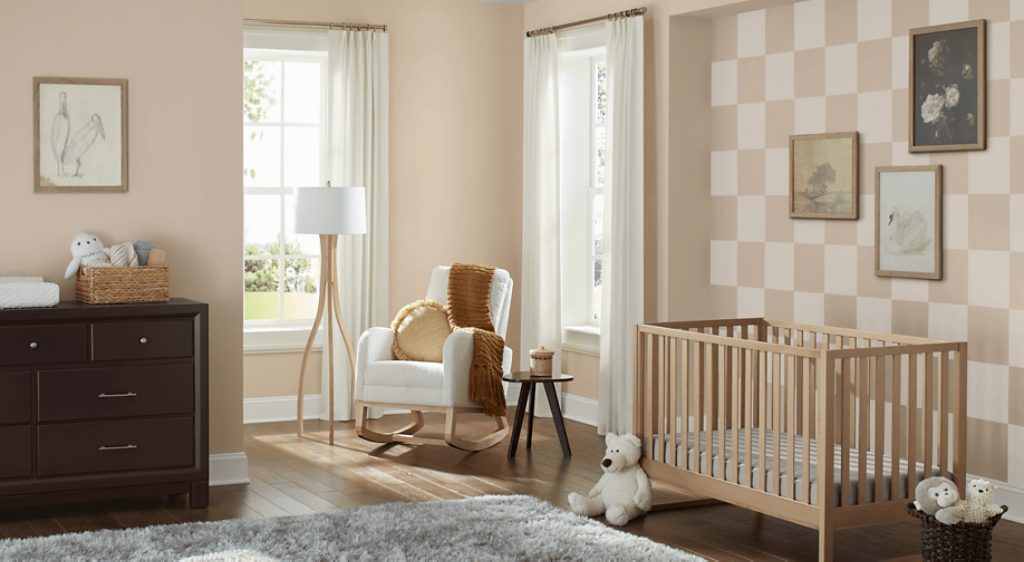
According to Sue Wadden, Director of Color Marketing at Sherwin-Williams, “Like a blanket of understated elegance, Sand Dollar inspires us to sit back, relax and indulge in cozy quietude.”

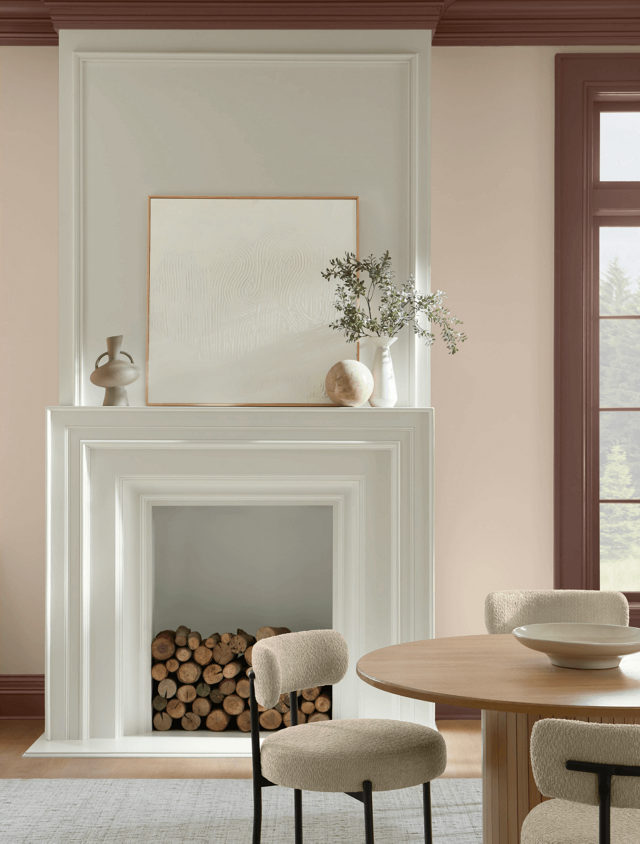
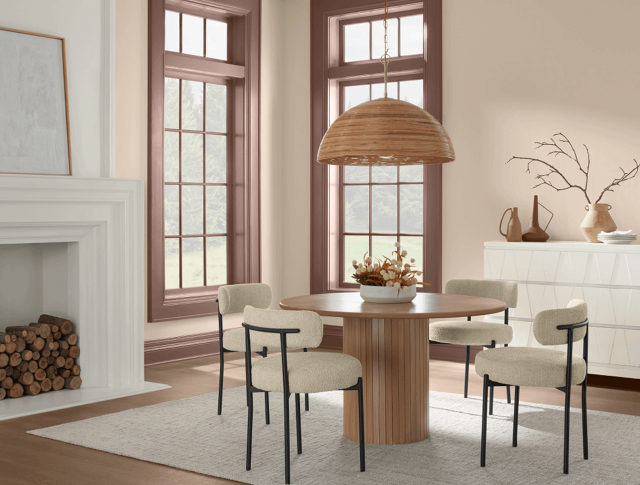
Beige wall paint with white fireplace wood box and over mantel.
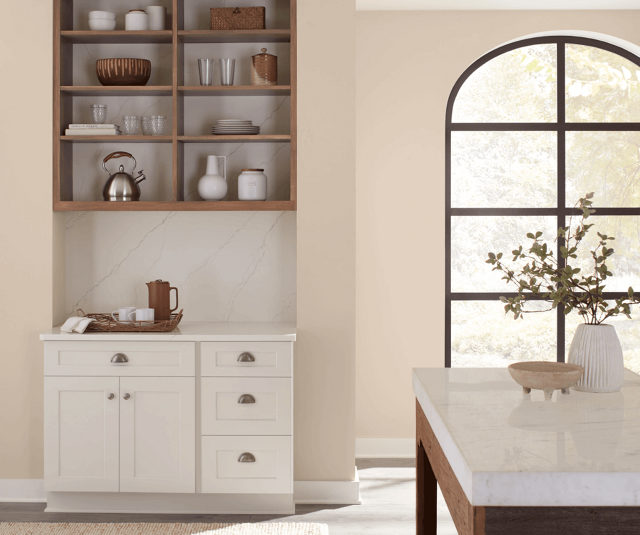
Find calm in the chaos with soothing Sand Dollar.
Pair the inviting neutral with deep earthen browns and soft creamy whites.
The comforting hue goes seamlessly with various wood tones and accent colors, bringing out natural grains and a sense of continuity.

Ready to transform your interior with Sand Dollar? Call Mike 541-497-3804