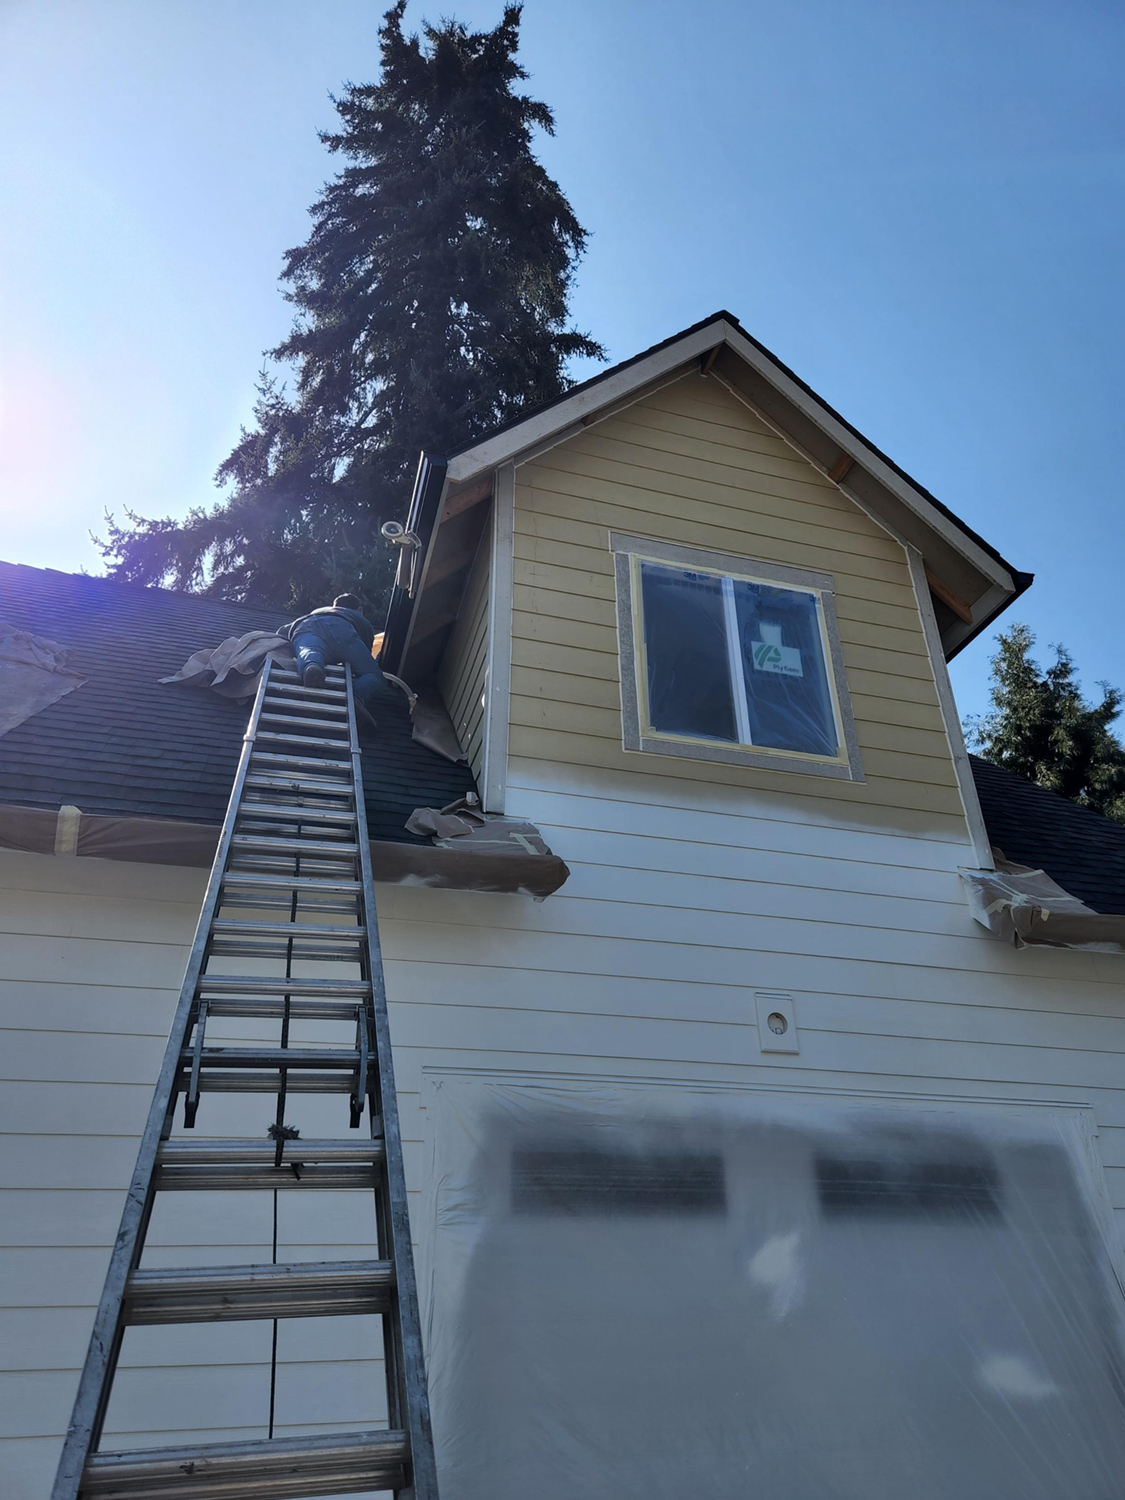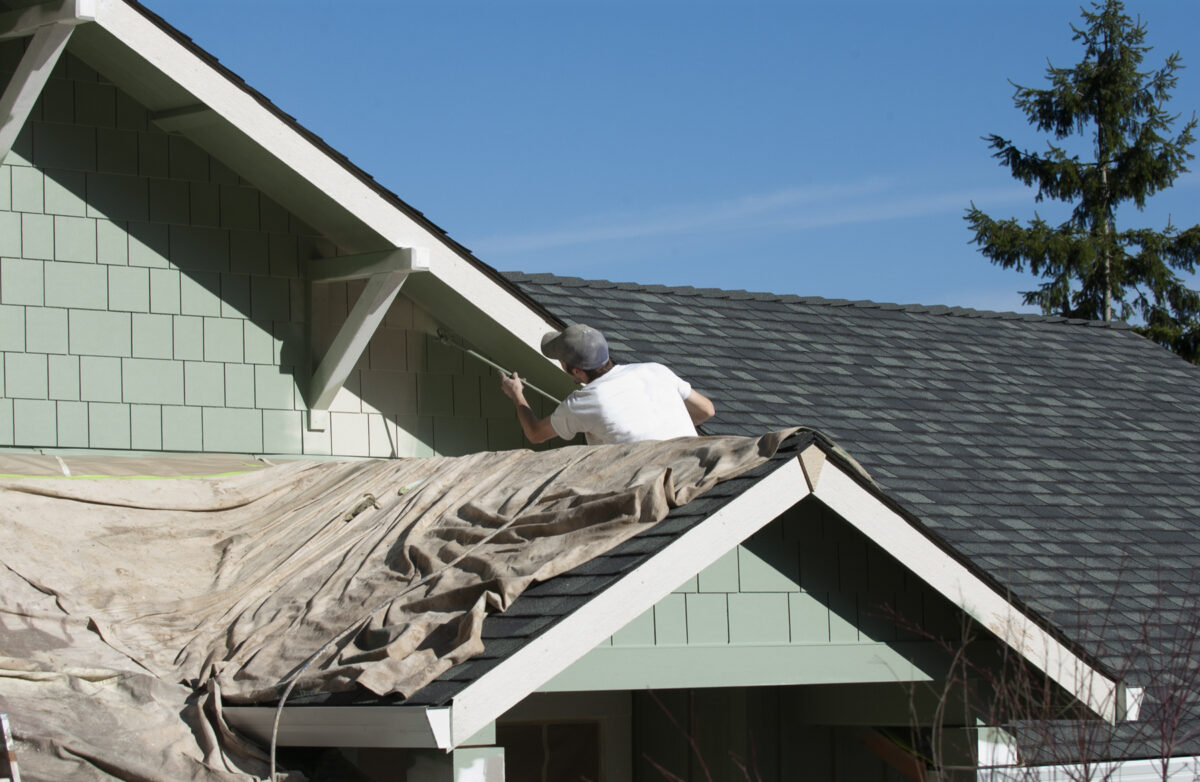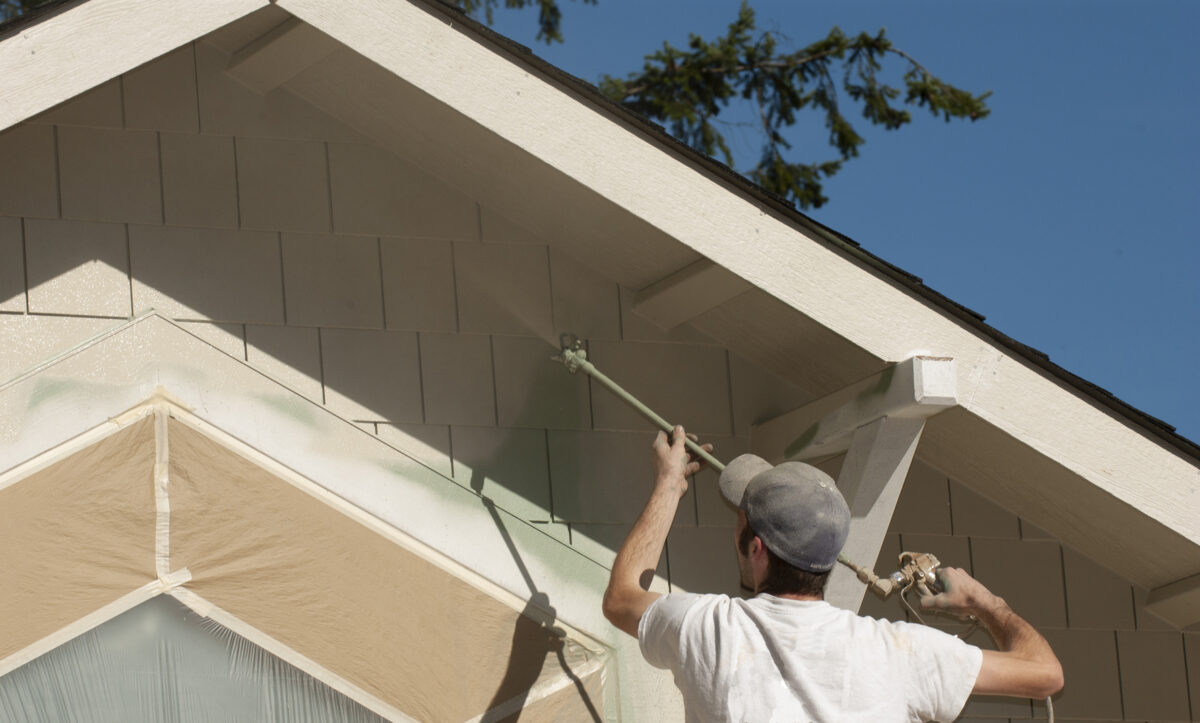
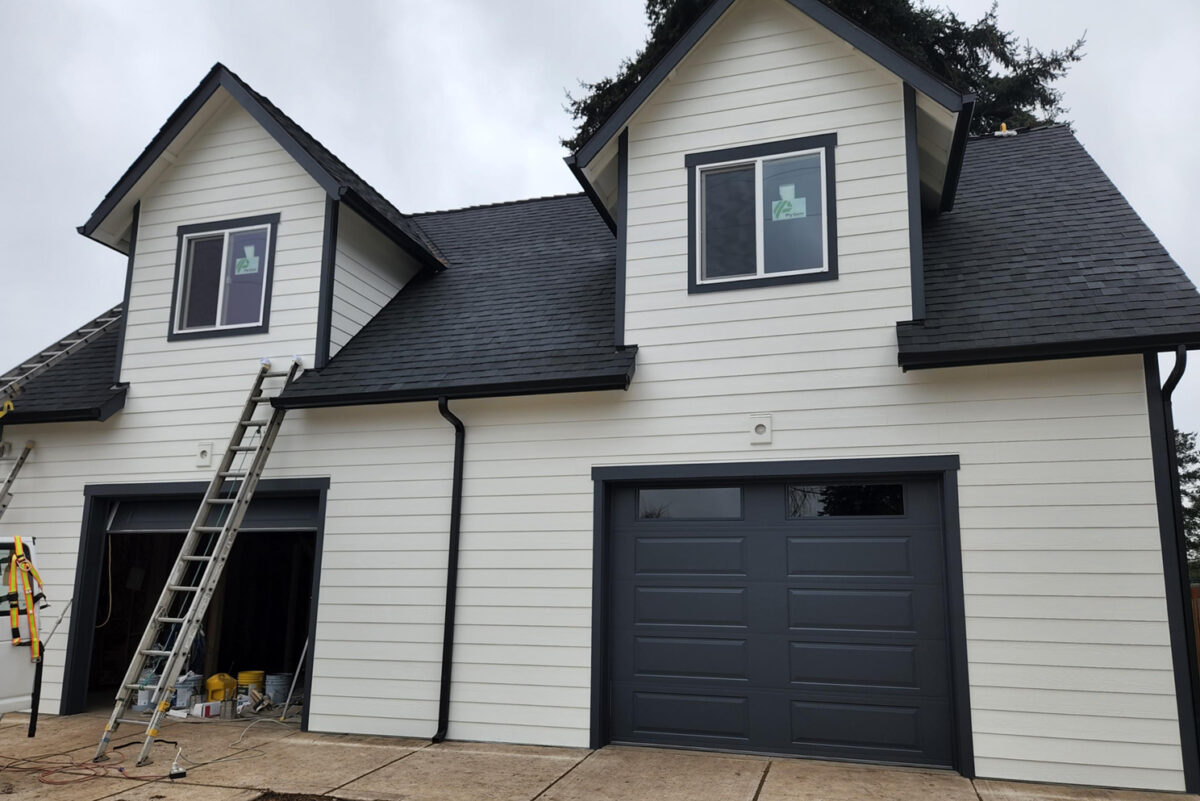
A dormer is a vertical window that projects from a sloping roof. There is much more to painting dormers than one might think. First there is the matter of access. With conventional lift baskets, the roof interferes before the work surfaces can be reached and reaching is the big challenge because the walls of the dormer get tucked back up under the eaves as both planes meet.
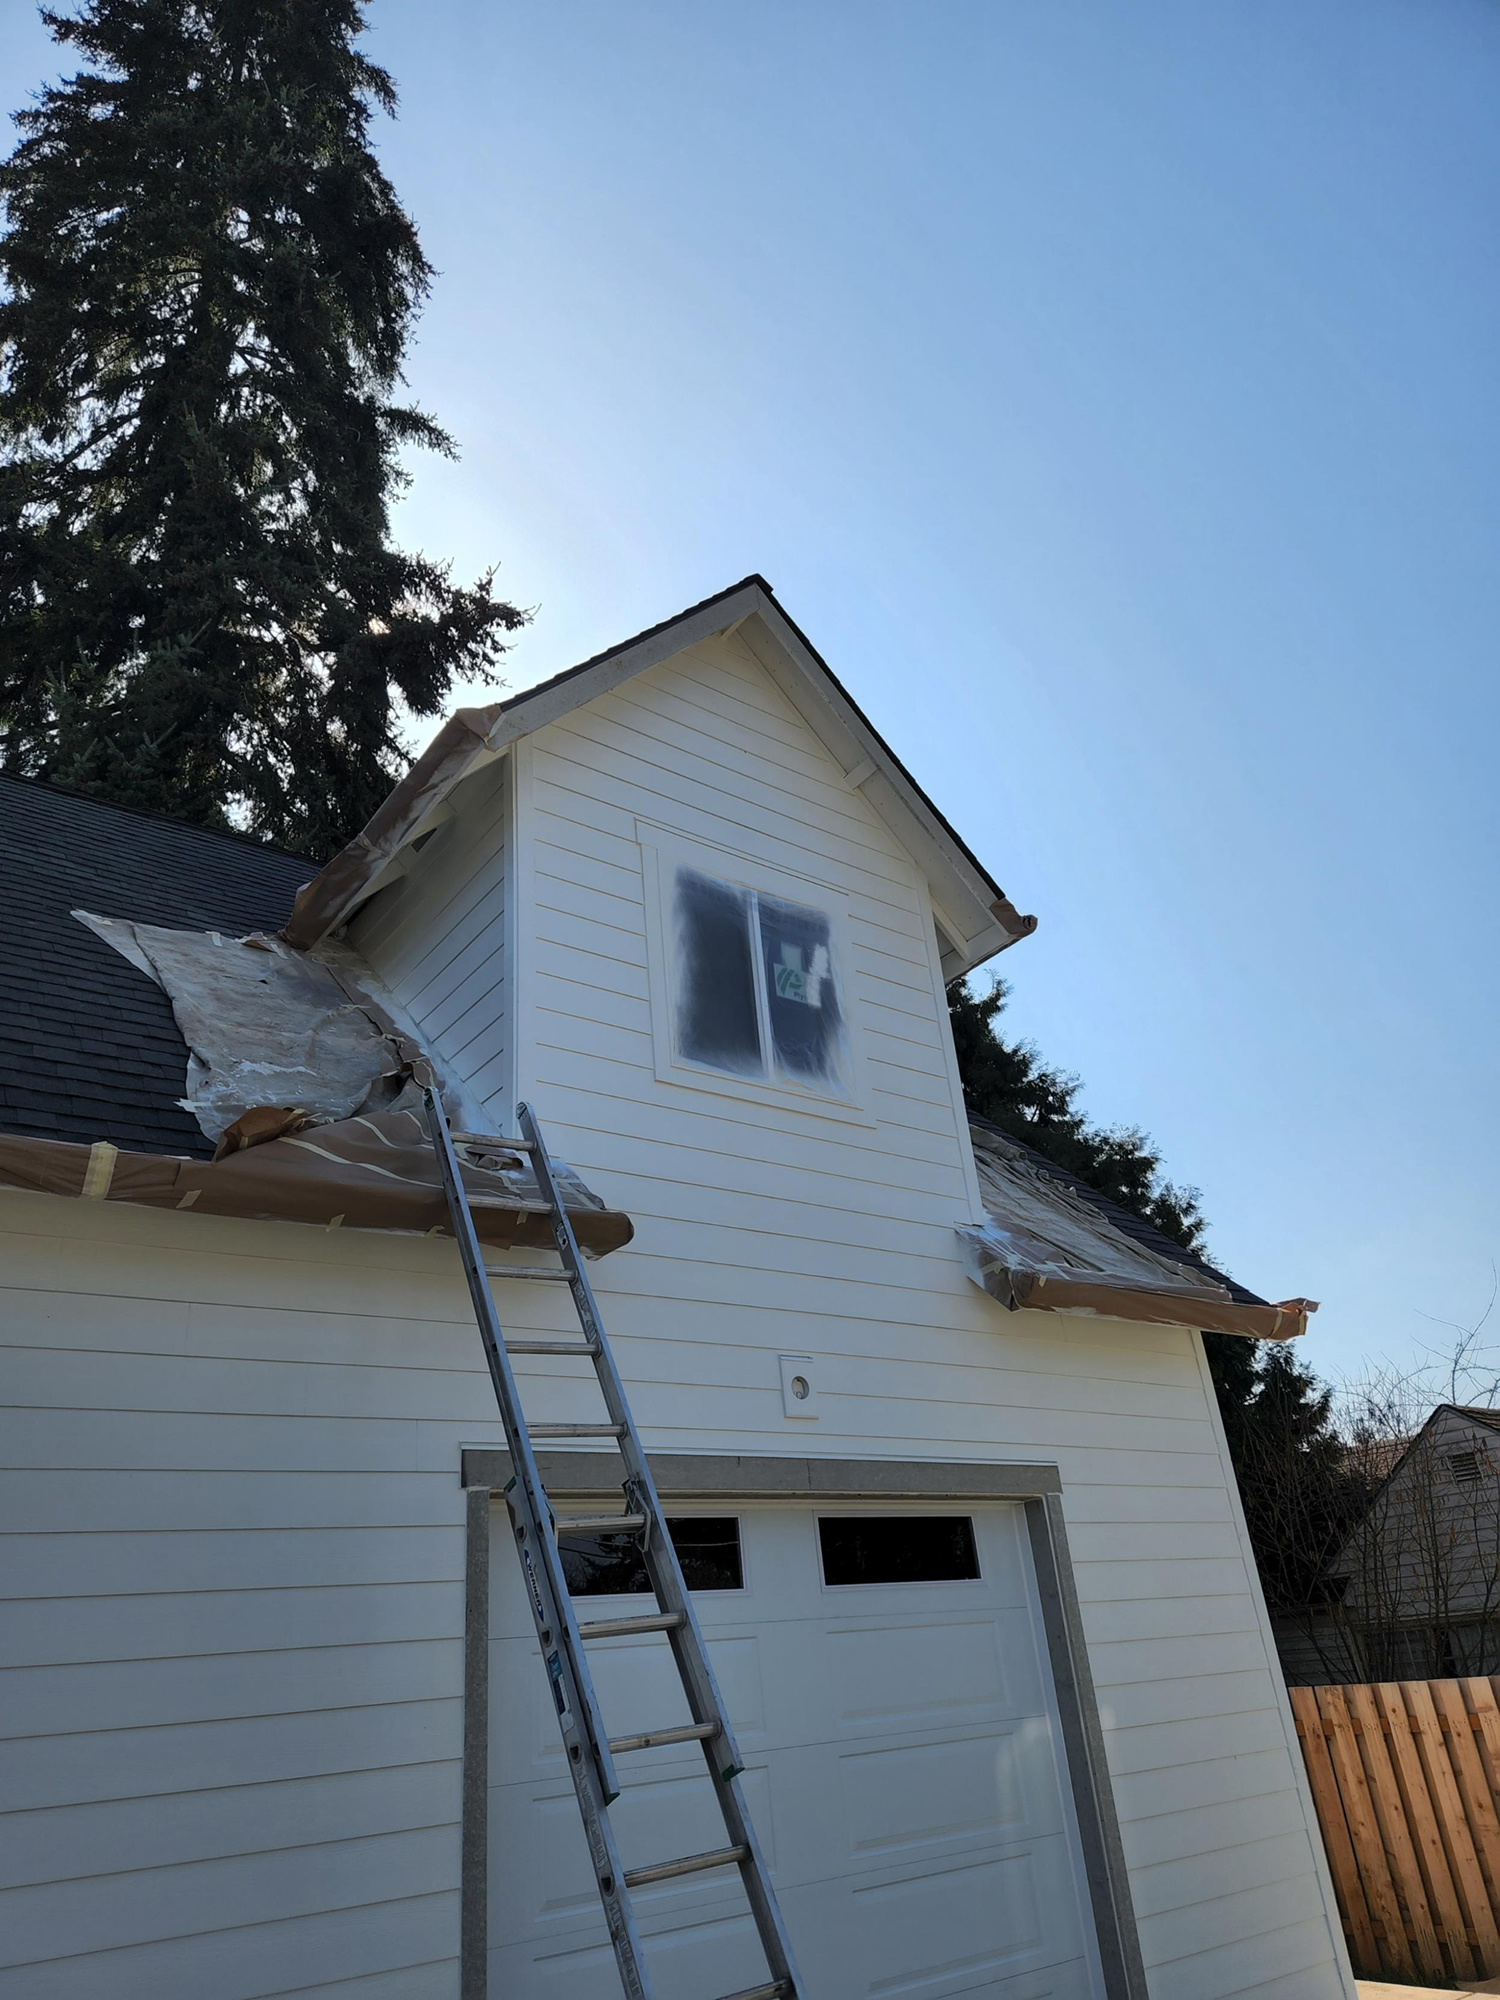
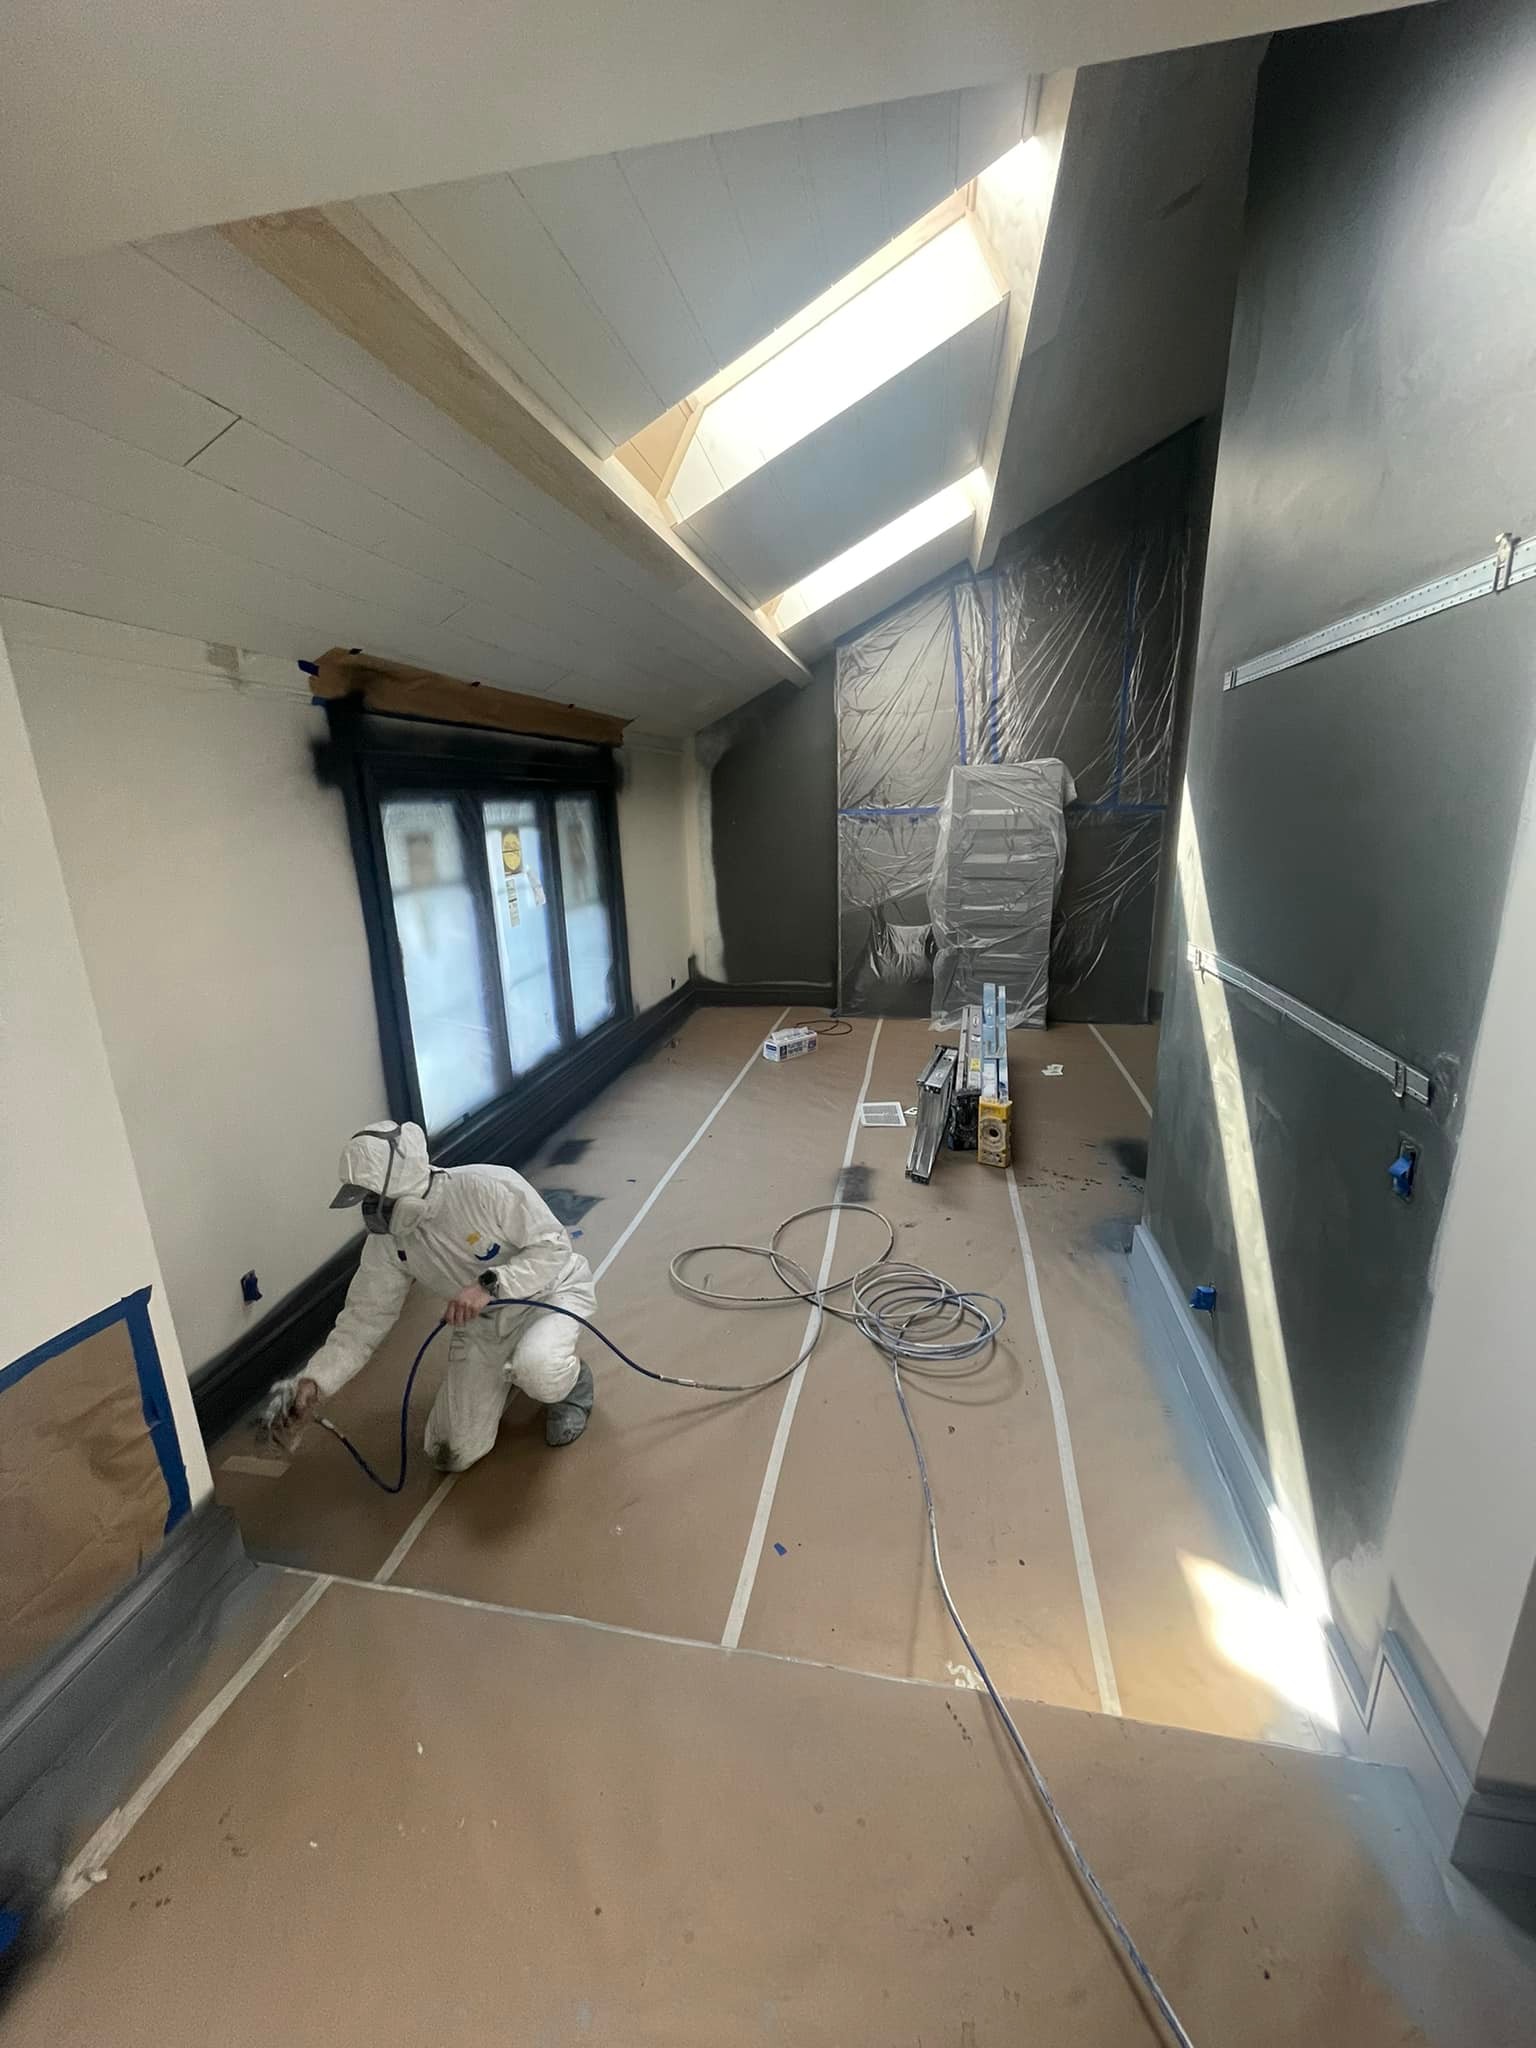
Then there is the matter of masking (protecting all of the areas that don’t get painted). Protecting the dormer roof, the main roof, the facia and gutters of both areas and the window is no small task. Add all the necessary surface prep and caulking and you have a challenge fit for an experienced crew like ours!
Of course most people just noticed that it looks really nice. We take pride in doing challenging jobs like right the first time so your can take pride in your home. Call us for a free quote on your new construction or repaint project. Mike 541-497-3804.