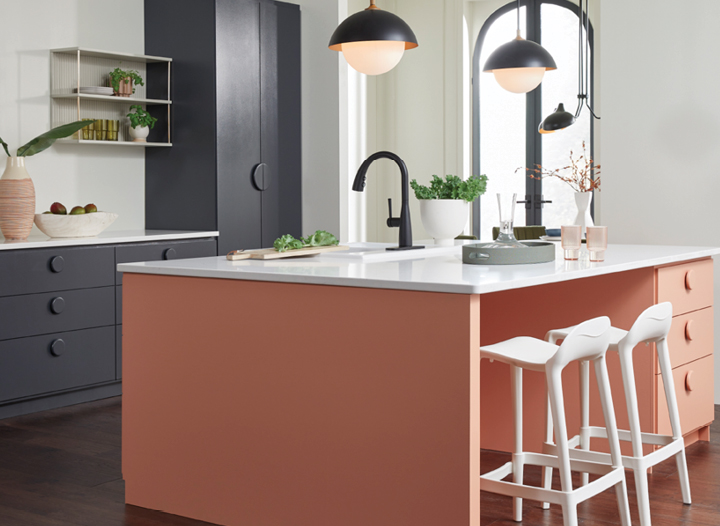
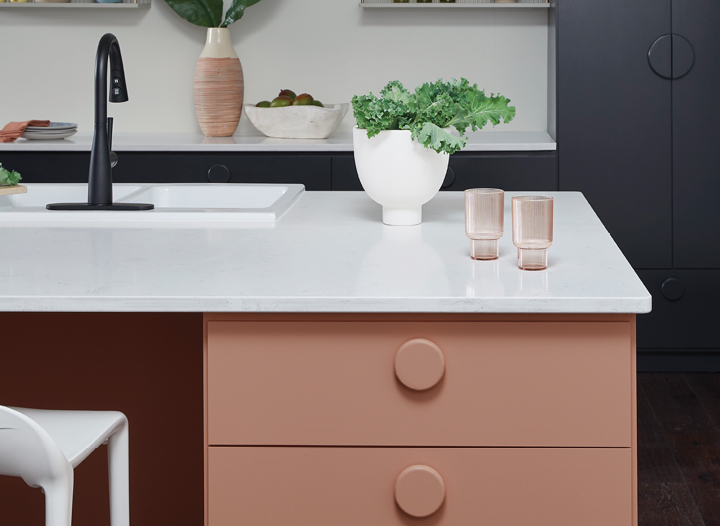
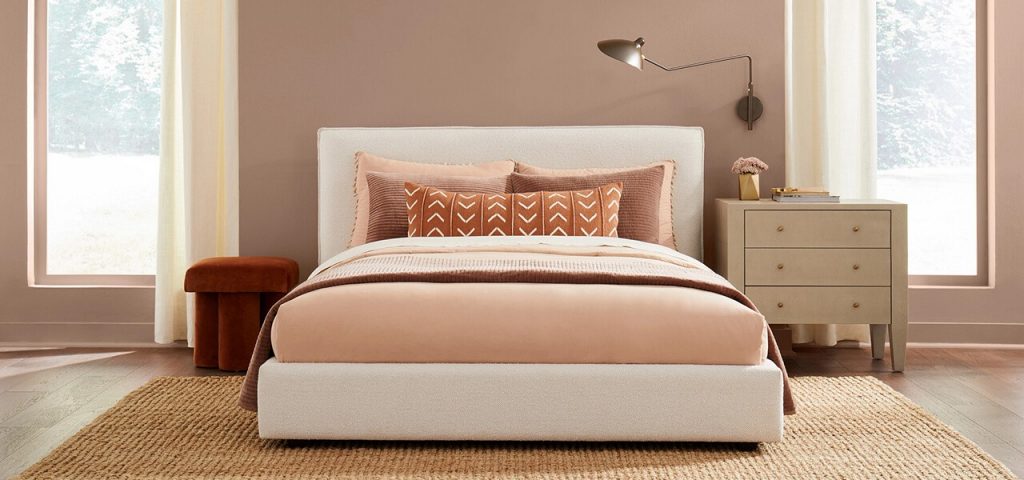
Sheen

When you are choosing your paint color be prepared to the answer the question of sheen, which is how shiny of dull you want your finished product. High-sheen (glossy) surfaces are typically easier to keep clean. These paint formulations traditionally produce the toughest and most stain-resistant finishes – that’s why high-gloss finishes are common in bathrooms, high-traffic areas and kids’ rooms. On the down side, glossy surfaces draw attention to even the smallest flaws in the texture of the wall. If the intention is to hide or downplay a space, high-sheen paint should be avoided.

Most brands of paint come in several sheens, and both latex and oil-based paints are available in different sheen levels. Gloss sheens have the highest light-reflective characteristics. Next are semigloss sheens; then satin, eggshell, or low-lustre sheens; and then flat or matte sheens.

Painting Kitchen Cabinets

Upgrading your kitchen with some vibrant color changes is a trend these days. A change in color scheme can make a big difference. Check out some cabinet project information at Sherwin-Williams.

Call the Paint Doctor for professional help because this project comes with a WARNING: Removal of old paint by sanding, scraping or other means may generate dust or fumes that contain lead. Exposure to lead dust or fumes may cause brain damage or other adverse health effects, especially in children or pregnant women. Controlling exposure to lead or other hazardous substances requires the use of proper protective equipment, such as a properly fitted respirator (NIOSH approved) and proper containment and cleanup. For more information, call the National Lead Information Center at 1-800-424-LEAD (in US) or contact your local health authority.

After removing the hardware, we recommend that the cabinets be thoroughly cleaned with a good cleaner degreaser to remove all grease and oils that normally buildup on kitchen cabinetry over time. Once cleaned, we recommend applying a test sample of Extreme Bond Primer in an inconspicuous area.

Let the primer dry at least 24 hours and sand again using a “very fine” grit sandpaper. Gently smooth out the primer coat, then wipe the primed cabinets with a damp cloth to remove any debris before applying your first coat of paint.

Using a 1″ or a 1½” angled brush, first apply paint to the recessed or detailed areas of the cabinet door. Avoid getting brush marks on the flatter and smoother areas. Next, immediately paint the remaining flat areas of the door using a mini roller. Gently roll over any overlapping brush marks or paint drips to smooth the surface.

Let your first coat dry for about 24-48 hours, then apply a second coat in the same manner. Again, wait 24-48 hours and once the second coat is dry, you can reinstall your existing hardware, or add new hardware to complete the makeover.

Seal Team

We’ve talked about primers here and the important role they have in coverage and adhesion. There are times when you need to add an additional characteristic to the primer: stain sealer. Some stains and naturally occurring components in wood products like to make their way through standard paints. That’s what an oil based sealing and stain blocking primer is all about. The Paint Dr knows when it’s needed and the best product to use for your application.

The Right White

You’ve got some painting to do and you may be thinking, “I’ll just paint it white.” Not so fast, there Skippy. White is almost never pure white. There are undertones with as many tints, tones and saturations as you can imagine. So even when you are choosing white, you need to choose the right white.

To get a good idea of the range, you can visit Sherwin-Williams Digital Color Wall. You can enter “white” in the search or just check out the white end of the spectrum you see on your screen.

It’s also a good idea to get a bunch of color chips. You can get up to 10 2″ x 3″ ColorSnap color chips delivered free from Sherwin-Williams. With the color chips, you can see them in your home with other décor objects and in your home lighting.

White is a good choice. Which white is not so easy. Ask the Paint Doctor which whites they use the most.

Caulk it Like You Mean It

As we often say at Paint Doctor’s Painting, painting is prep, which means you can’t get a quality paint job without all of the necessary preparation done well. One of the critical steps in paint preparation is caulking.

The importance of properly applied caulk cannot be overstated. It seals, smooths, protects and greatly increases the lifespan of both the paint job and the building. Good caulking covers minor imperfections and provides a beautiful transition between trim and wall, between baluster and rail, between adjacent corners. Caulking also provides a very useful adhesive that gives strength to the fasteners and glues that keep construction components in place.

Our professional painters know what caulking product, when to use it and how to apply it for the best protection and presentation of your project. It’s a very real skill set. If you’ve every seen someone try to caulk that doesn’t possess the skills or if you’ve seen the results of an unskilled caulker, you know what this looks like and it’s not pretty.

Proper caulk, you know that’s a real thing, right? Call the pros at Paint Doctor’s Painting.

Painter or Chemist? Yes!

When top professional painters talk chemistry they are in their element. To get the desired results (bonding, coverage, leveling, sheen, UV, protection, etc.) we need to know the surface type, environment during application and the ongoing environment of the finished product.

For example, you may want a painted look on your kitchen cabinets and choose a color. We know the look you want, but it’s unlikely we’ll use paint to achieve it. We may choose to use a polyurethane product beginning with Sayerlack Polyurethane Basecoat Thixo, which is a two-component solvent based polyurethane primer with excellent characteristics for kitchen cabinetry:

High speed of drying, allowing early recoating with topcoat
Excellent manual sandability
High thixotropy and hence reduced dripping at the bottom edge of picture frames or into convex parts
Improved building/hiding power on sharp edges
Uniform absorption between grainy and compact parts of wood

This all adds up to a great finished surface with excellent and consistent coverage, water resistance and durability. To the casual observer it’s just the color they wanted, but to us it meets the high standards that upholds our reputation as the best painting contractor in our area.

The Paint Doctor knows surface coverage chemistry to make sure your project has all the right stuff!

Power Wash Exposes Hidden Treasure

Re-exposing your exposed aggregate can bring new life to your home’s exterior.

Many Willamette Valley home owners are unware of the hidden treasures in their sidewalks, patios and driveways because of a build up of dirt and moss.

Exposed aggregate concrete is an added feature to the look and feel of your home. The process starts with making a special aggregate mix using round river rock in the concrete. During the finishing process, surface fines are washed off the fresh concrete to expose multicolored rocks on the surface.

Here in the Willamette Valley, airborne dust builds up over time on the concrete surface which makes prime growing substrate for moss. Our wet weather does the rest. Eventually the dirt and moss cover the concrete and aggregate is no longer exposed. The remedy? Paint Doctor’s Painting provides power washing solutions for you concrete surfaces. Re-exposing your exposed aggregate can bring new life to your home’s exterior.

Door Details

Painting an entry door is usually a project in itself. Often the color and sheen are unique and can really create a statement for the exterior of the home.

Entry doors are often made of materials you don’t find anywhere else on the house exterior – perhaps fiberglass or steel. These surfaces require a thorough knowledge of primers for coverage, adhesion and longevity. Often the finish coat application is similar to automotive painting and requires a deft touch with the sprayer.

Windows in doors (called lights) can vary in configuration and construction techniques. Some door manufacturers will premask the lights. Some lights require experience with the glazing, which can spill over onto the surface to be painted. Think about the number of masked edges on a 15 light door. That’s 45 pieces of tape per single door side or 180 pieces on a double french doors inside and out. That’s a lot of masking!

Door sealing along all edges is essential, since it is exposed to higher humidity than most interior doors. Sealing the edges can prevent moisture penetration, which can prevent discoloration, delamination and warping.

Got an entry door that needs painting? Call the doctor.

Mister Sandman

A big part of preparation on a lot of paint projects is proper sanding. Sometimes sanding is required to flatten surfaces that have been repaired with fillers. At times sanding is required to remove sheen from existing finishes to improve adhesion. Often projects require a variety of sanding tools to with a variety of paper grits, depending on contours and amount of material to be removed. Knowing how to step up to higher grit counts is a big part of the skill set. When the dust settles, the project is ready for the primer coat and ultimately the finish coats result in a smooth finish.

Having a rough time? We can smooth things over. Call the doctor…