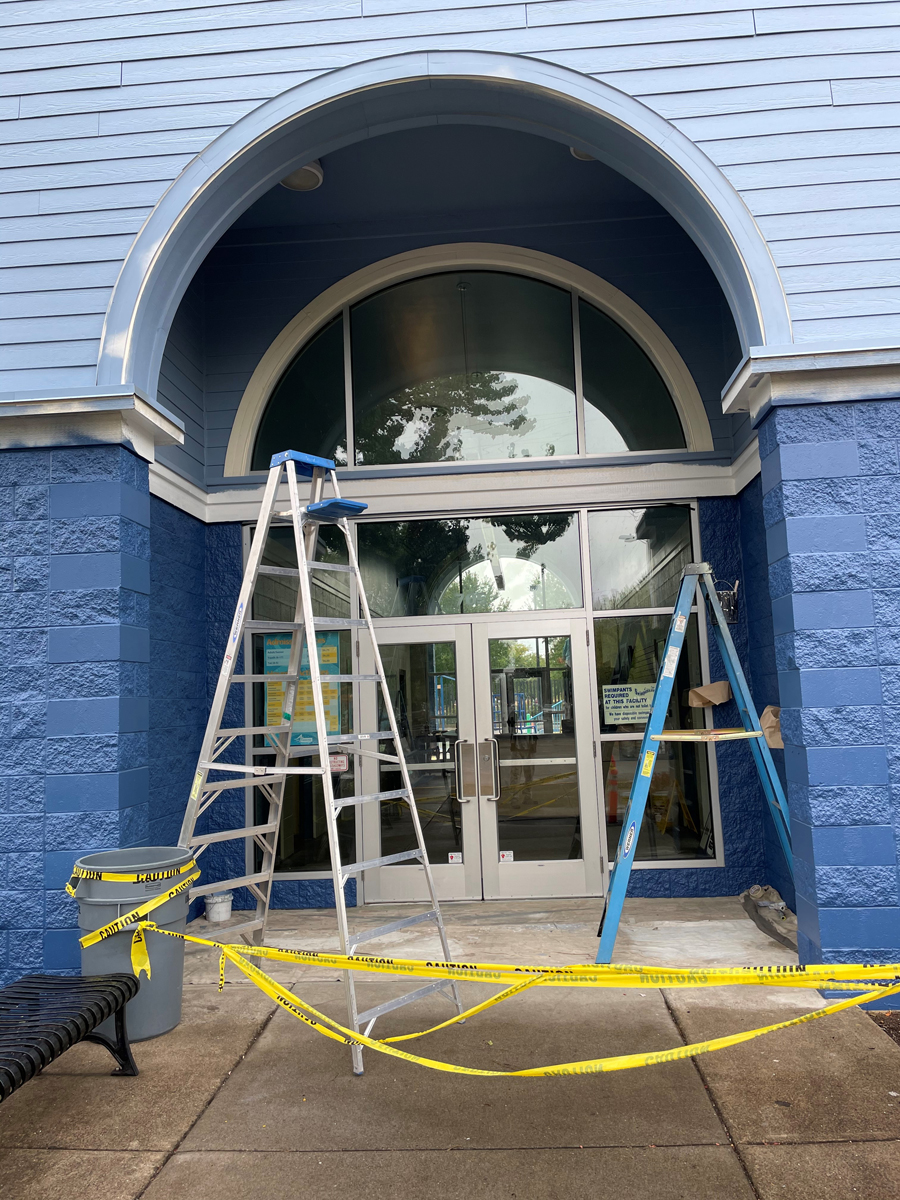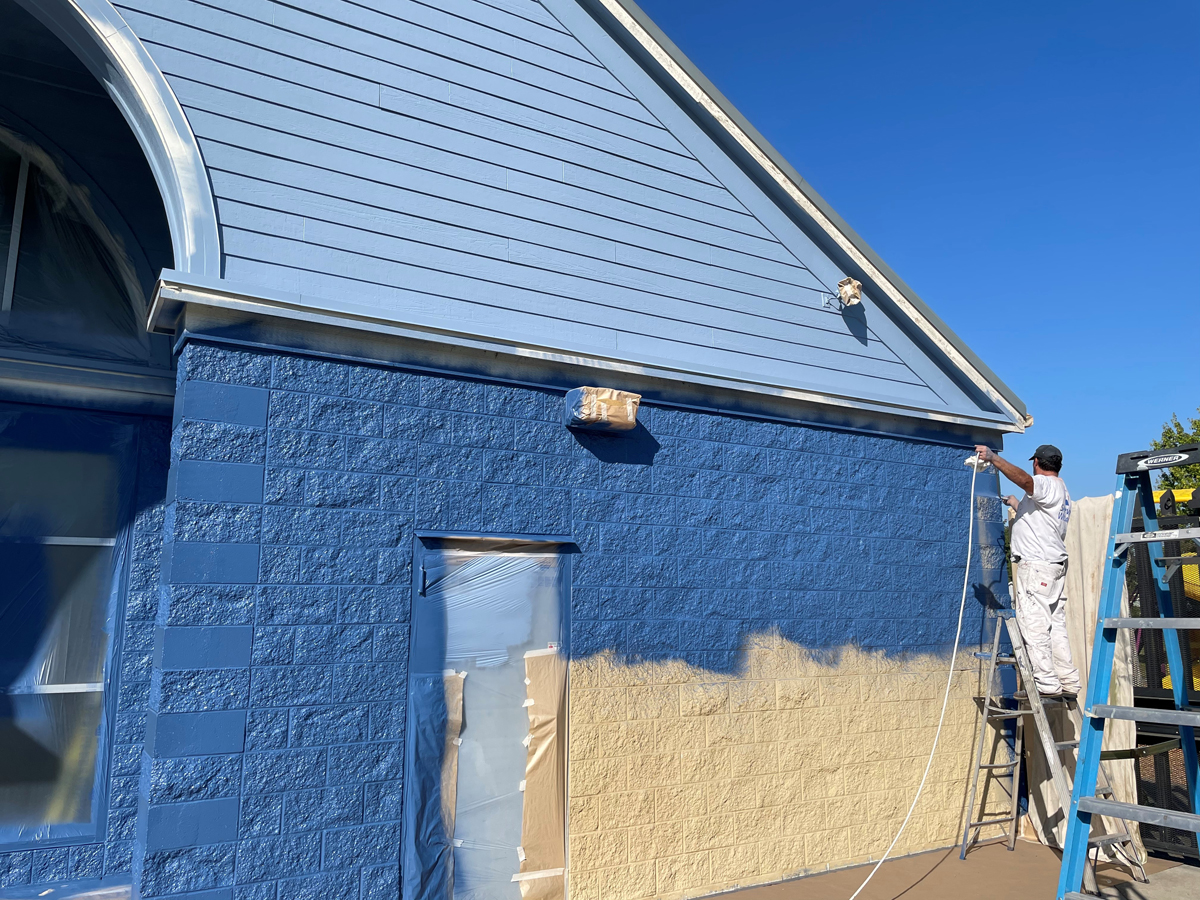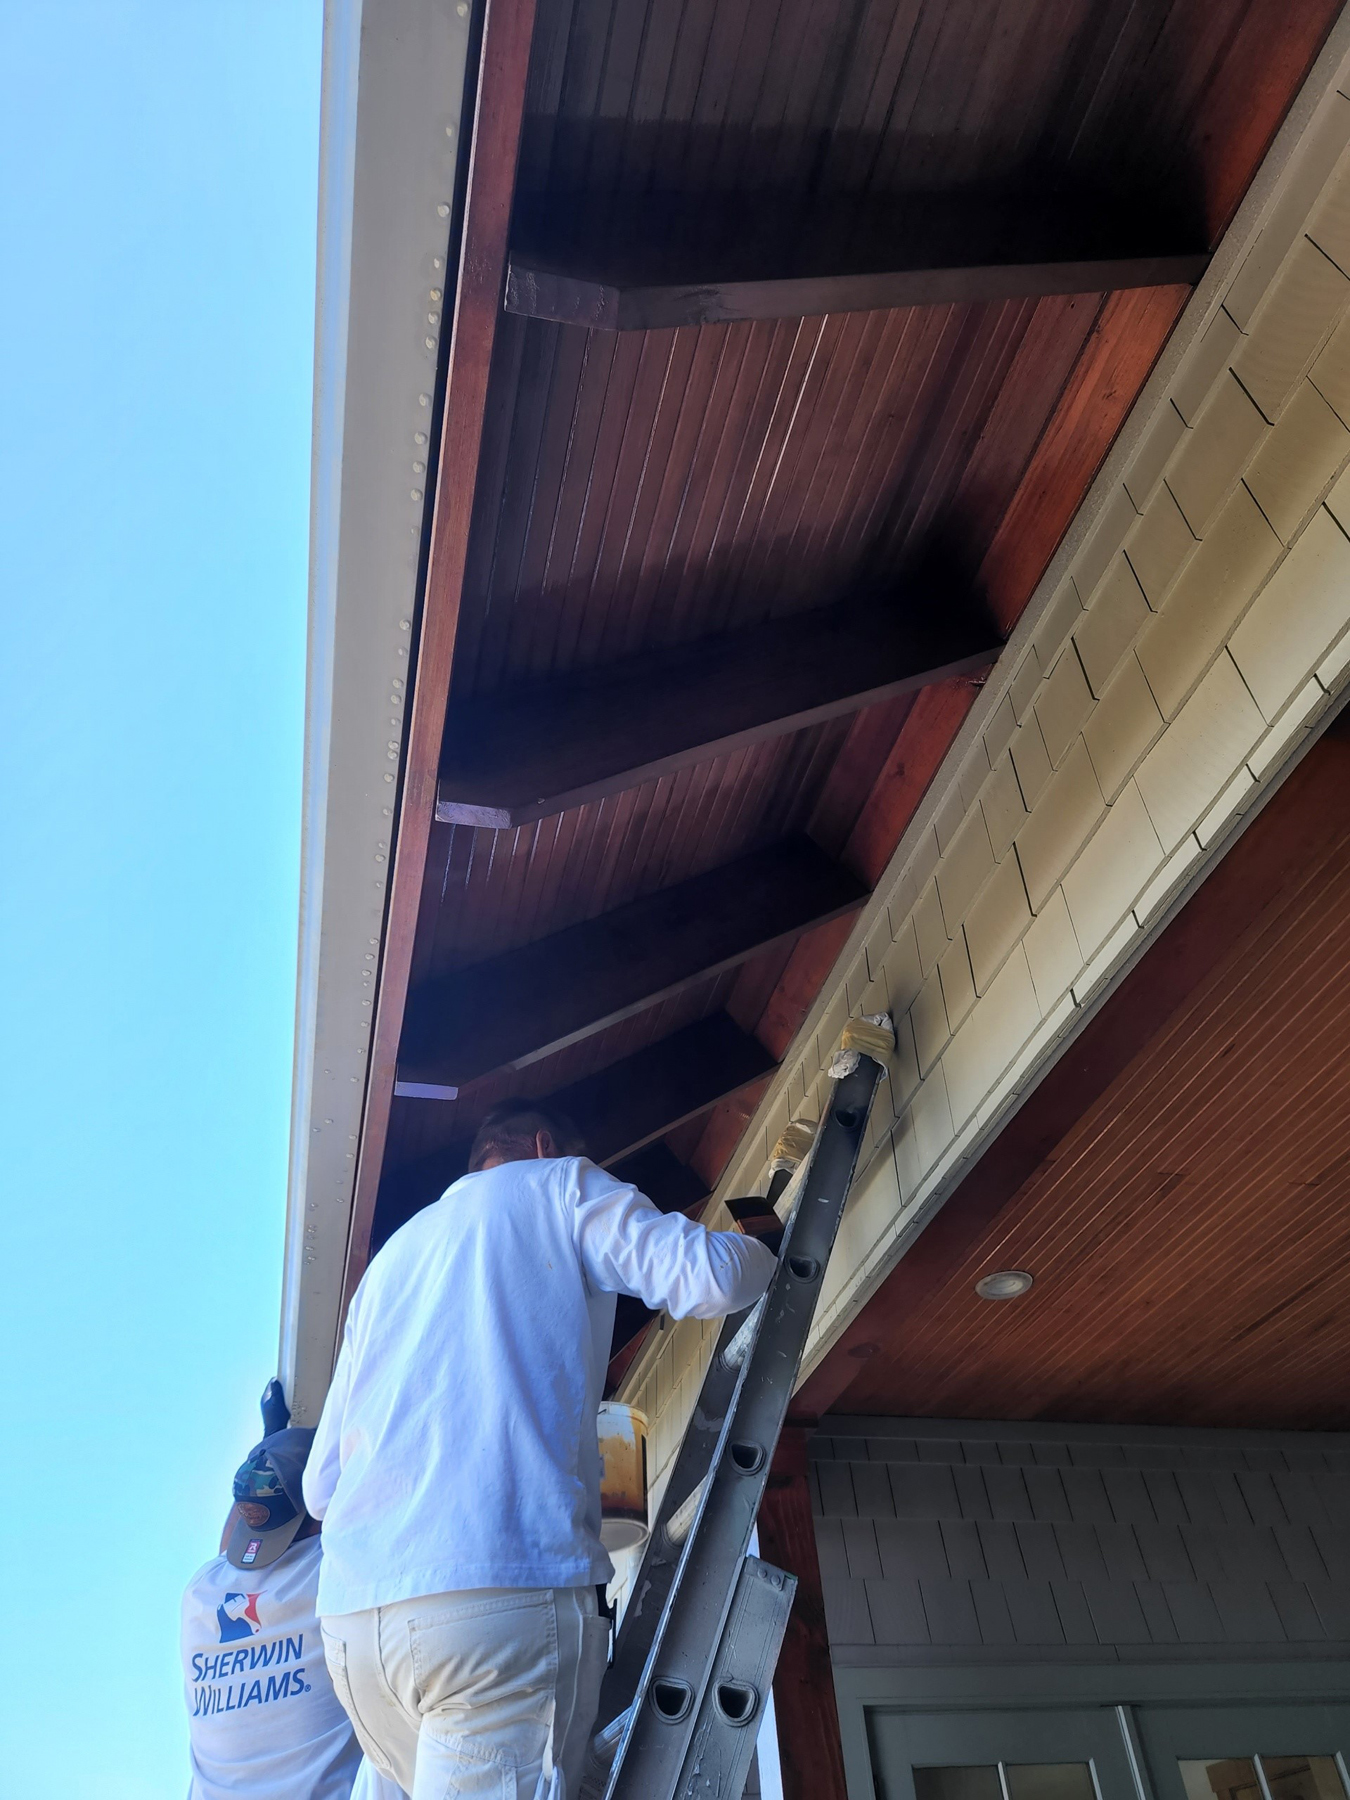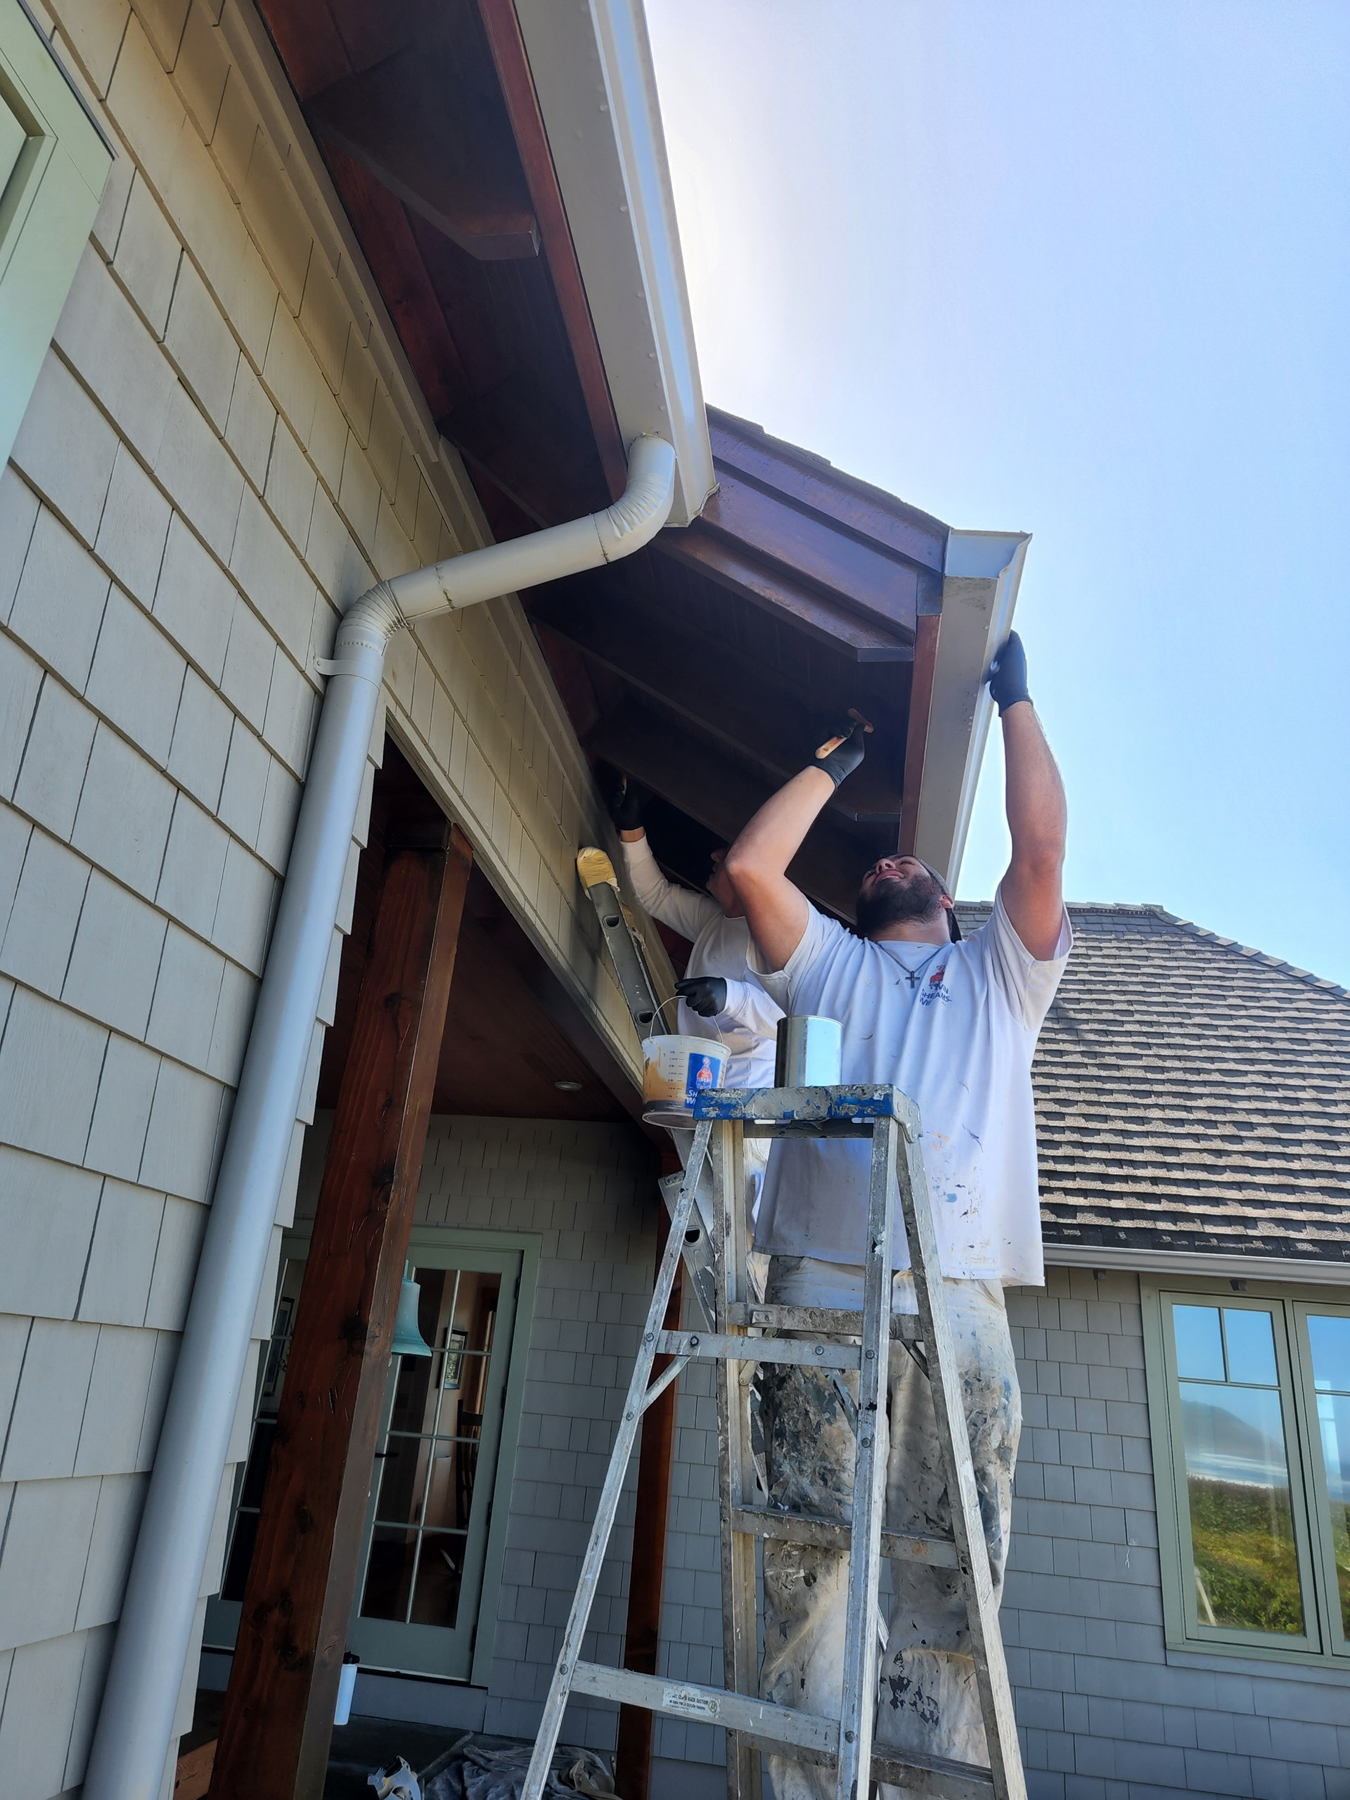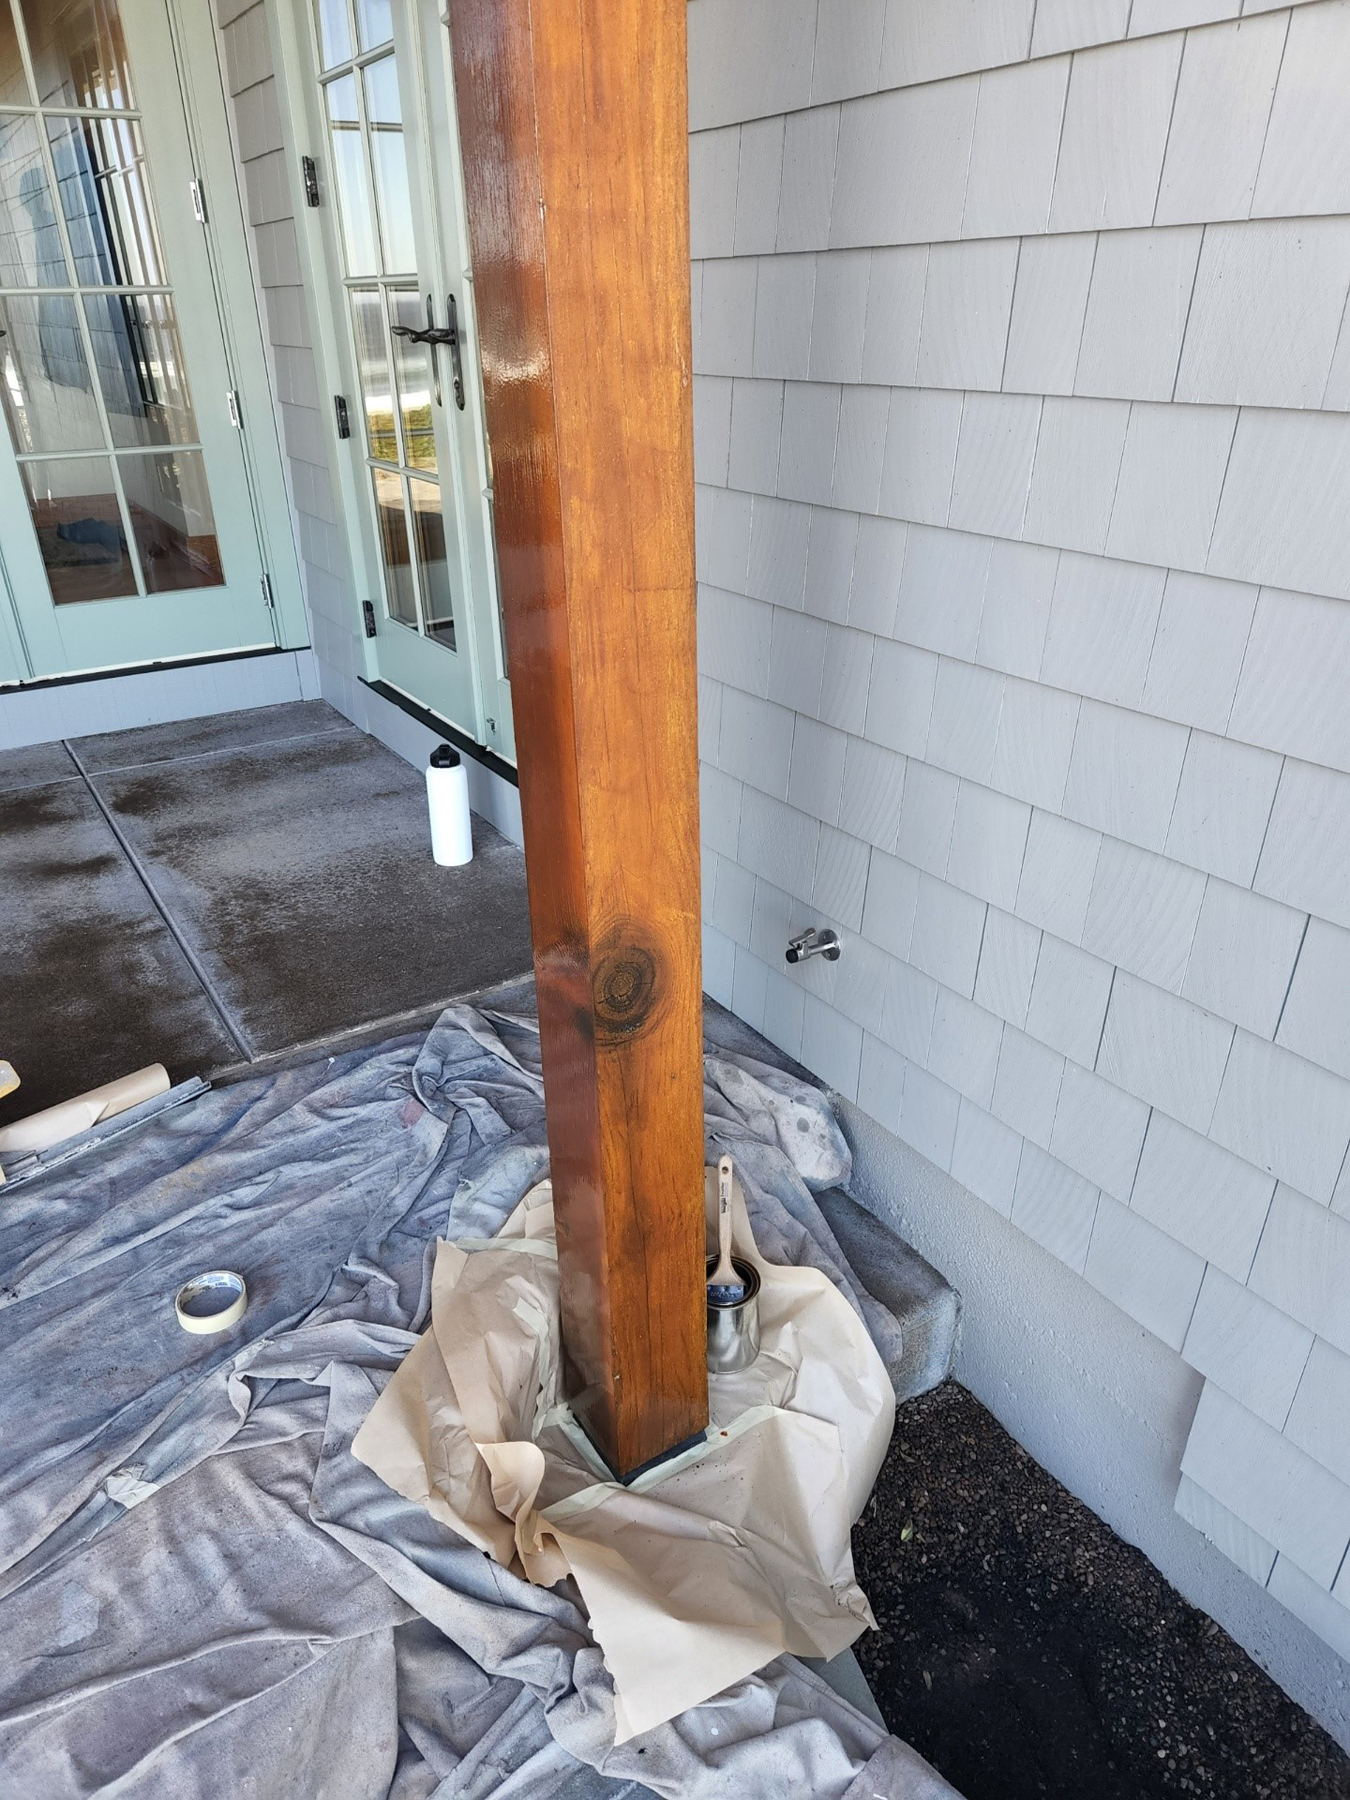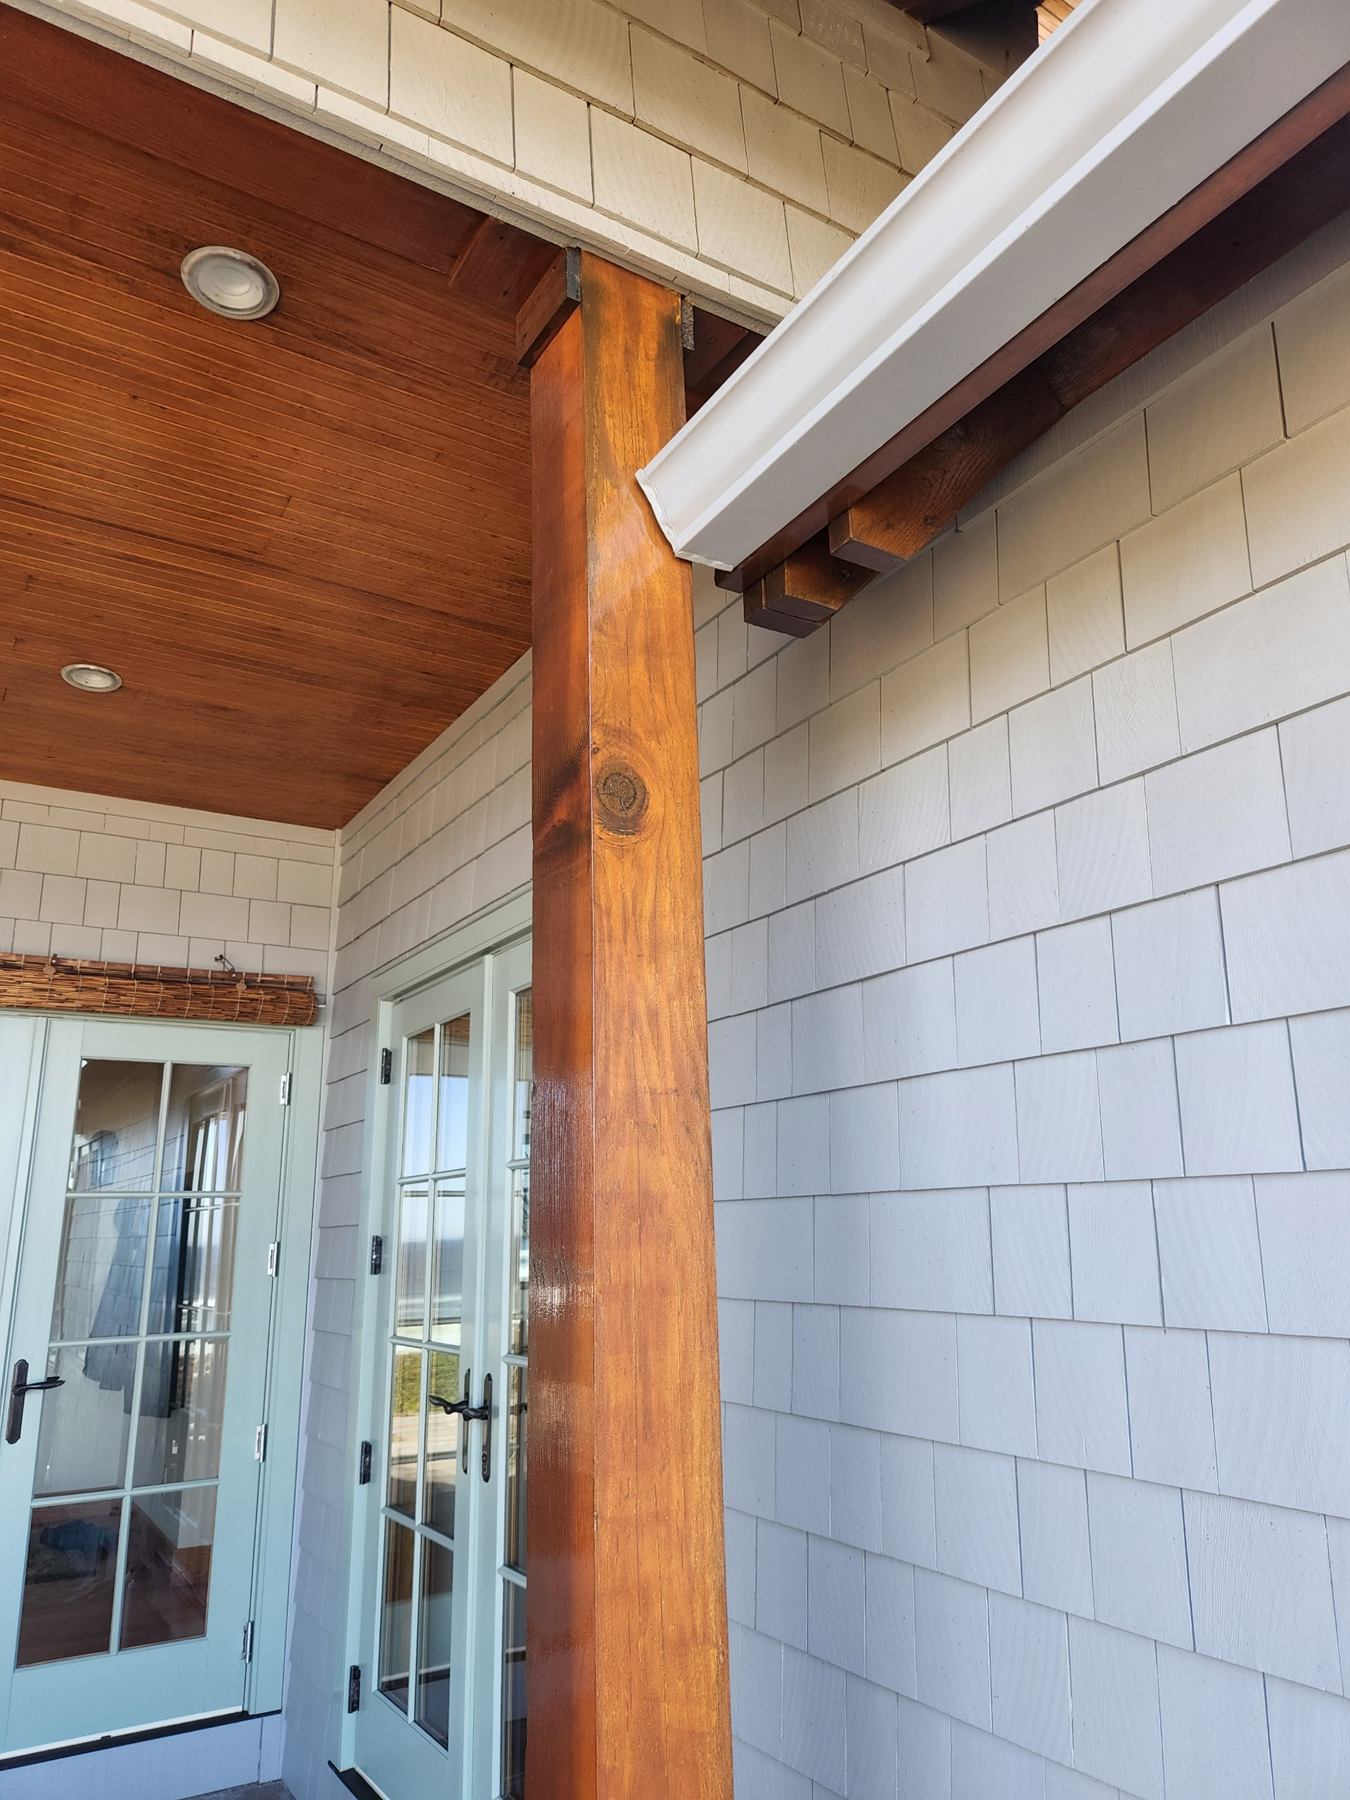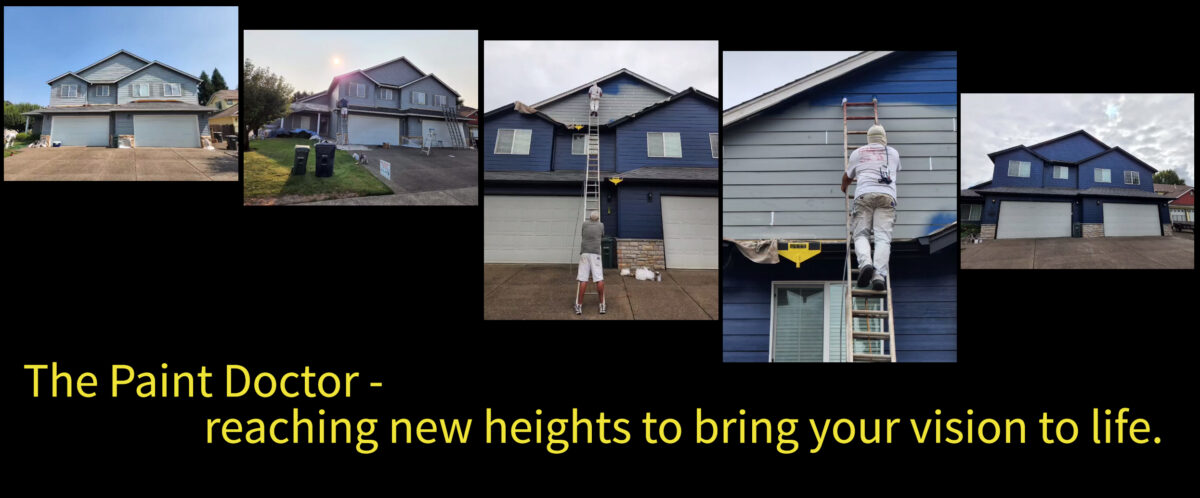
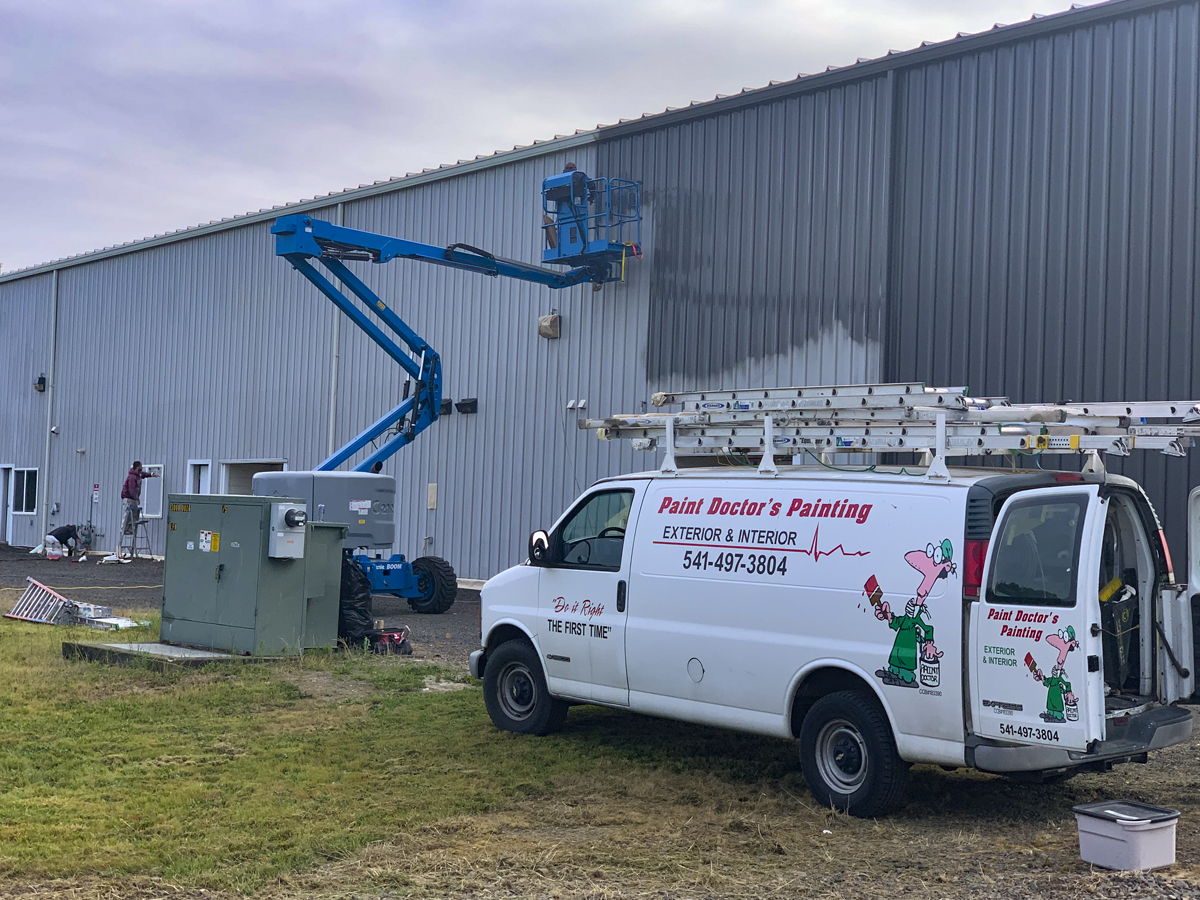
Big jobs are all in a day’s work for Paint Doctor’s Painting. “Do it right the first time” means putting the right crew members on the right equipment to apply the right product for a finish that will last for many years.
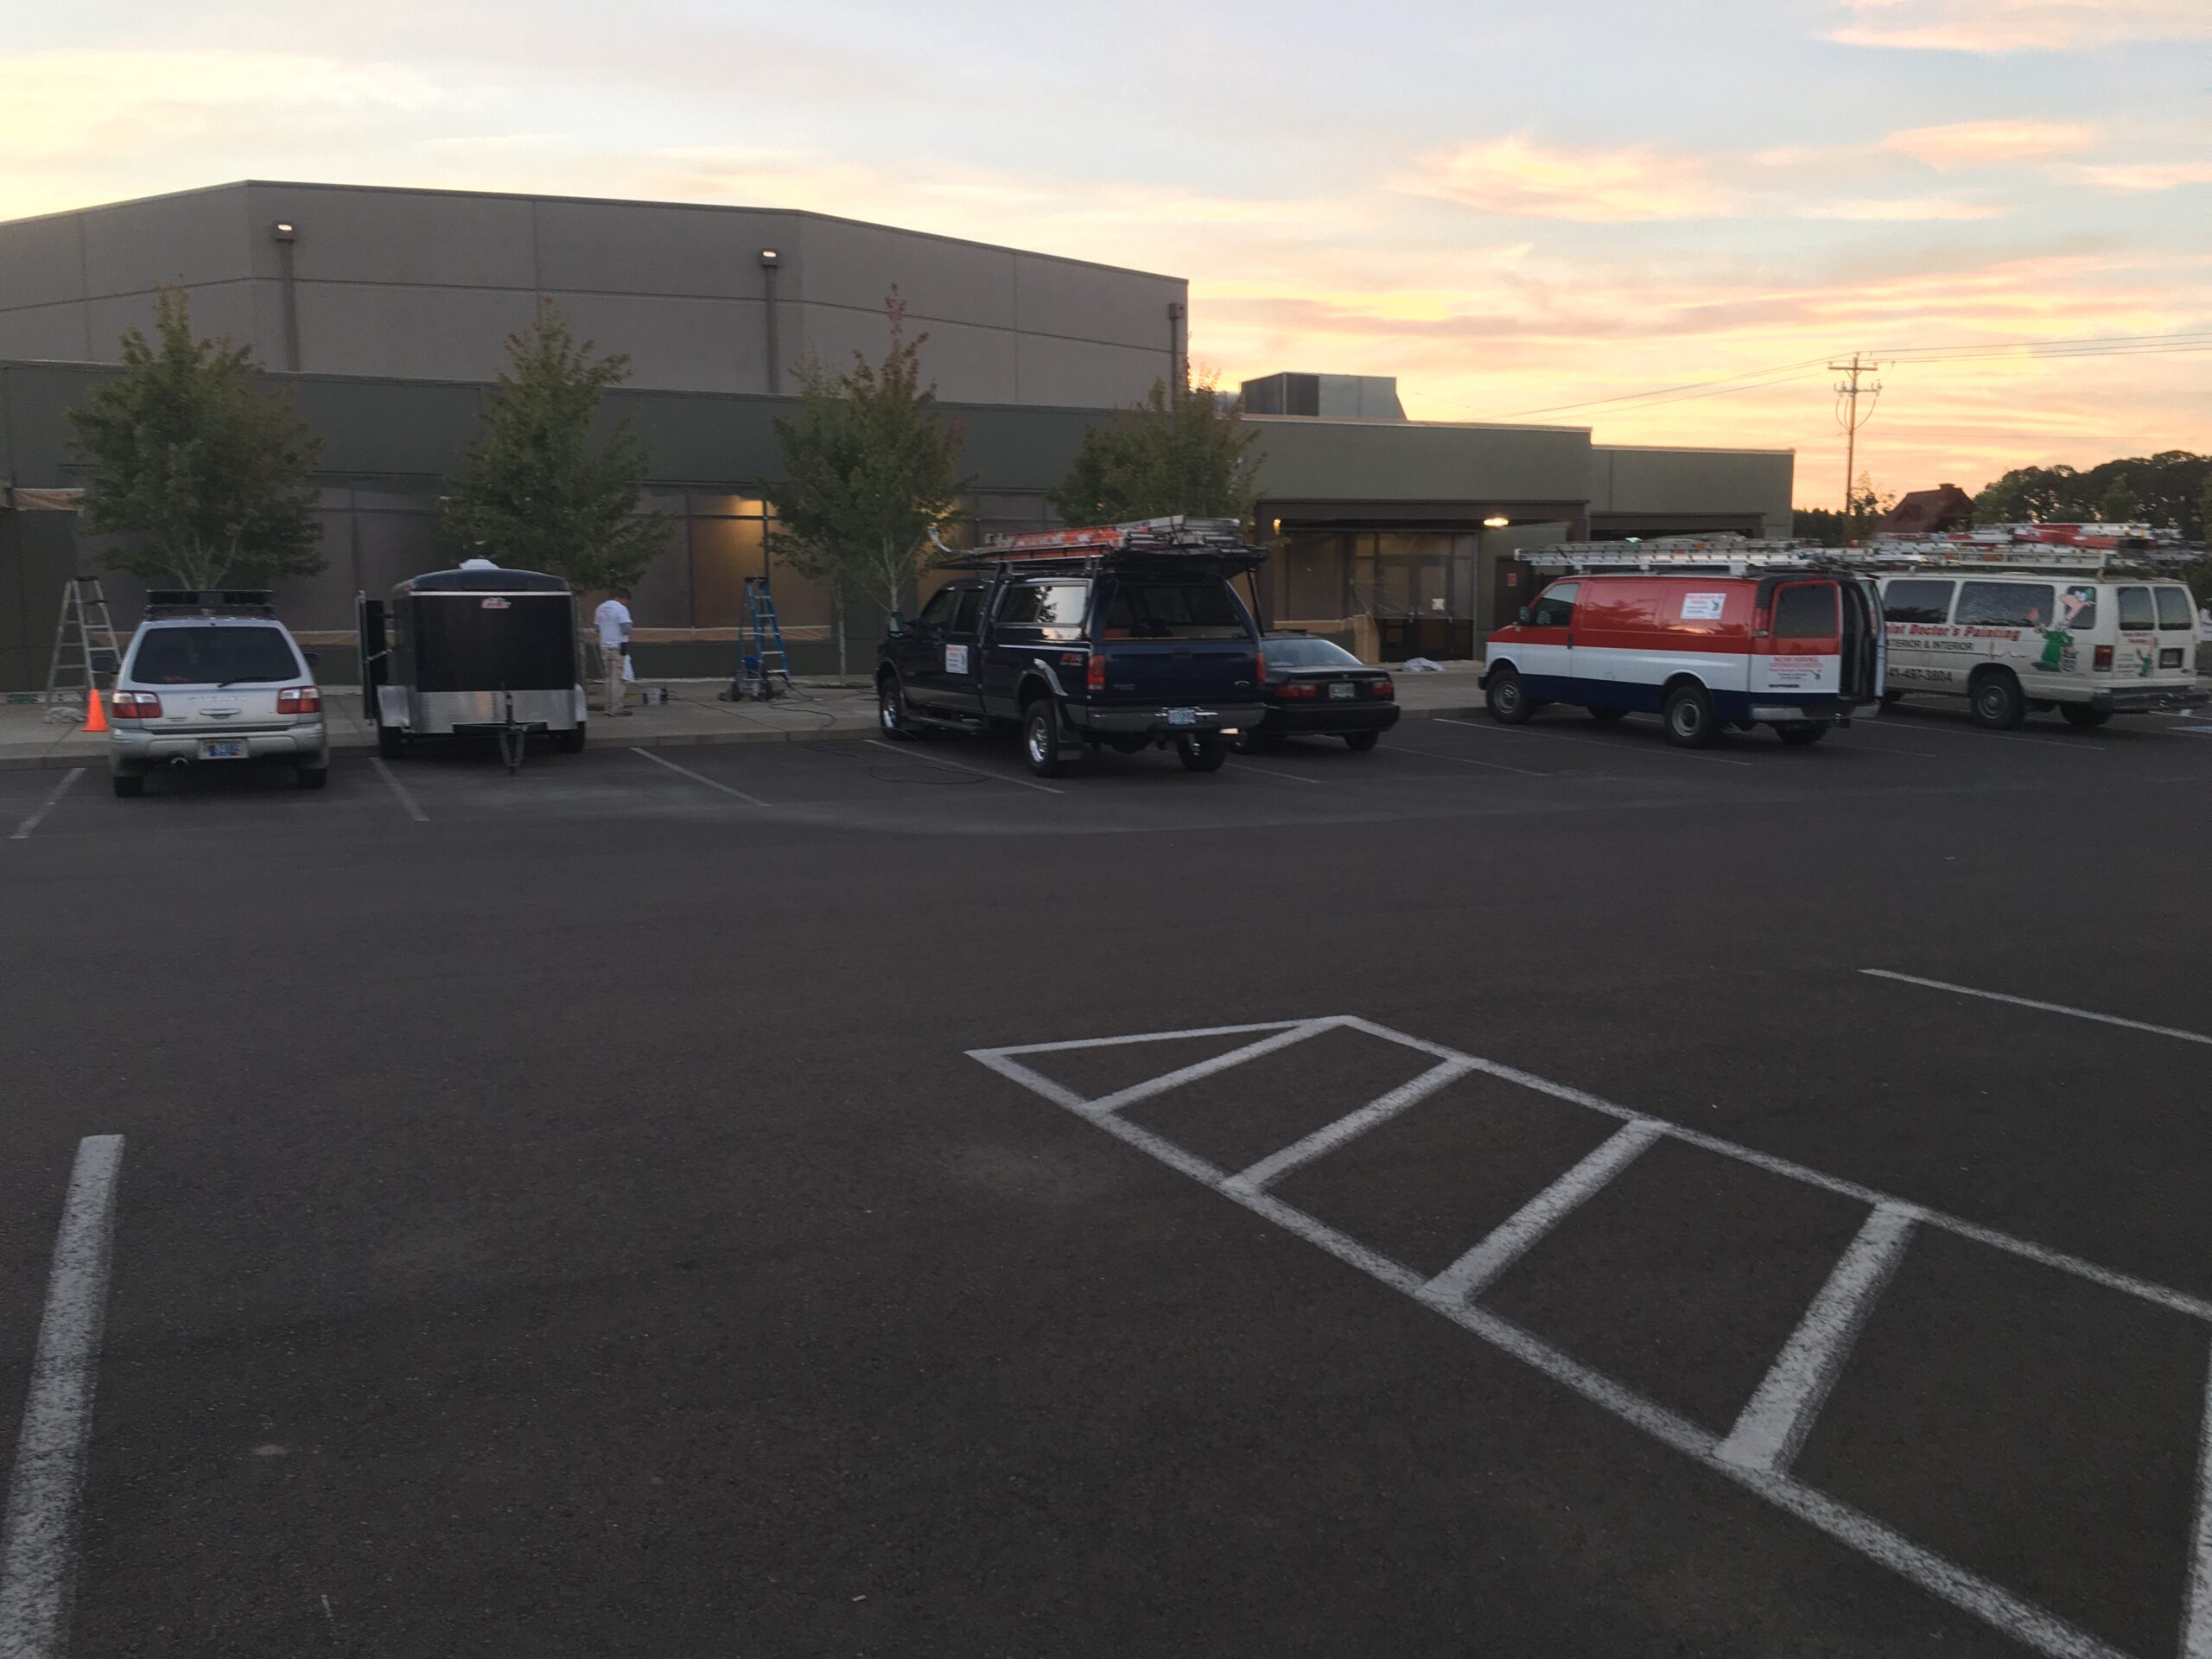
Paint Doctor’s Painting has you covered with plenty of experience completing commercial projects for contractors, property owners and site supervisors in the Willamette Valley.
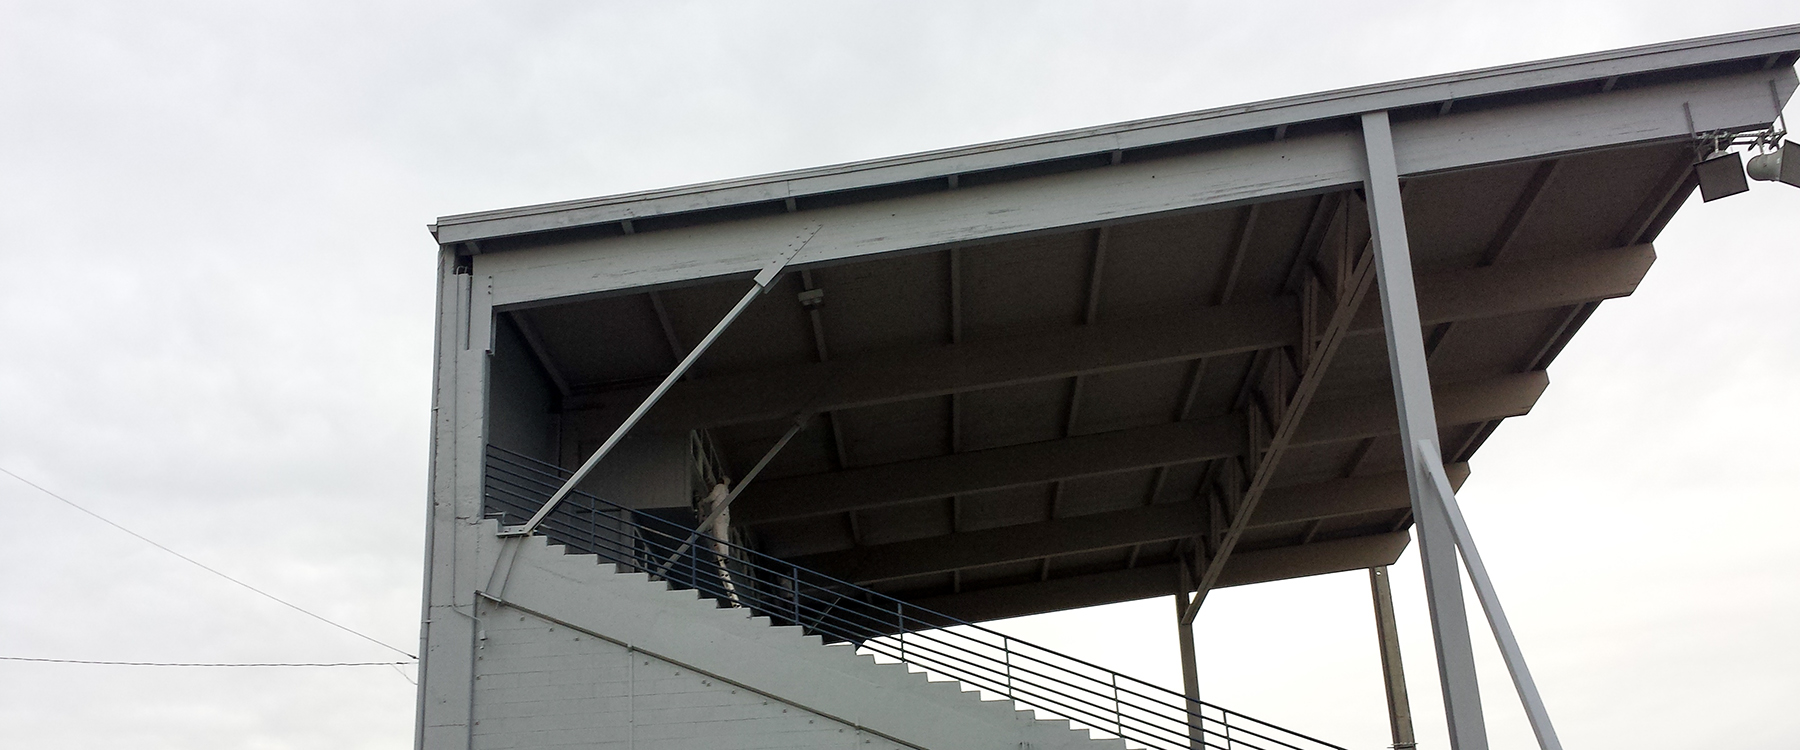
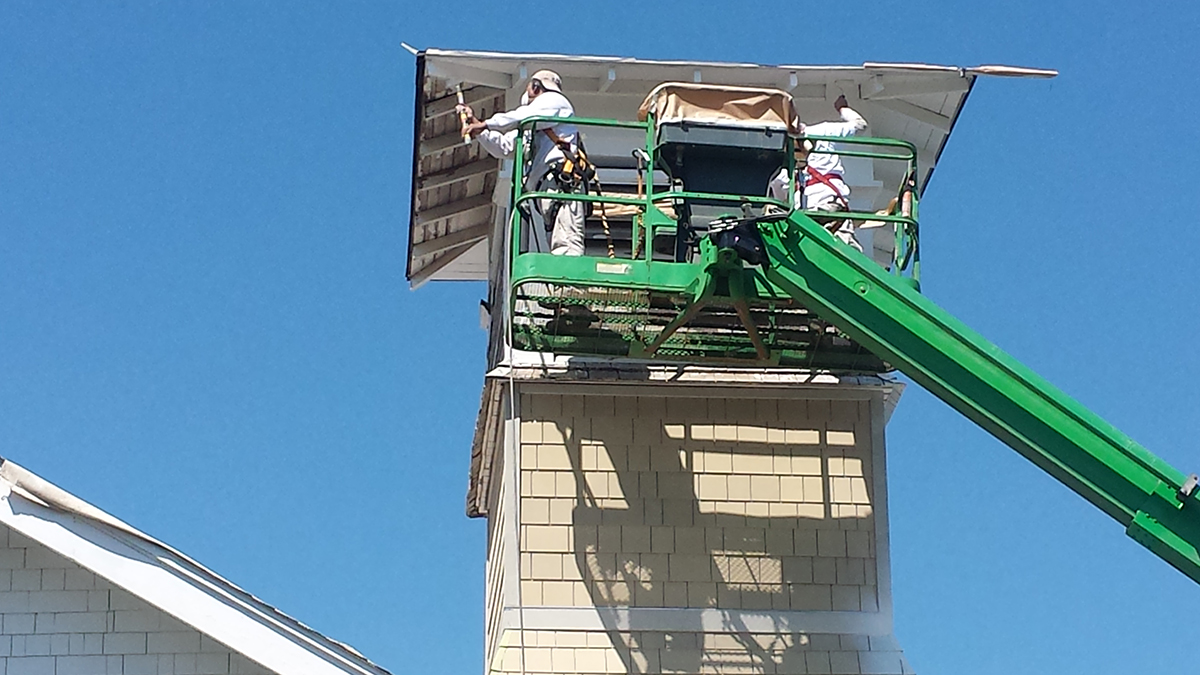
Projects like West Albany High School’s Memorial Stadium take careful planning, specialized equipment and an experienced crew to get the job done right.
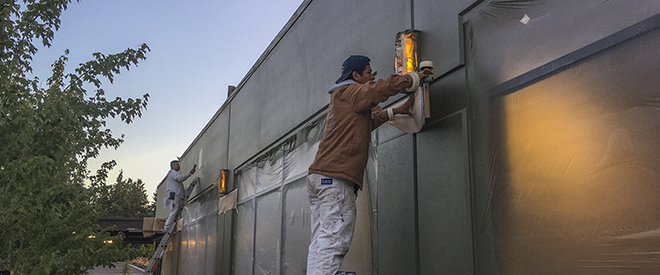
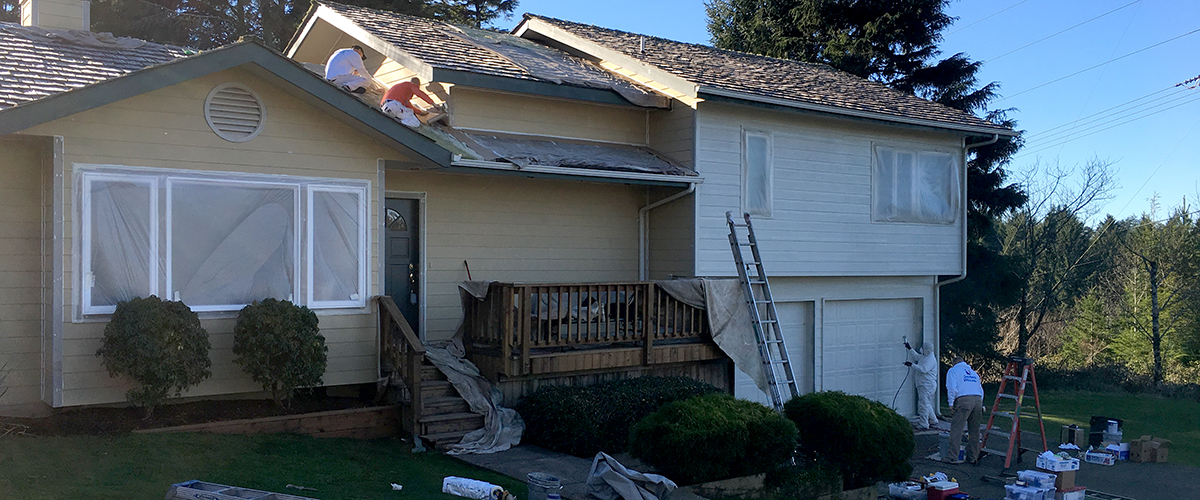
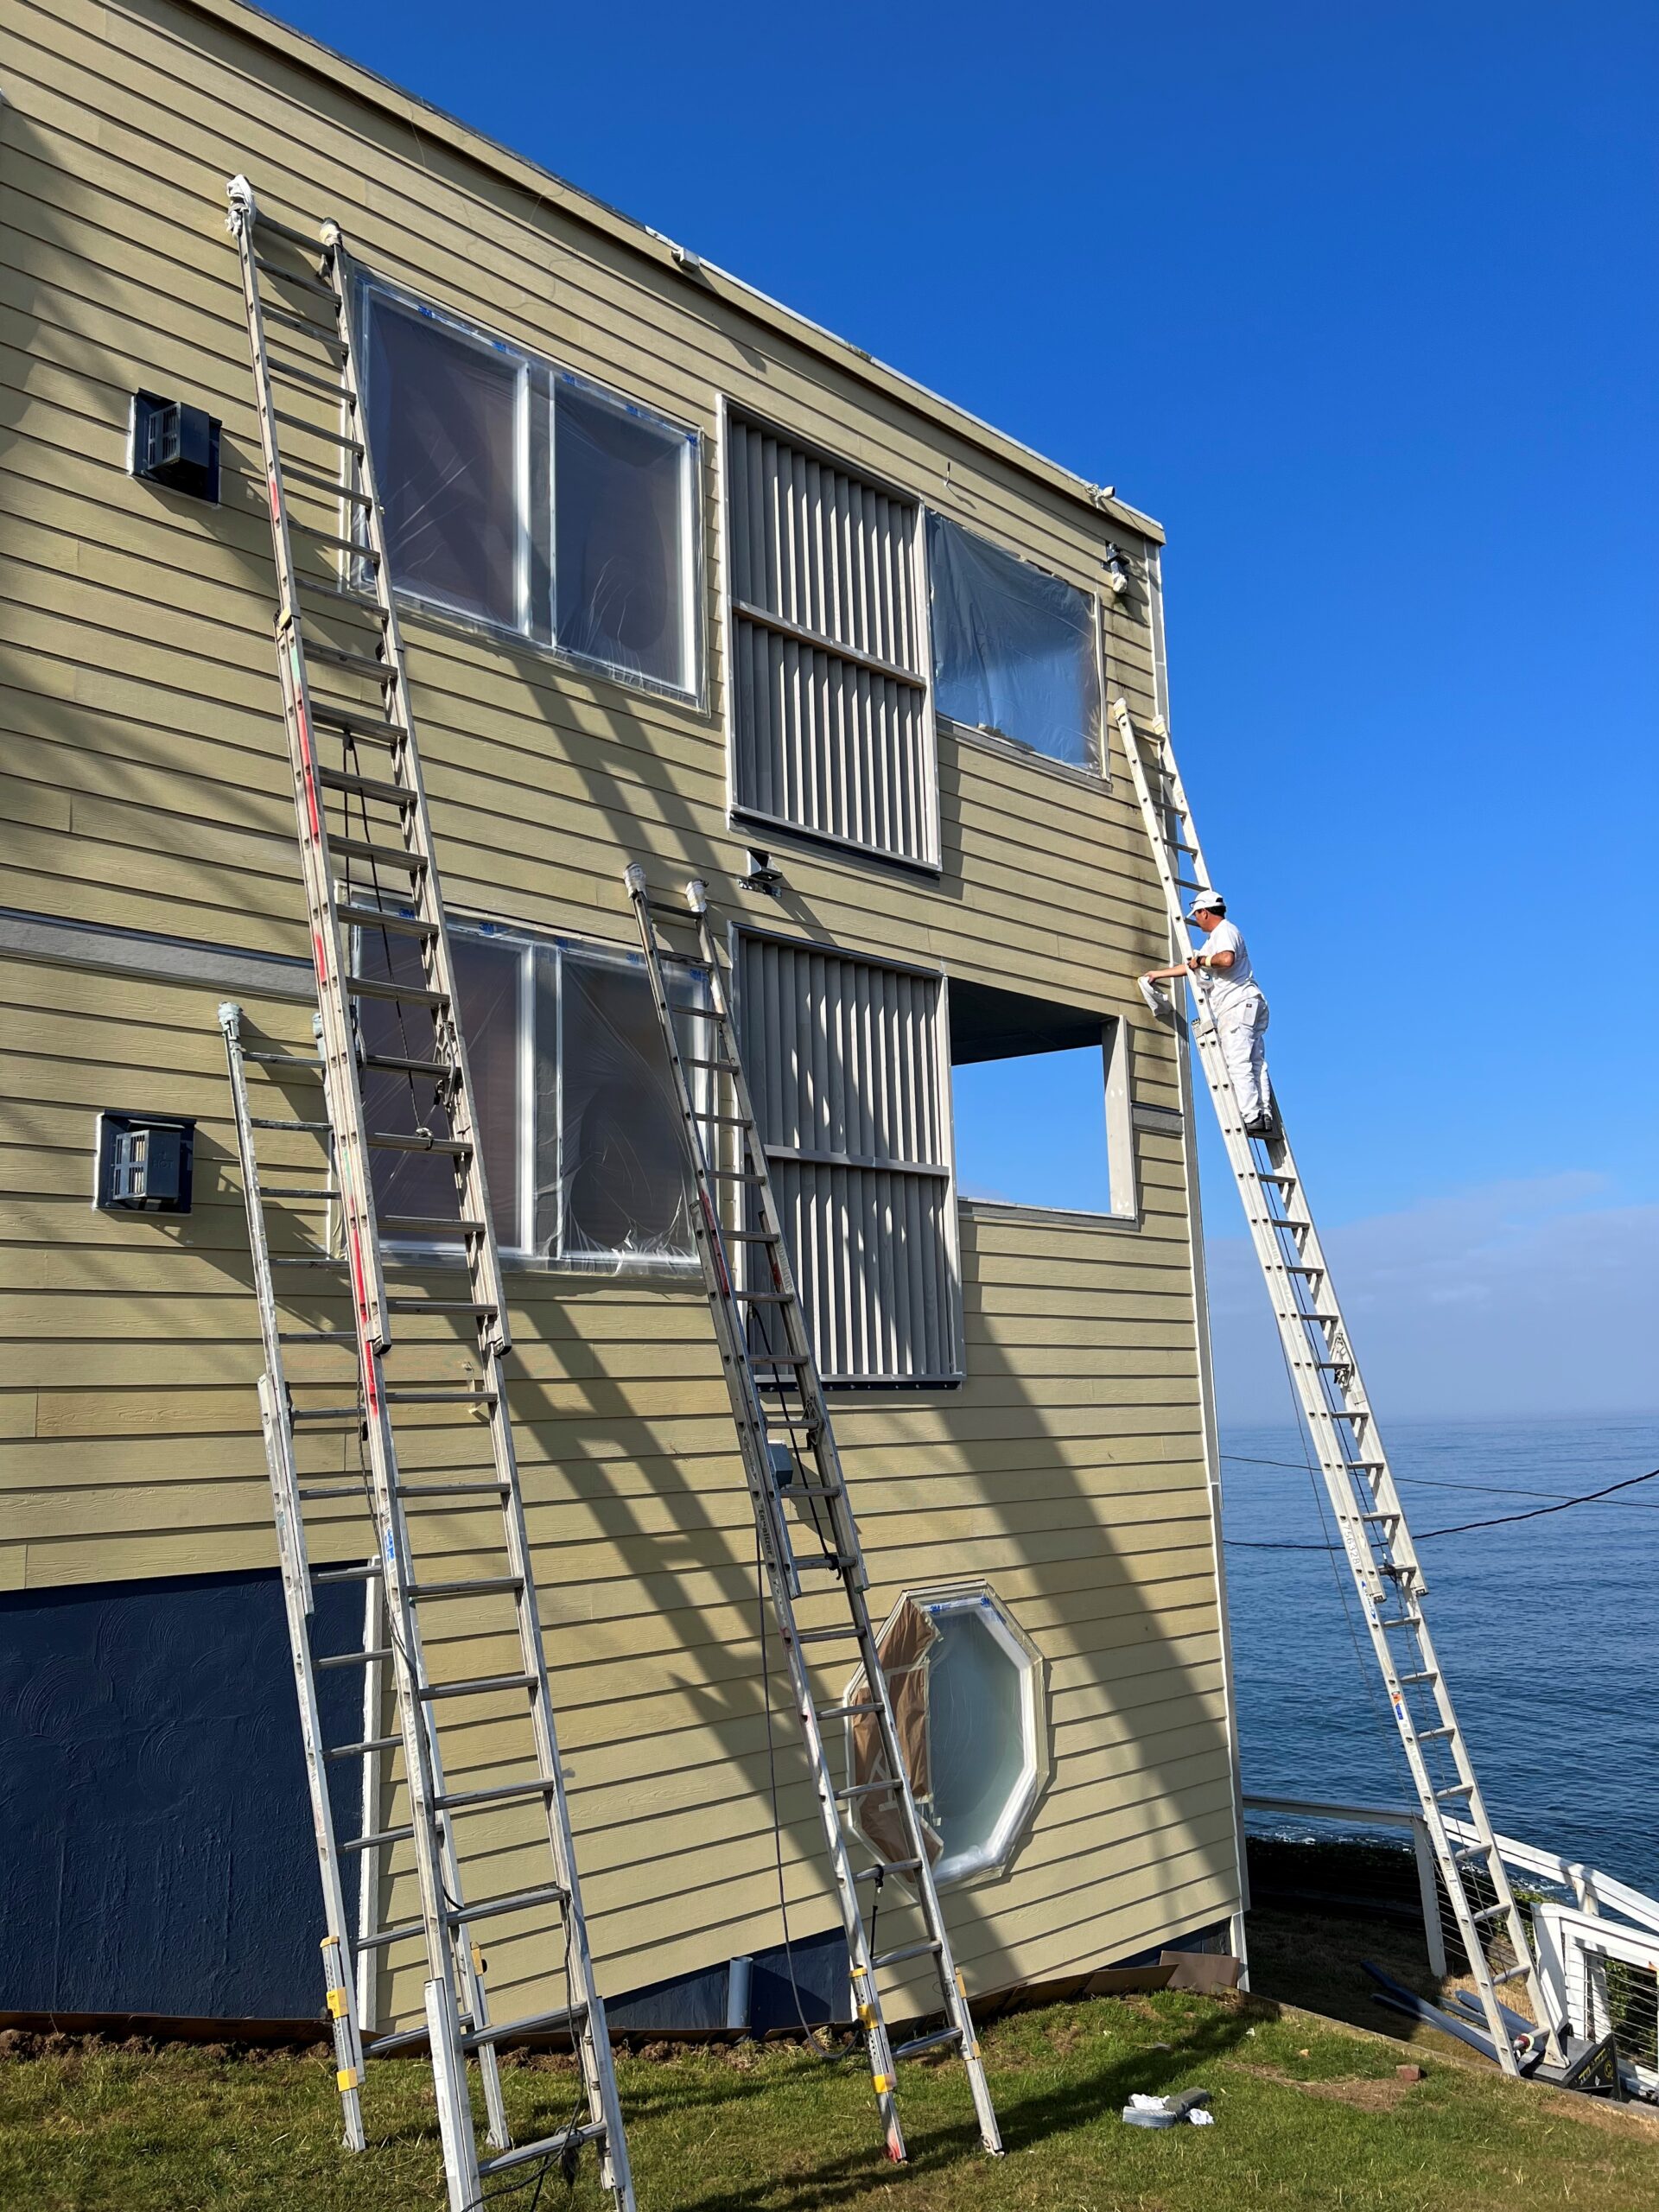
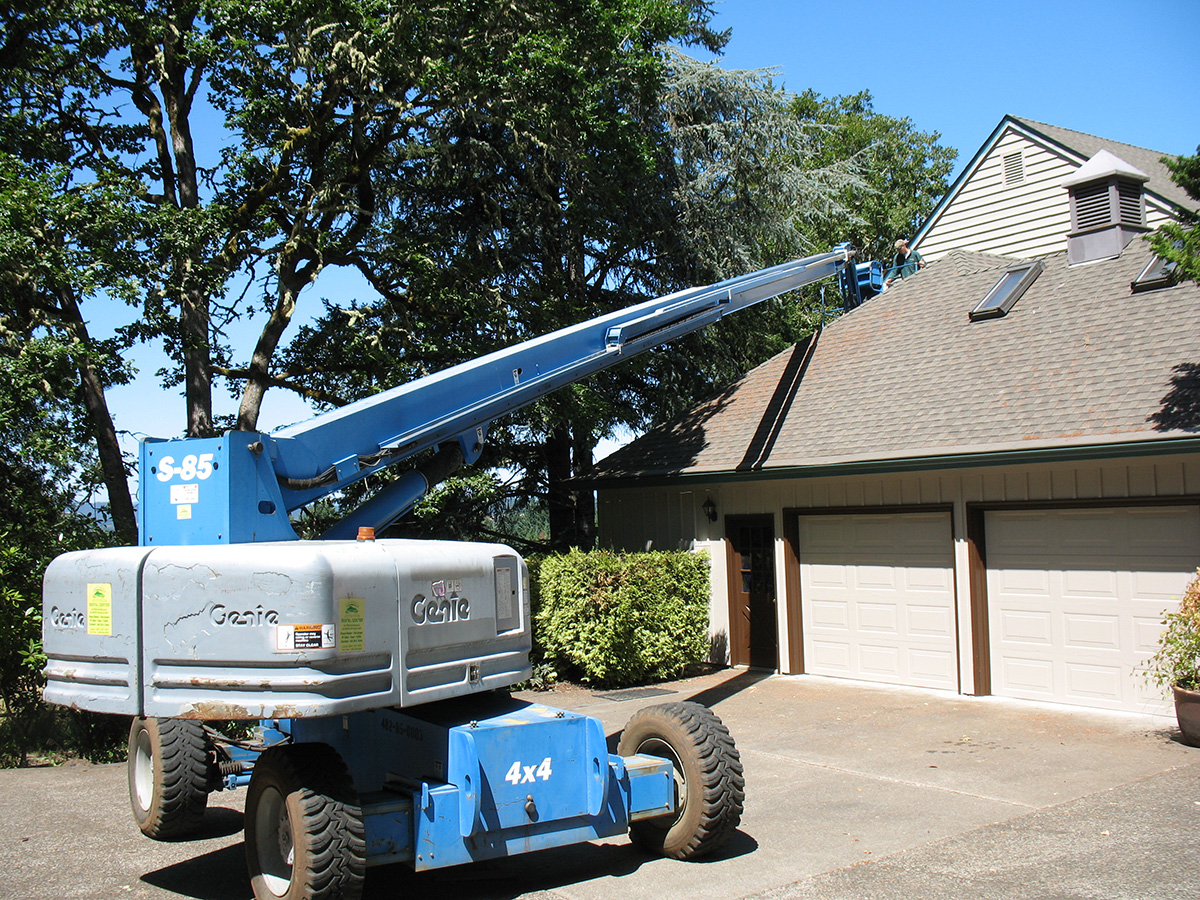
All of the basics for any good painting job – proper product, surface preparation and appropriate application – are present on large scale commercial jobs, but there are many more things to consider. Reaching greater heights, handling larger volumes of material, keeping schedules and staying within all safety requirements are just a few of the things that make a painter a commercial contractor.
Call Mike Nading 541-497-3804 about your next big project. He’ll ask the right questions and promptly get you a solid bid.
When you have Paint Doctor’s Painting on the team, you will have one less concern about completing your project in the professional manner that built your reputation.