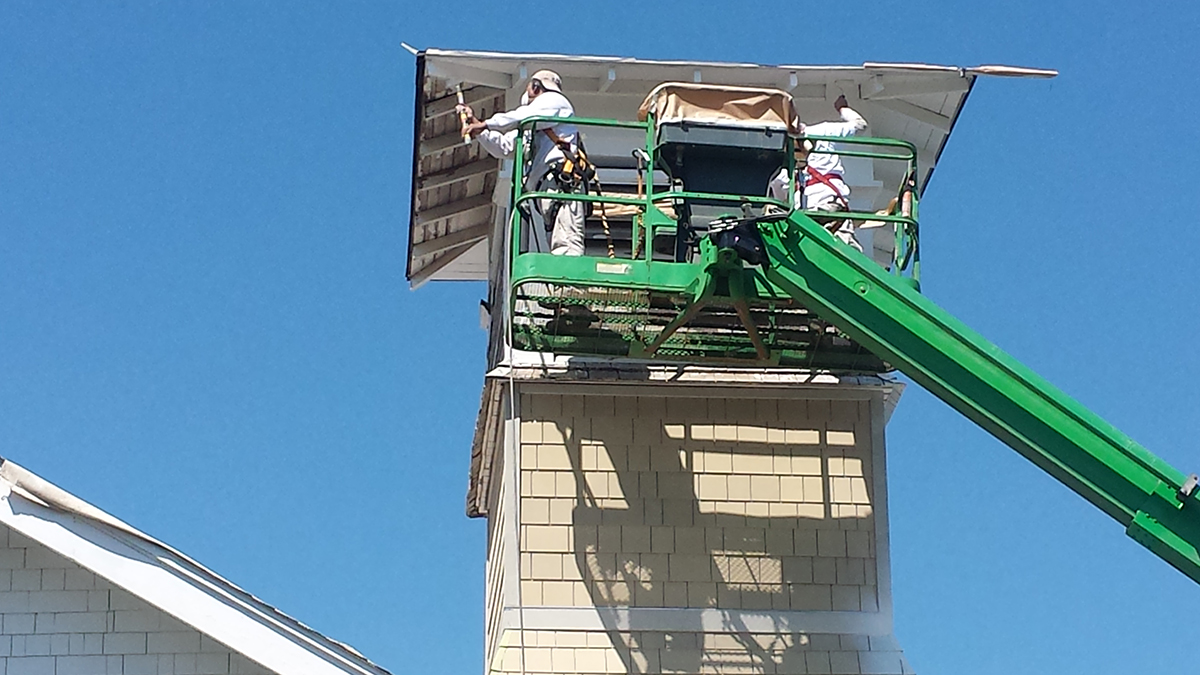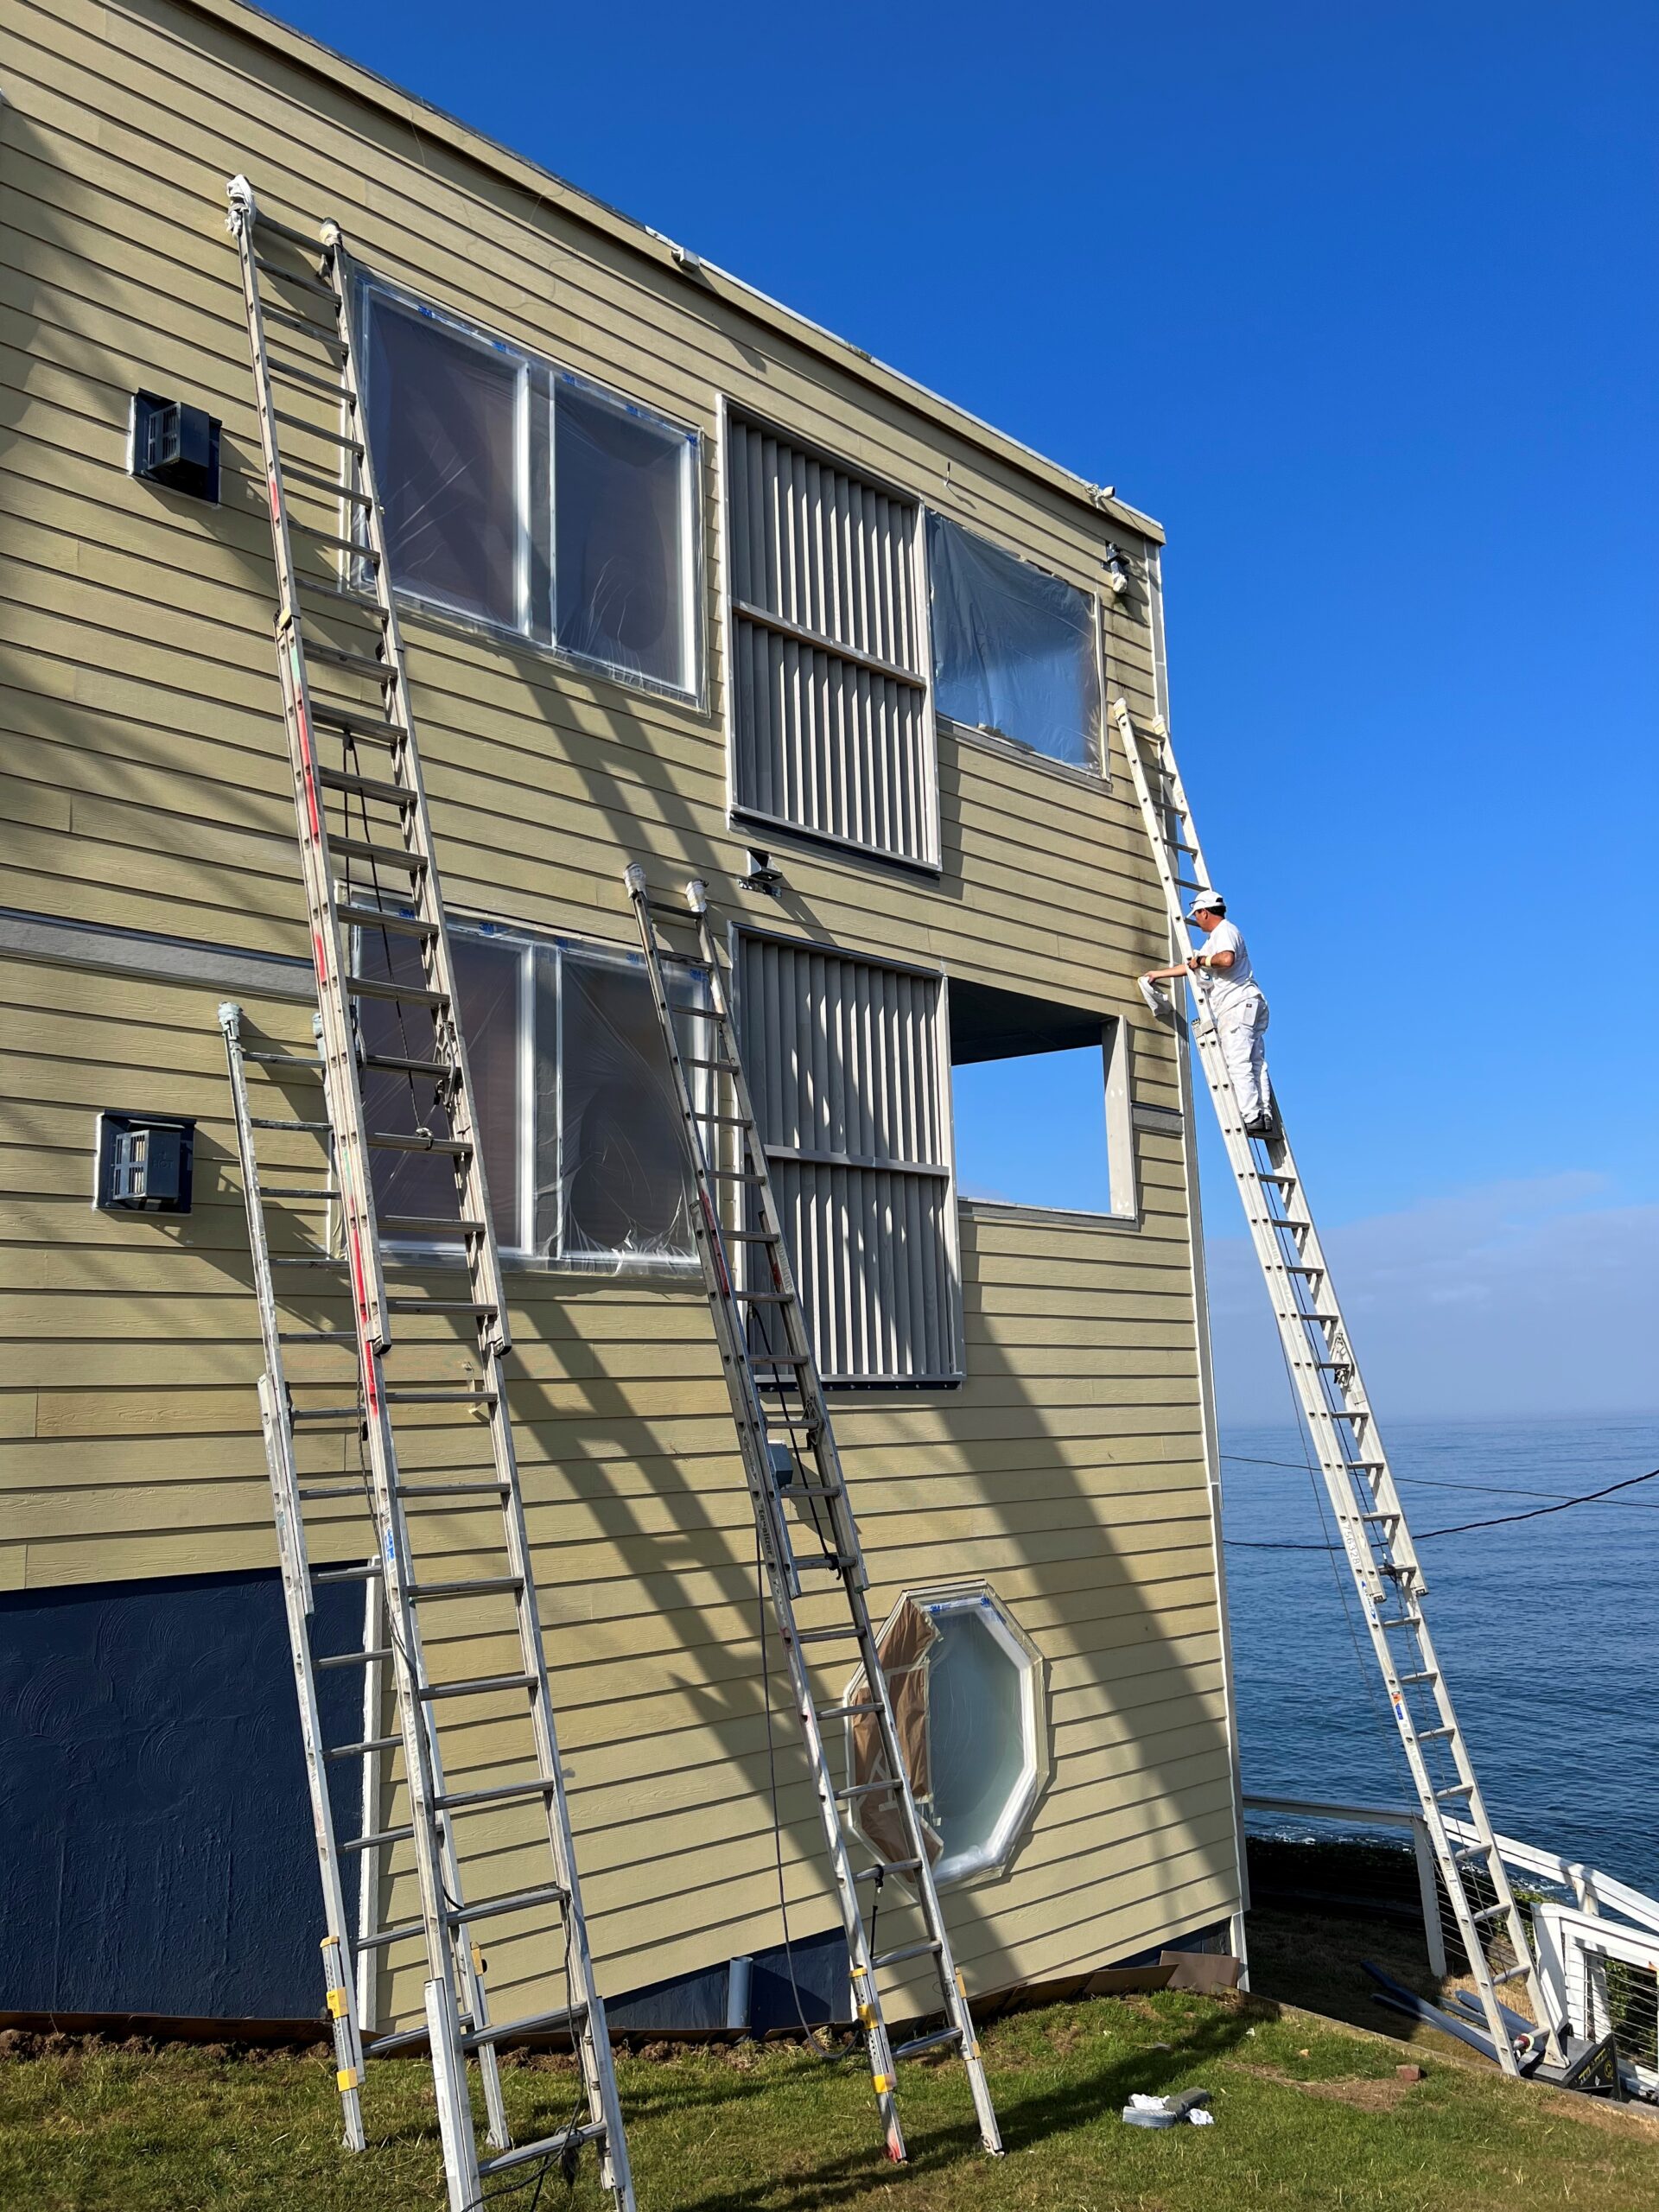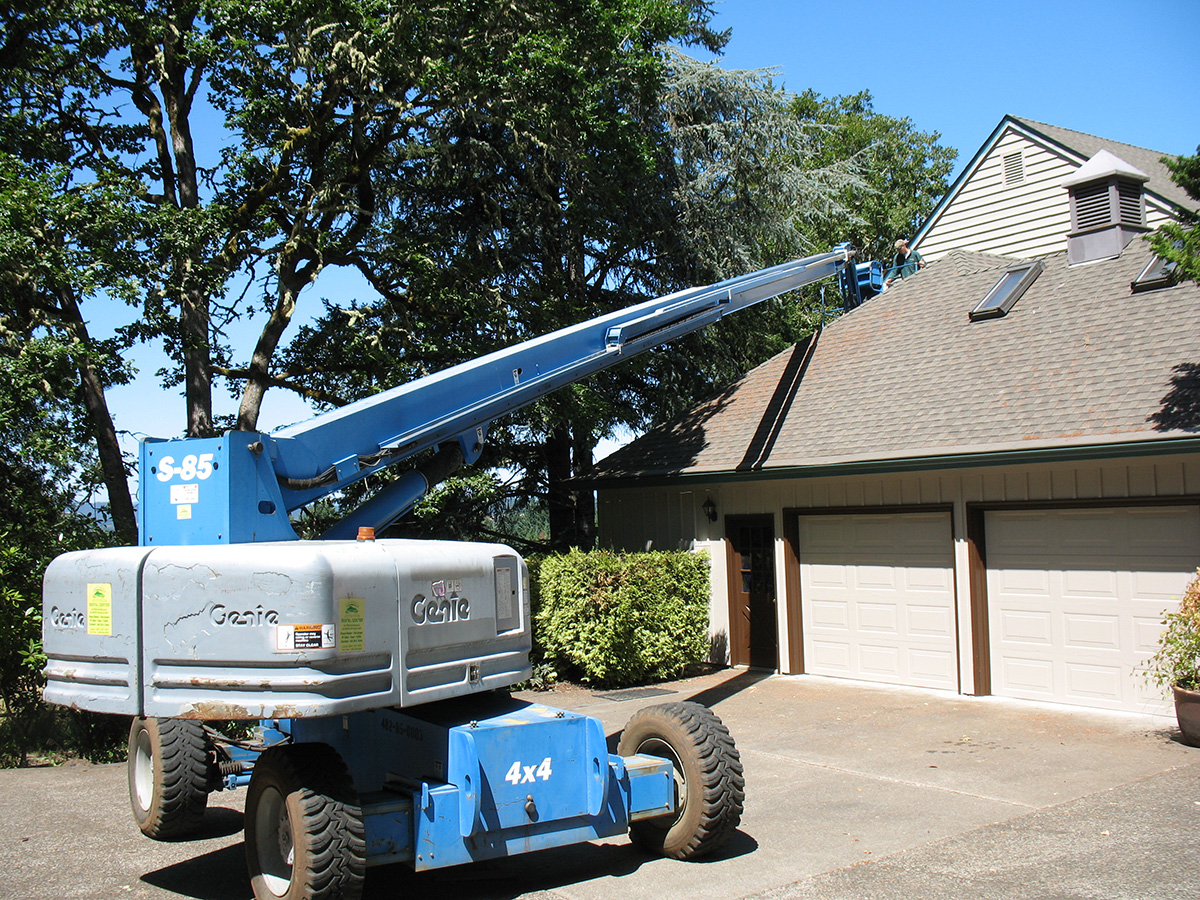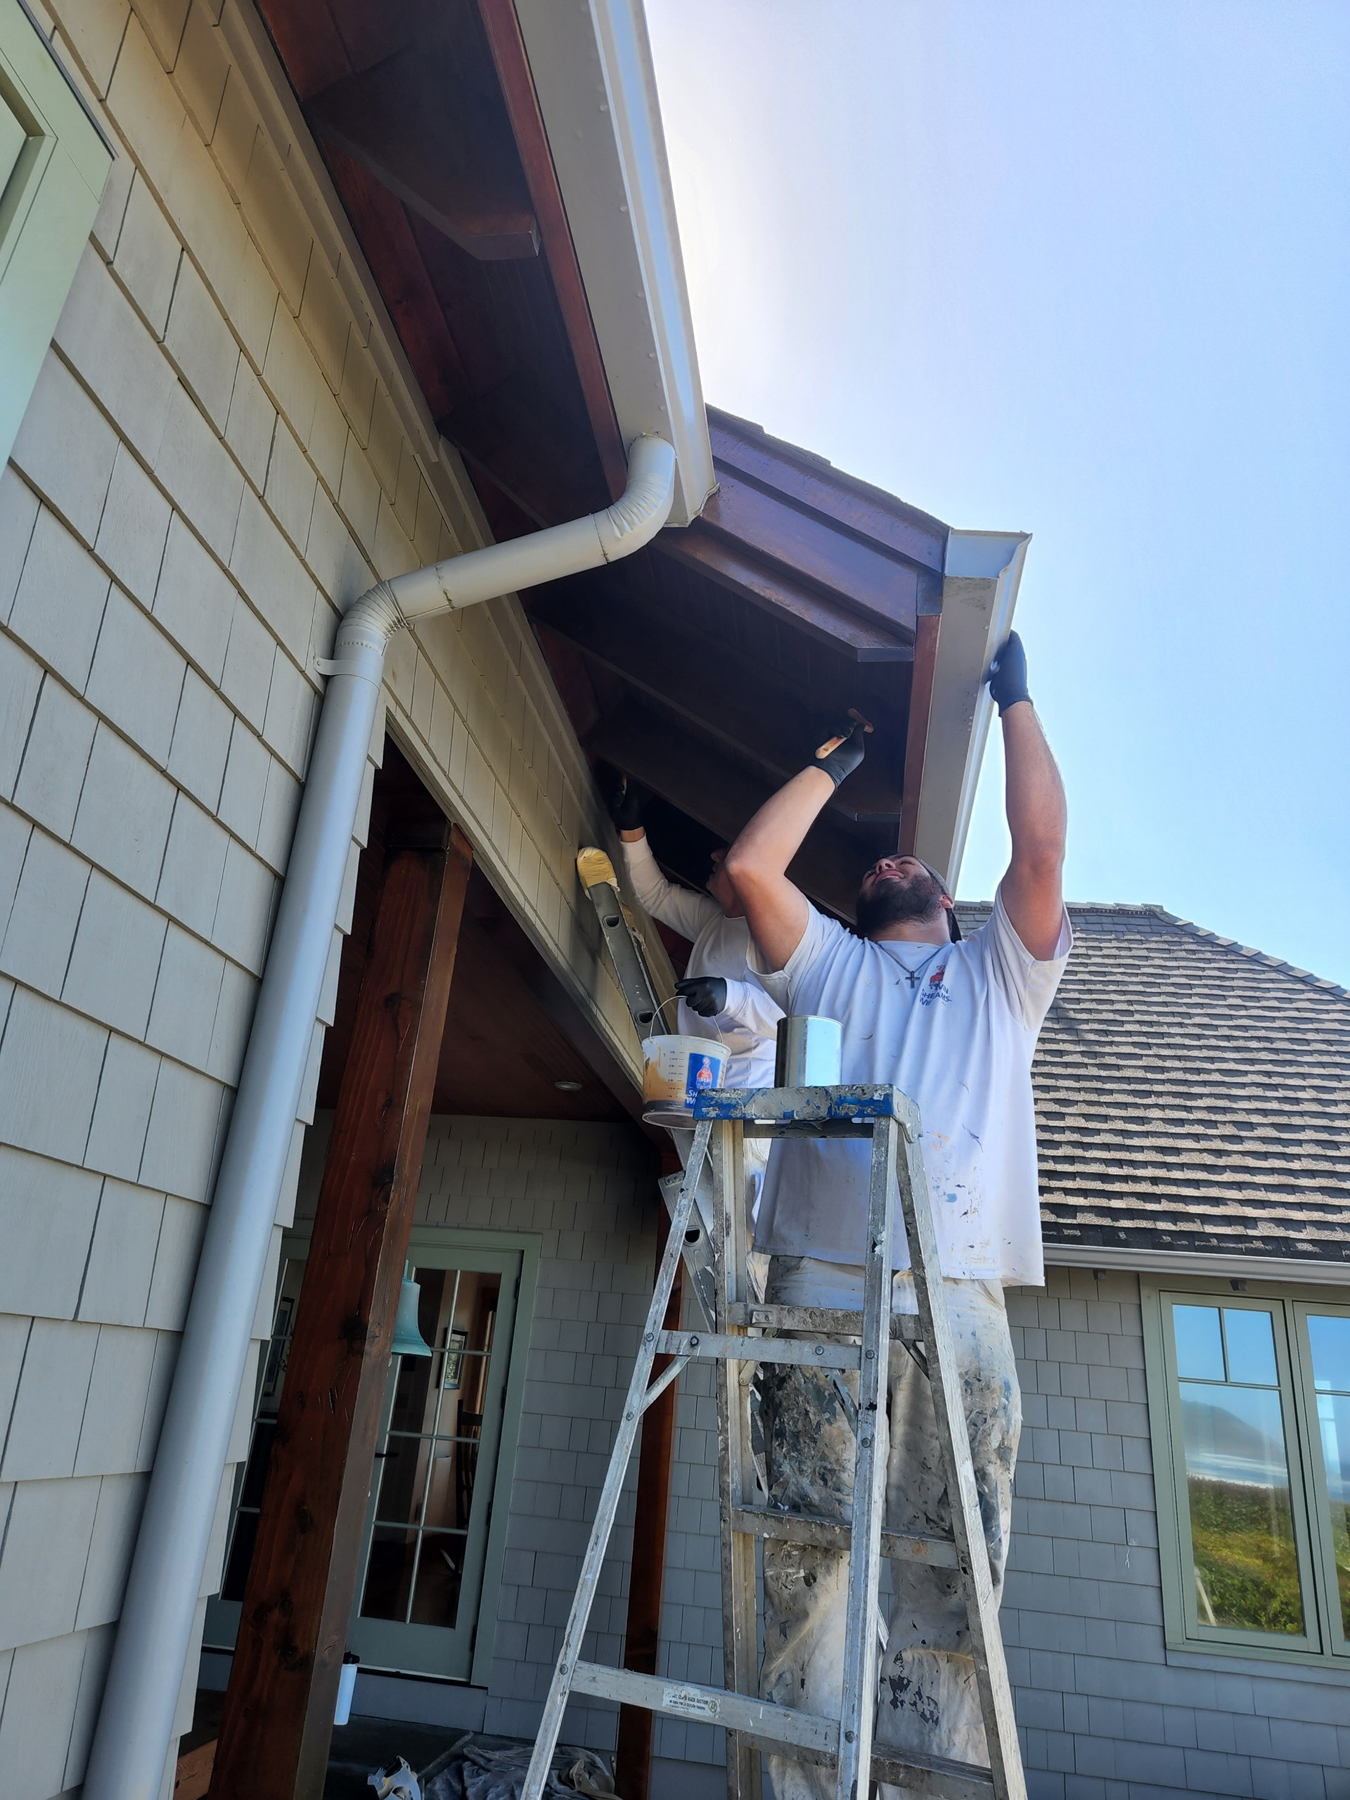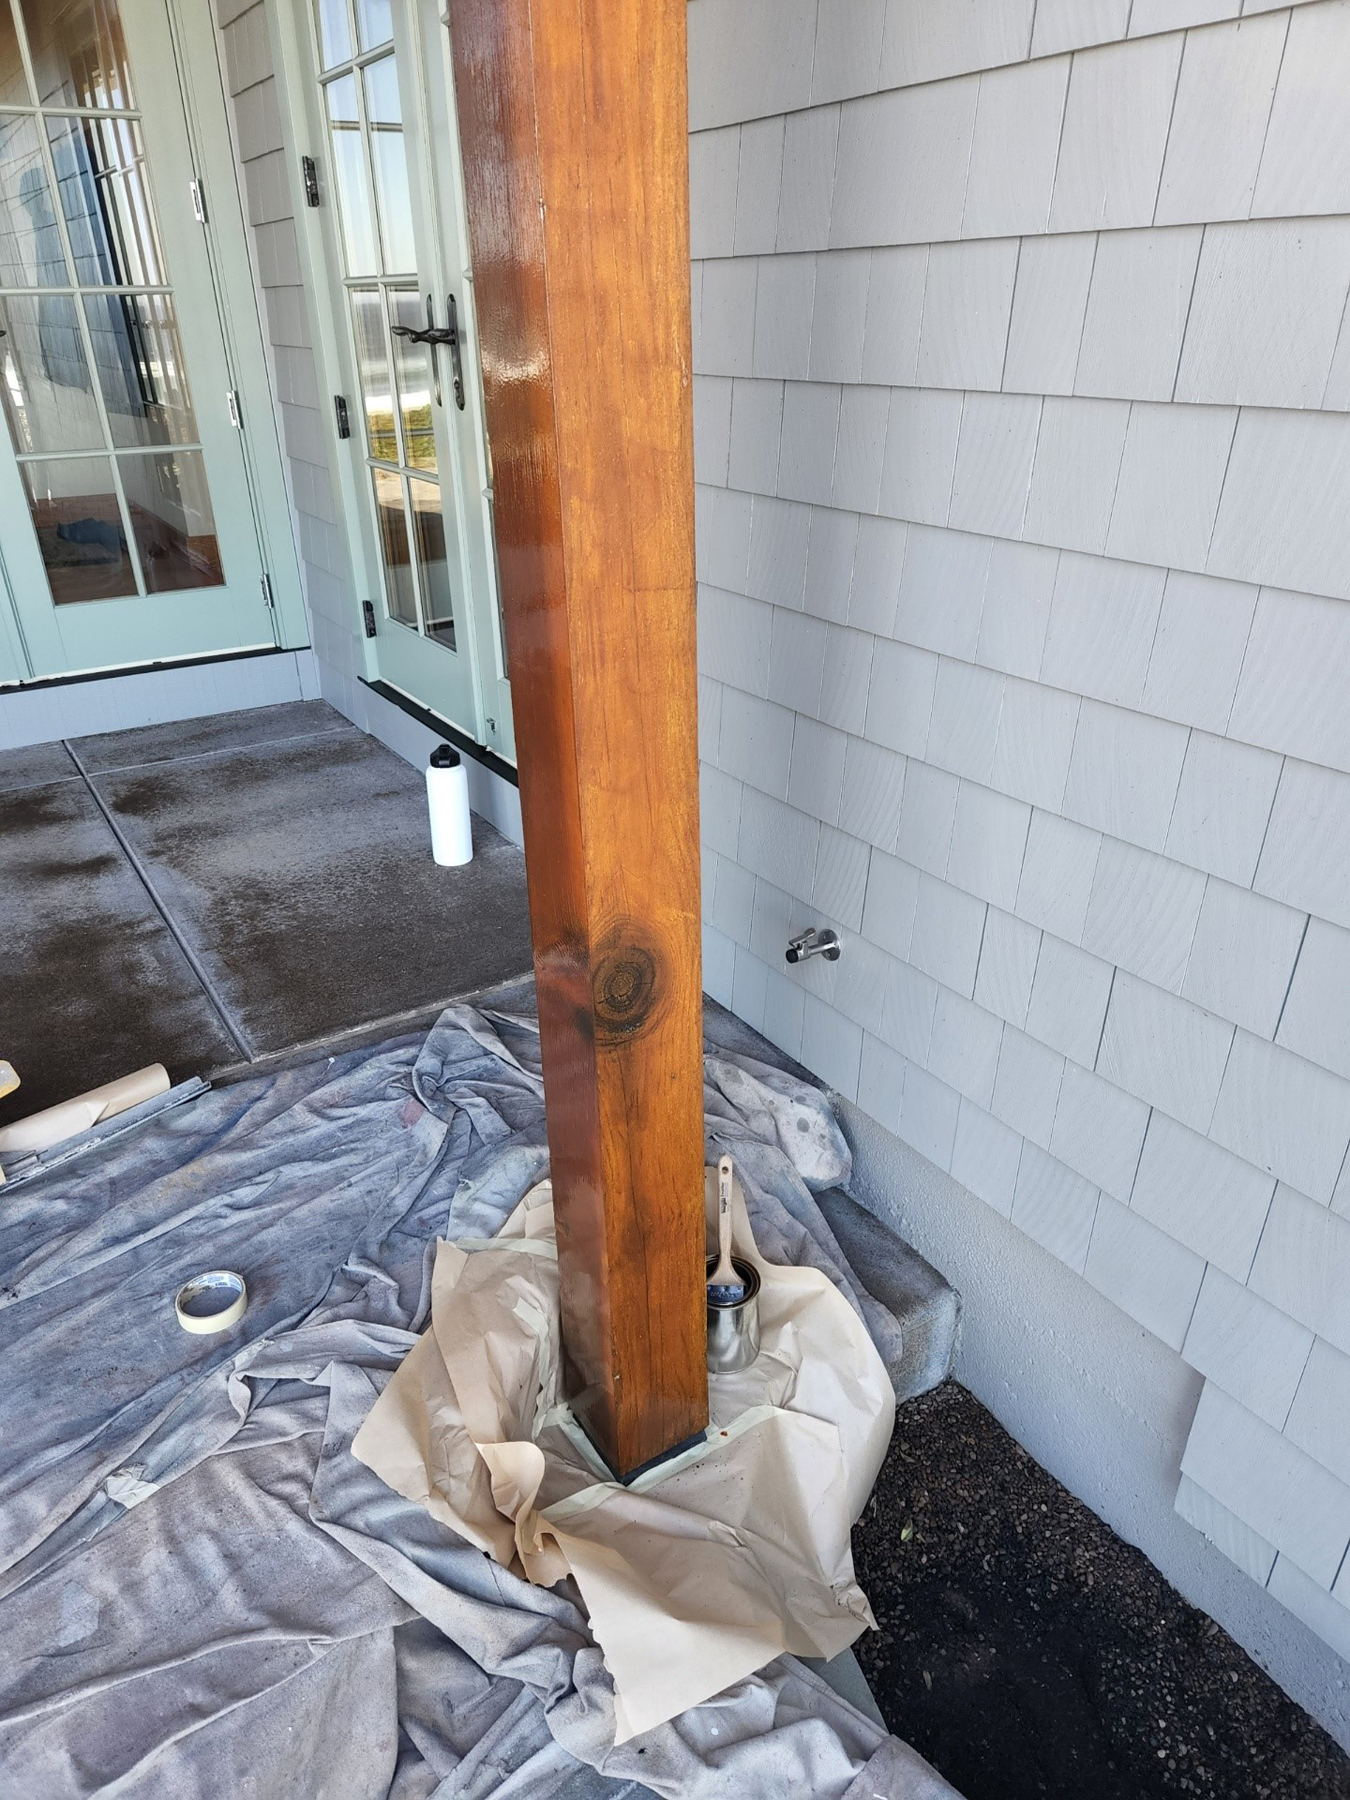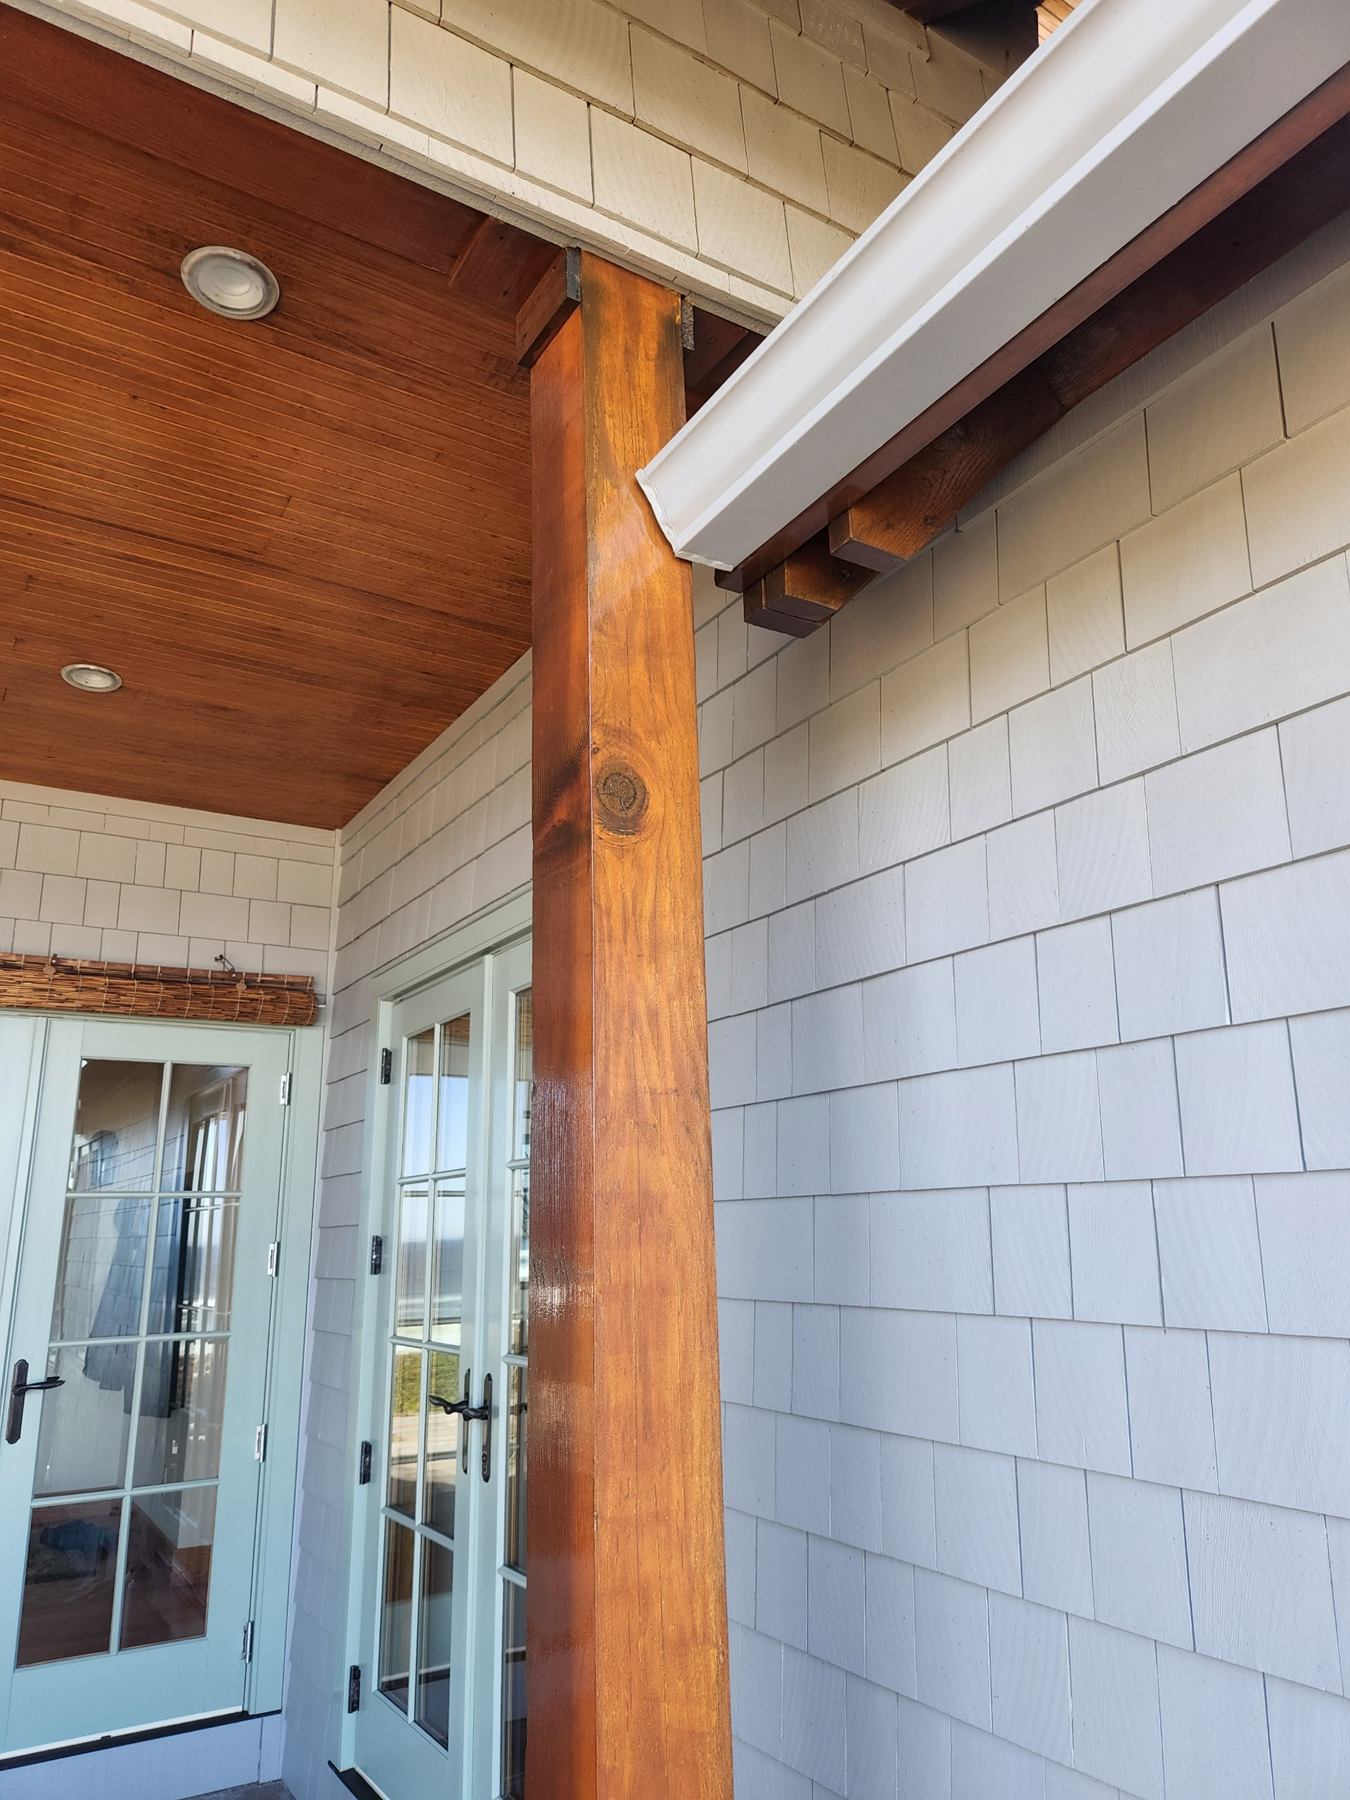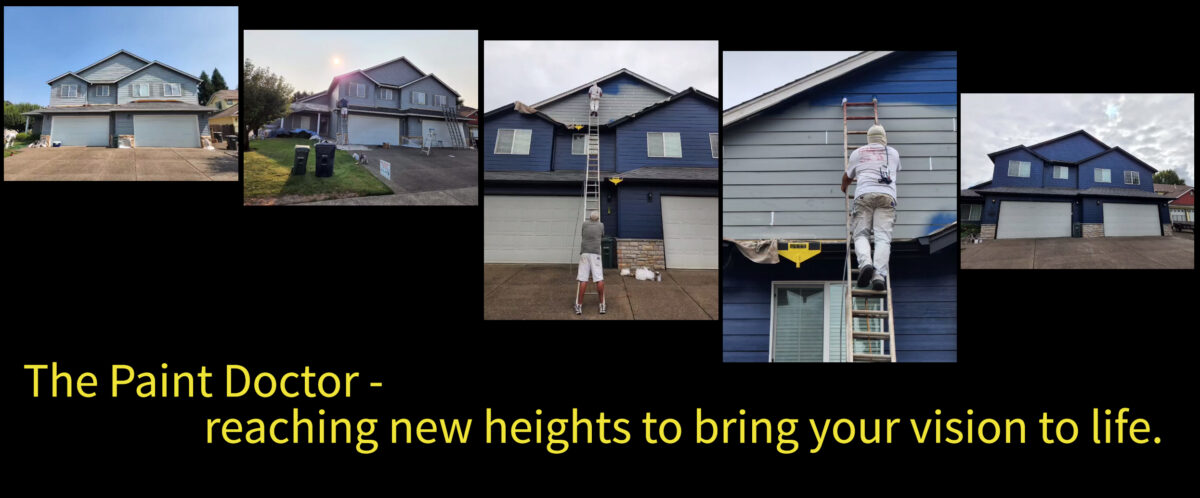
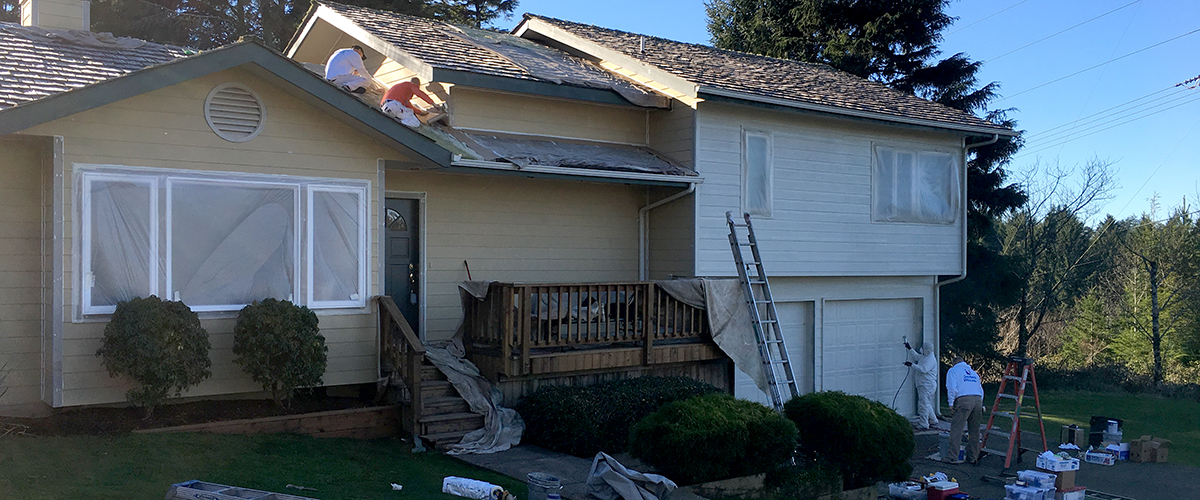
You’ve probably heard the expression “your time is worth something” and at Paint Doctor’s Painting we know it’s true. When you consider the amount of time involved in doing your own paint project compared to hiring the Doctor, we think you will agree. Many property owners significantly underestimate what it takes to wash, prep, caulk, fill, sand, scrape, mask, pack, place, climb, spray, roll, brush, move and do it all again.
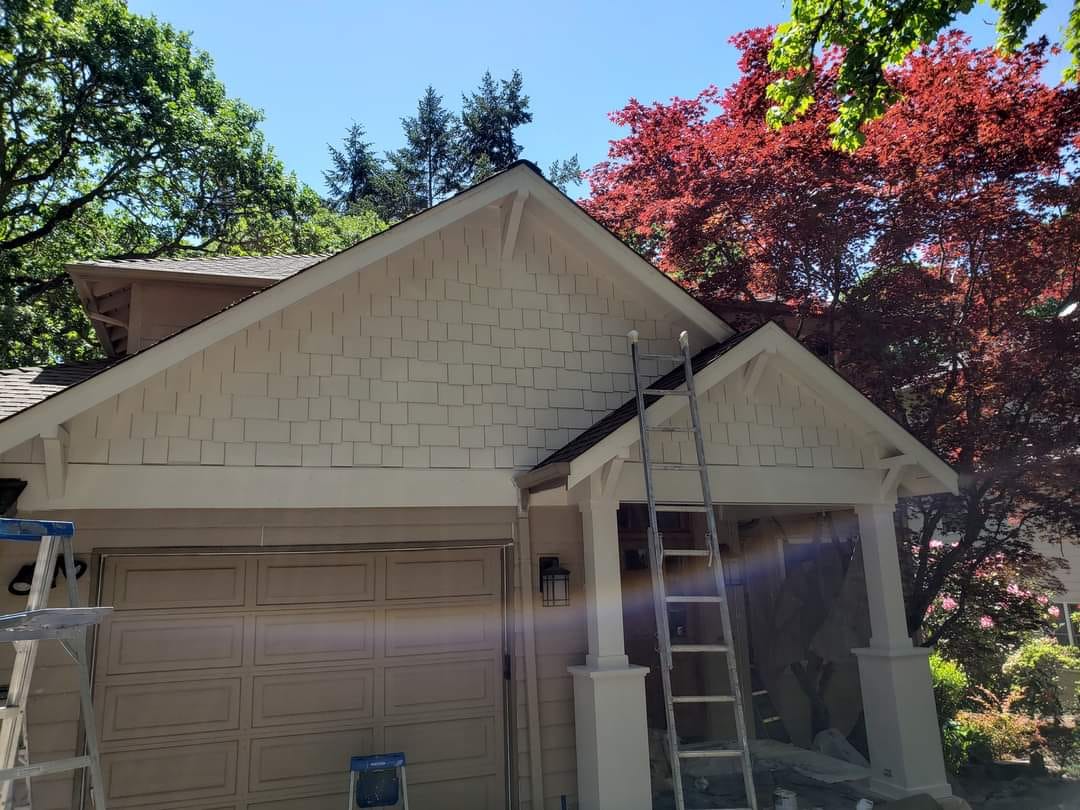
However, when you hire the pros at Paint Doctor’s Painting, you get an entire crew that is doing all of these operations at once with the speed and accuracy that comes with doing the job right the first time every day. Rather than having your house in that paint-job-in-process mode for weeks, you can have the whole job completed in a day or two.