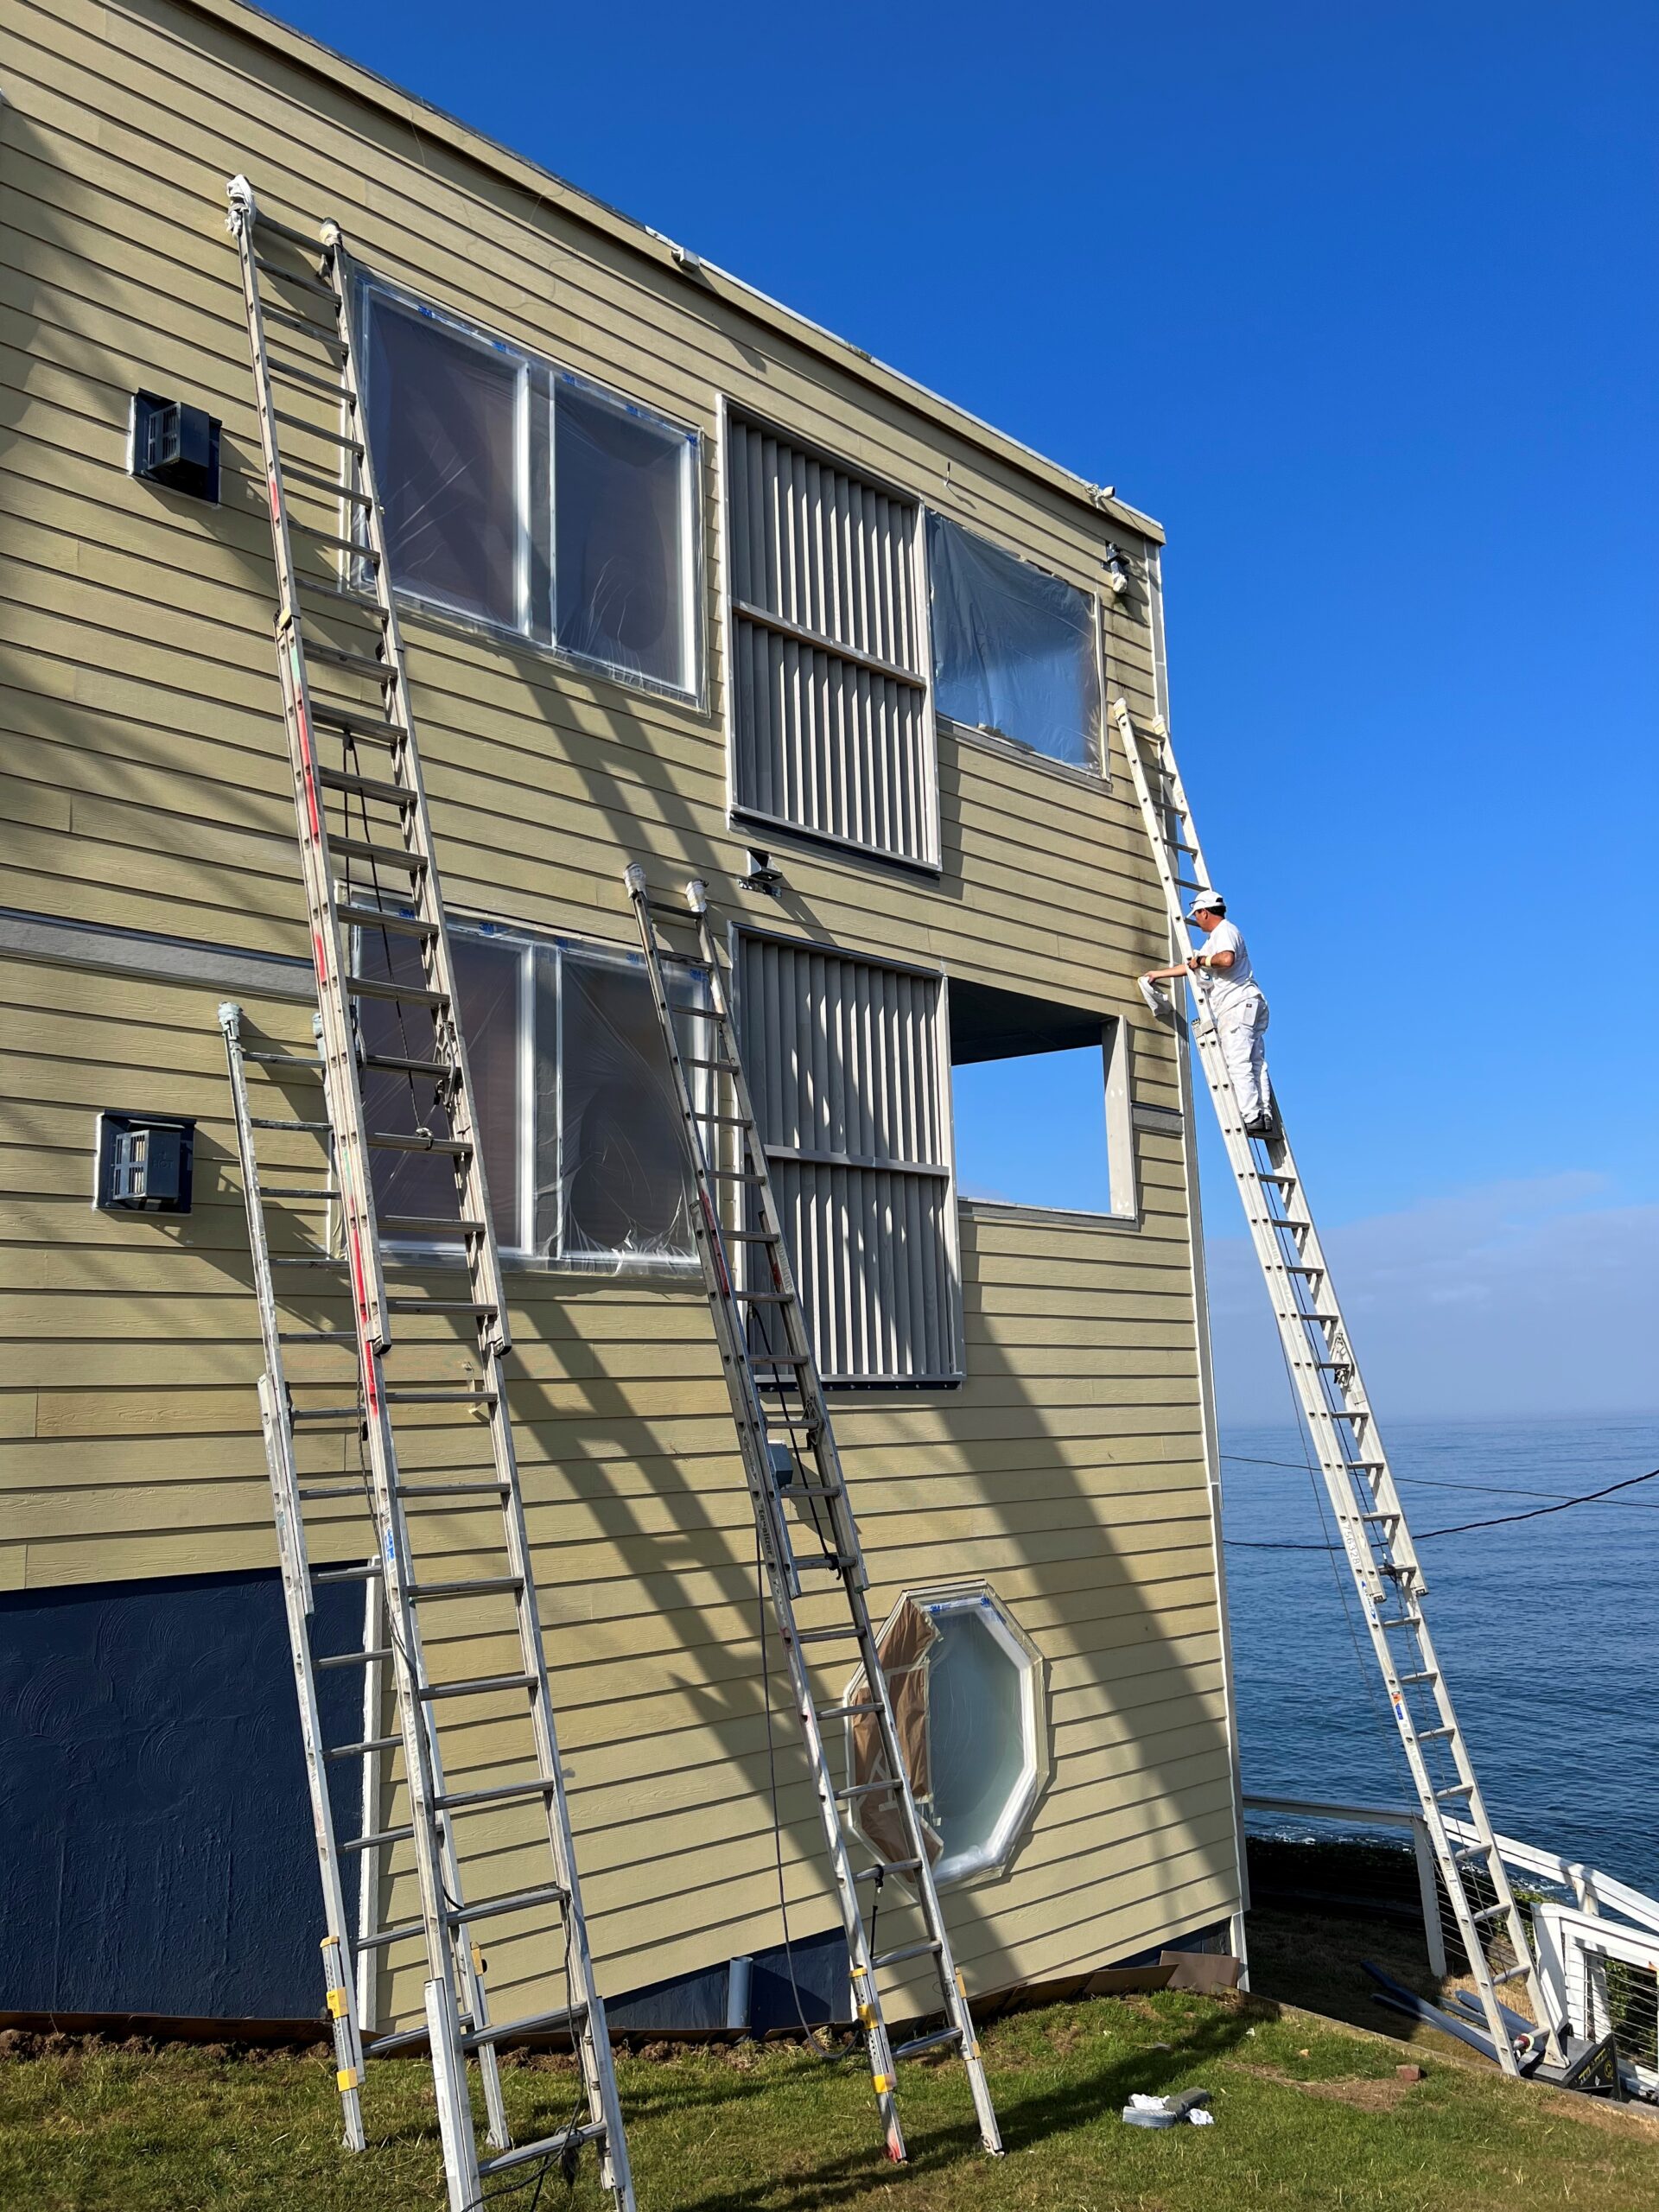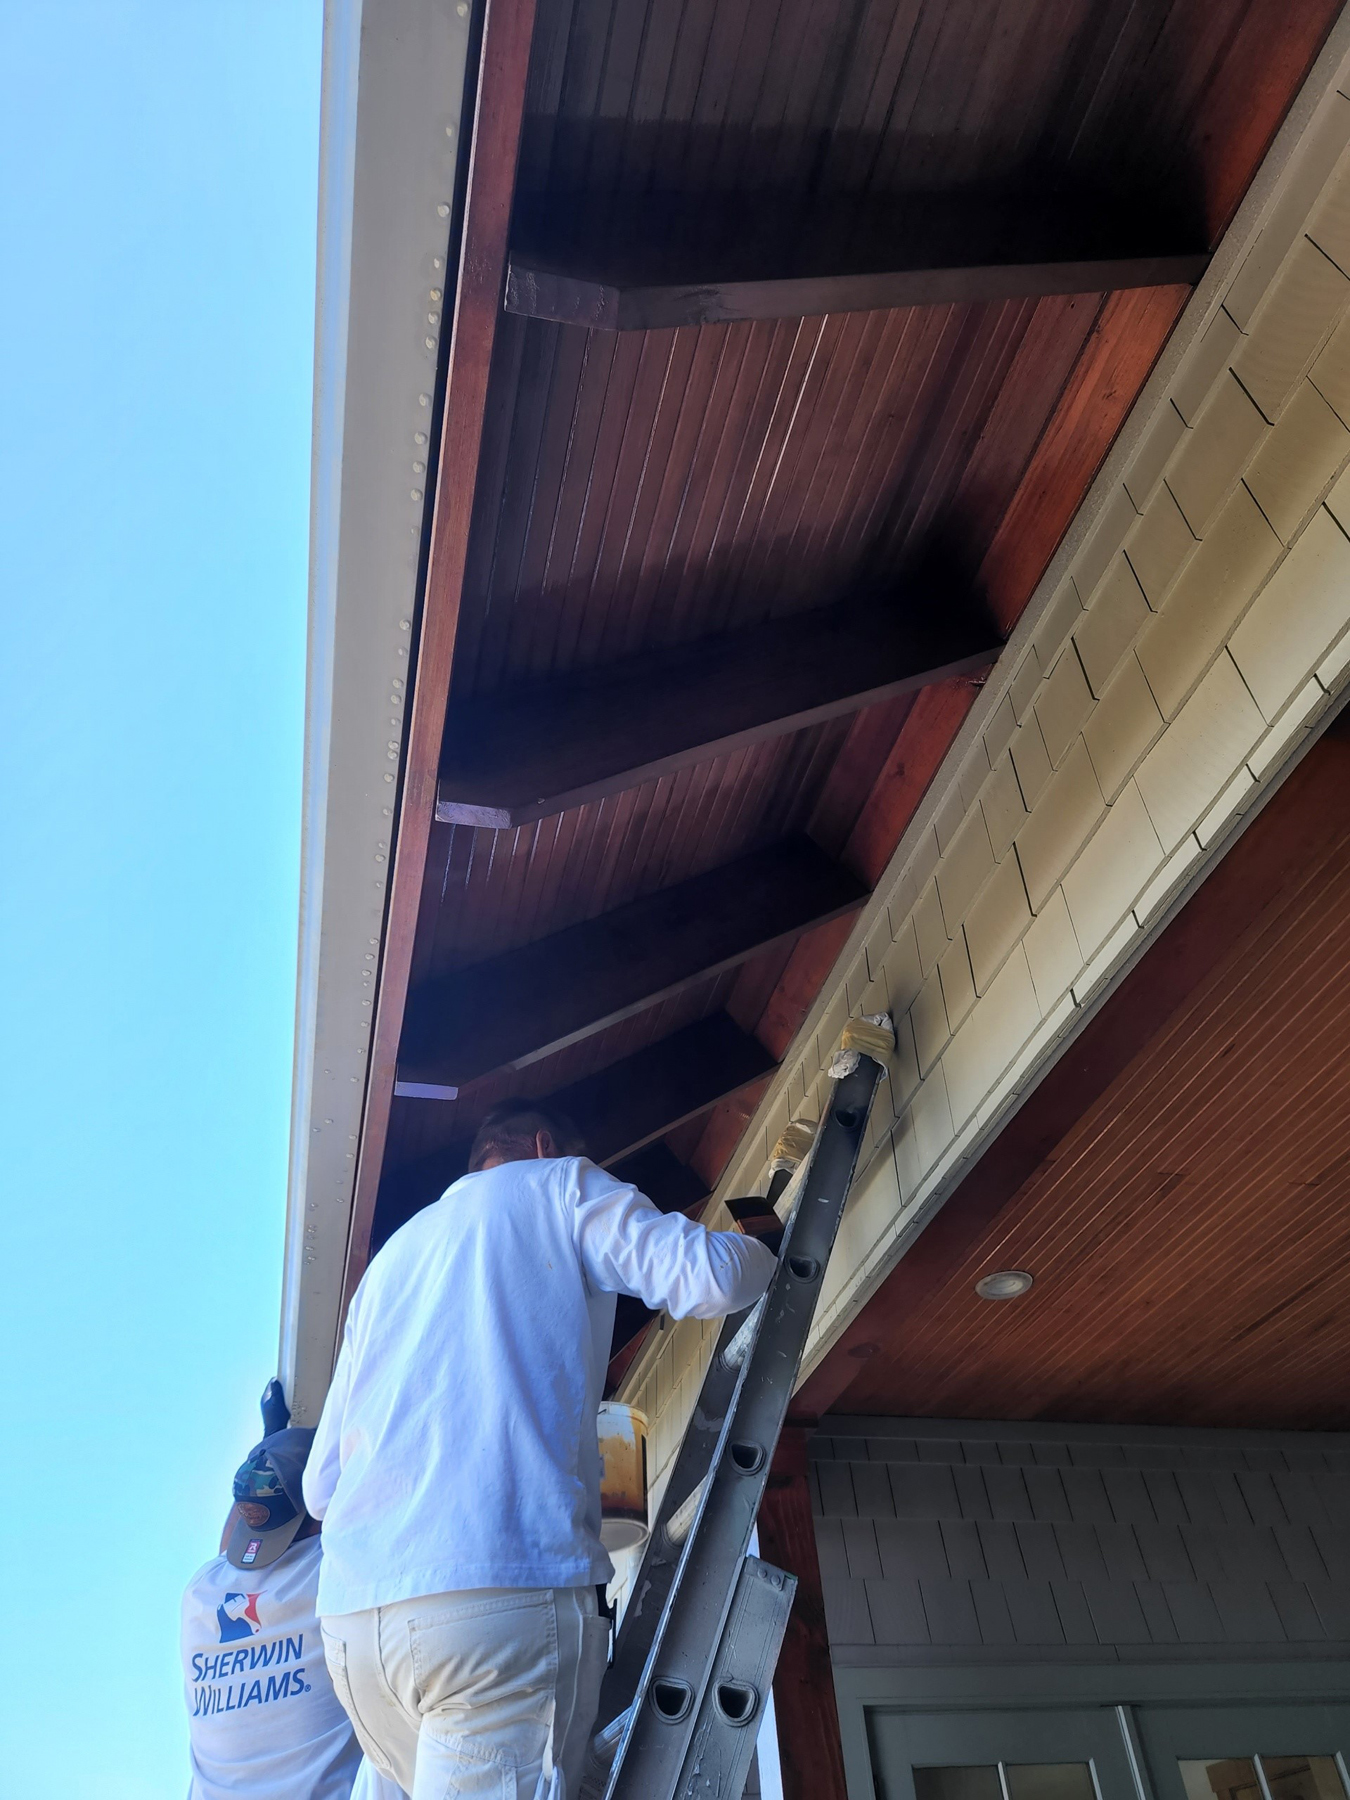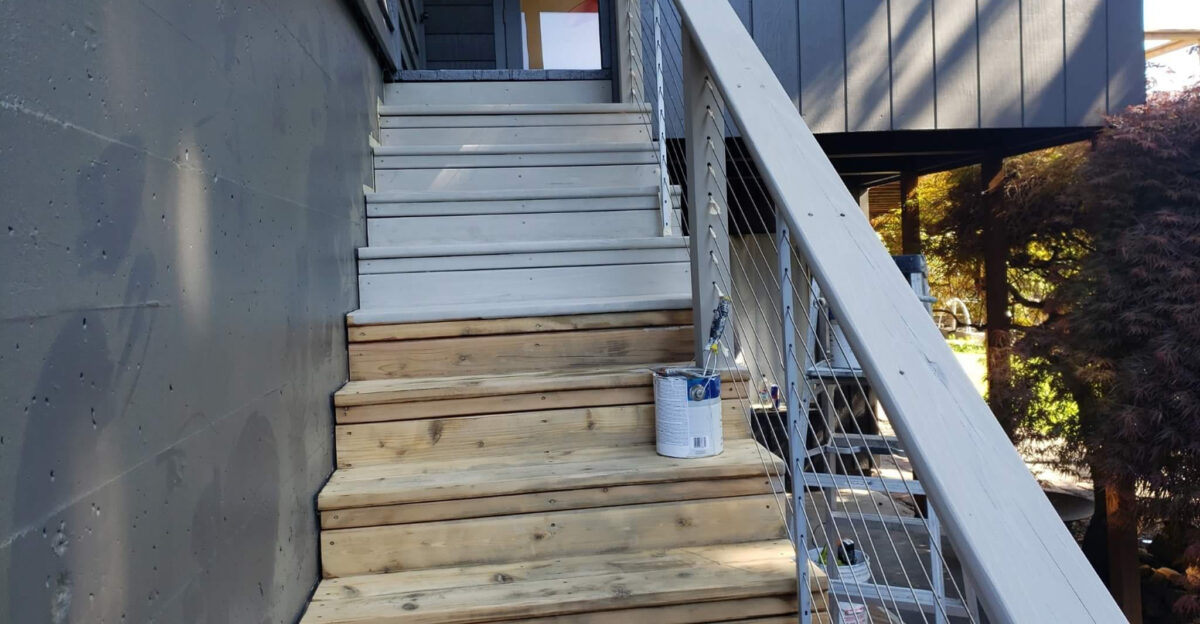
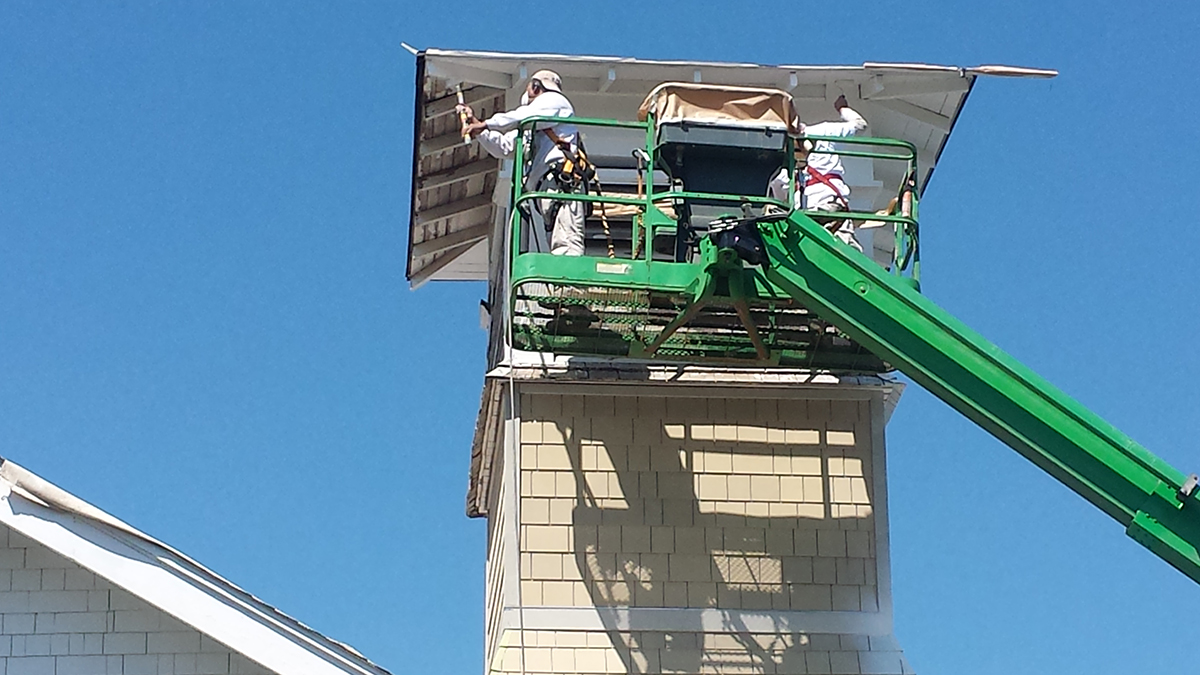
There are plenty of reasons not to paint your own house, but wanting to live may top the list. Reaching every painted surface on your home’s exterior and interior takes more than most homeowners realize. Through in an extra story and a hillside lot and you’ve a formula for a truly life-changing disaster.
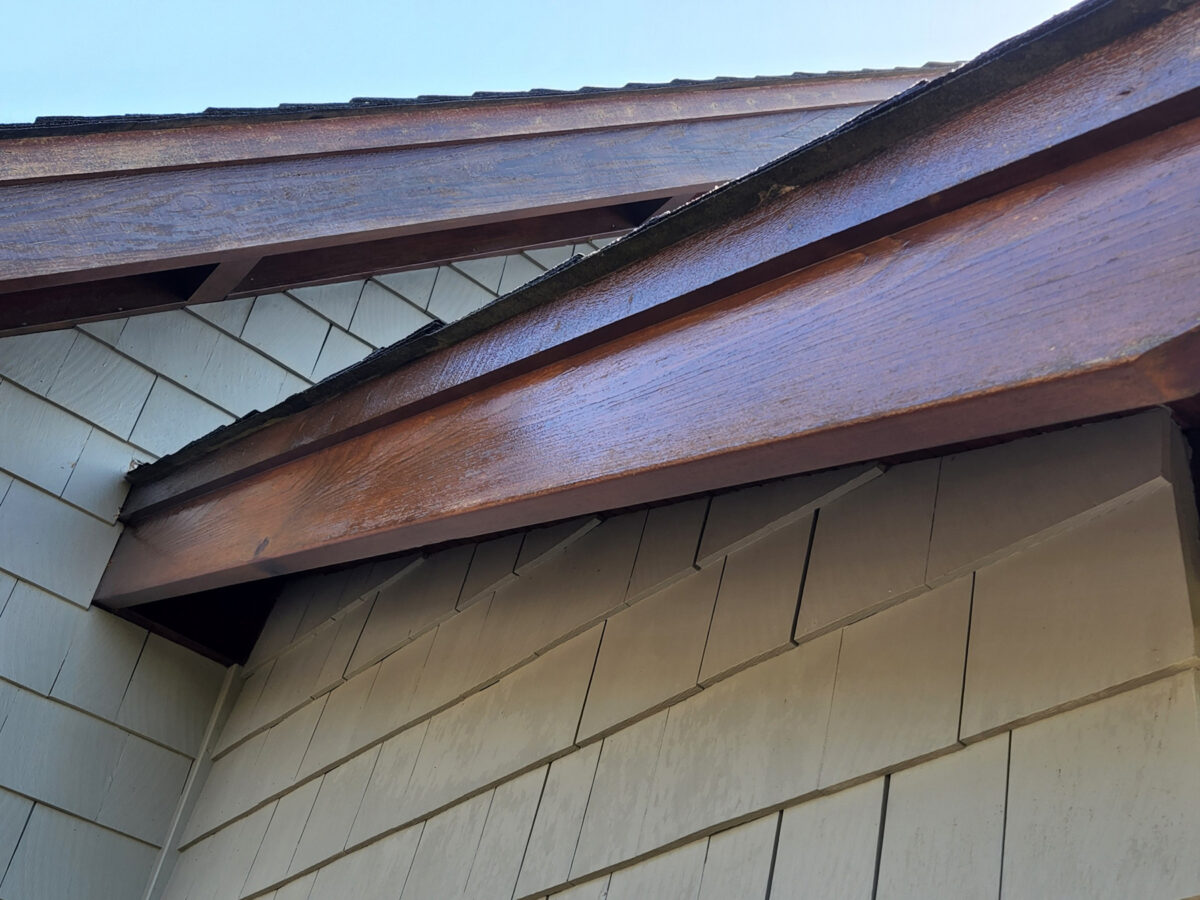
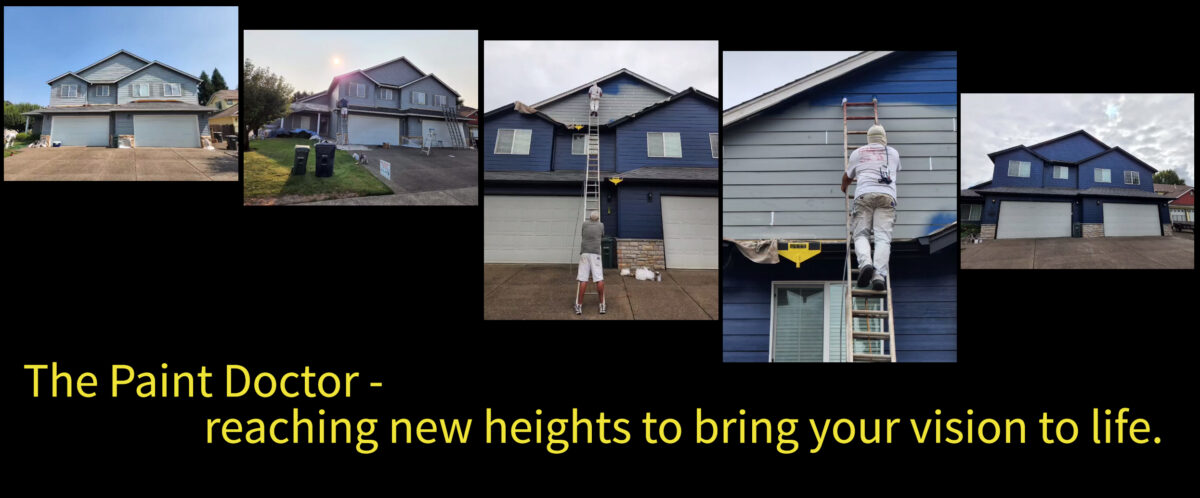
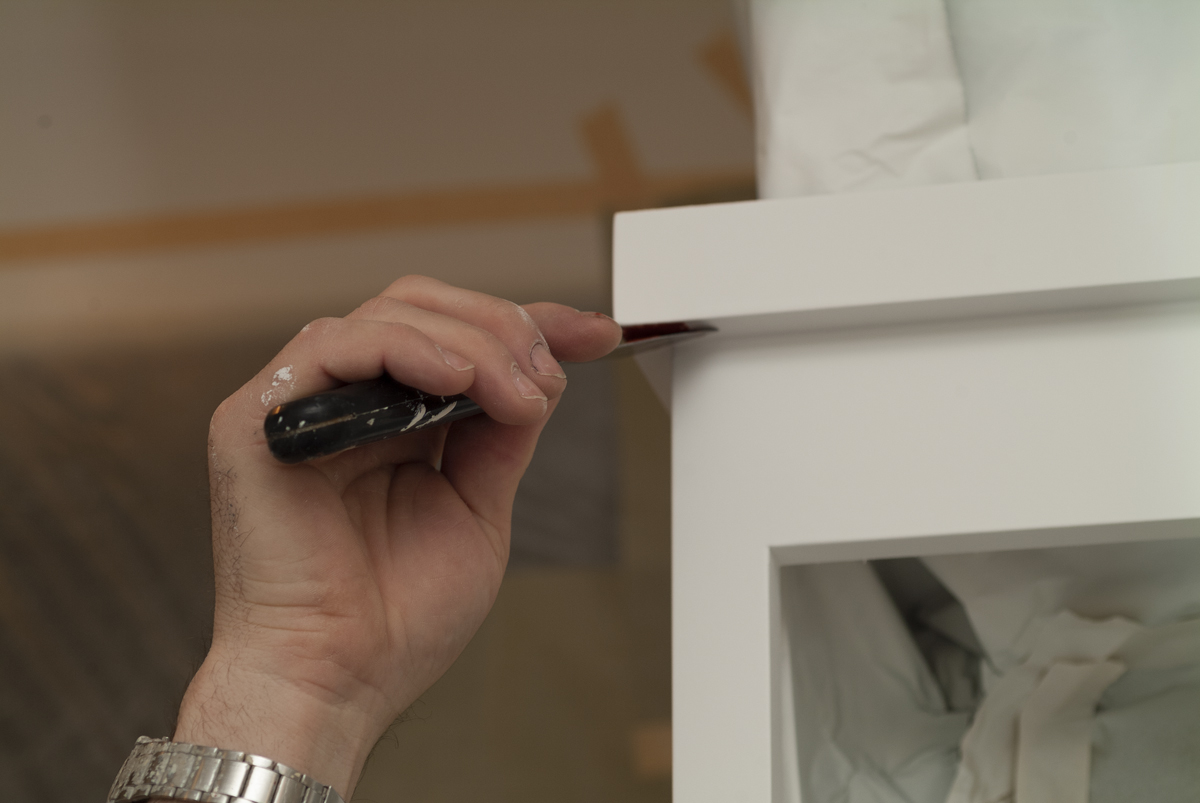
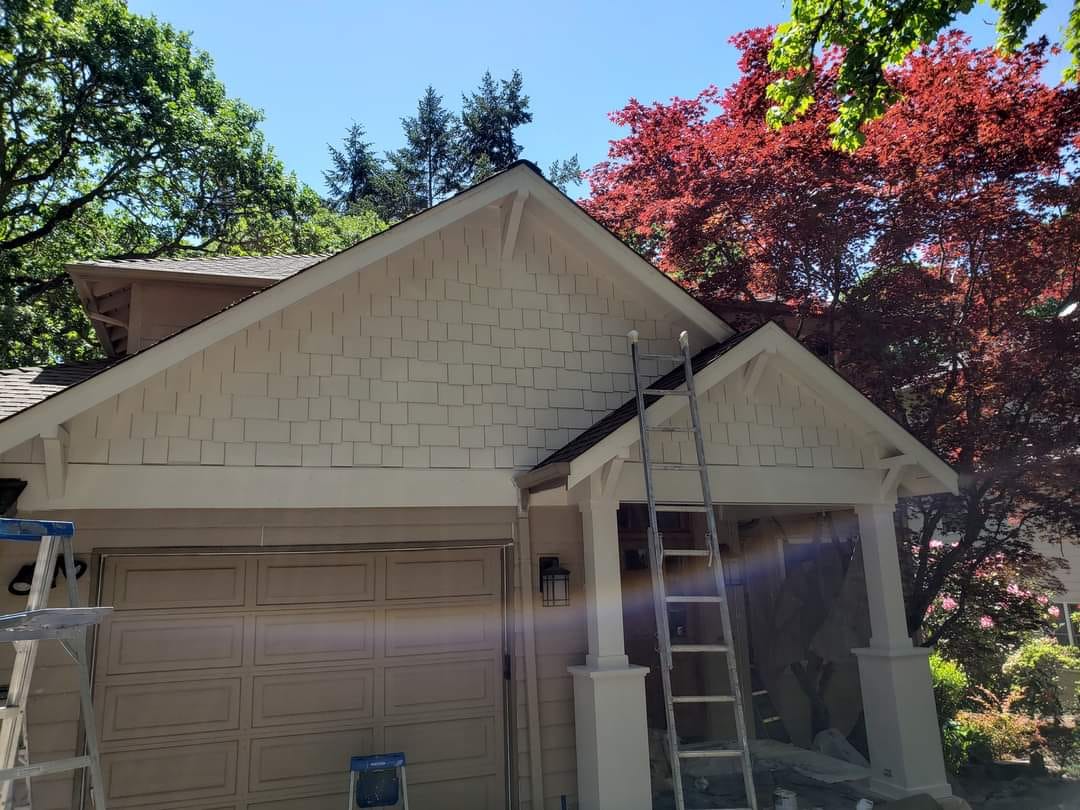
Professional painters know how to reach all of those hard-to-reach peaks, gables and dormers that make you house look cool. The Paint Doctor knows just how to get the job done in a safe and timely manner.
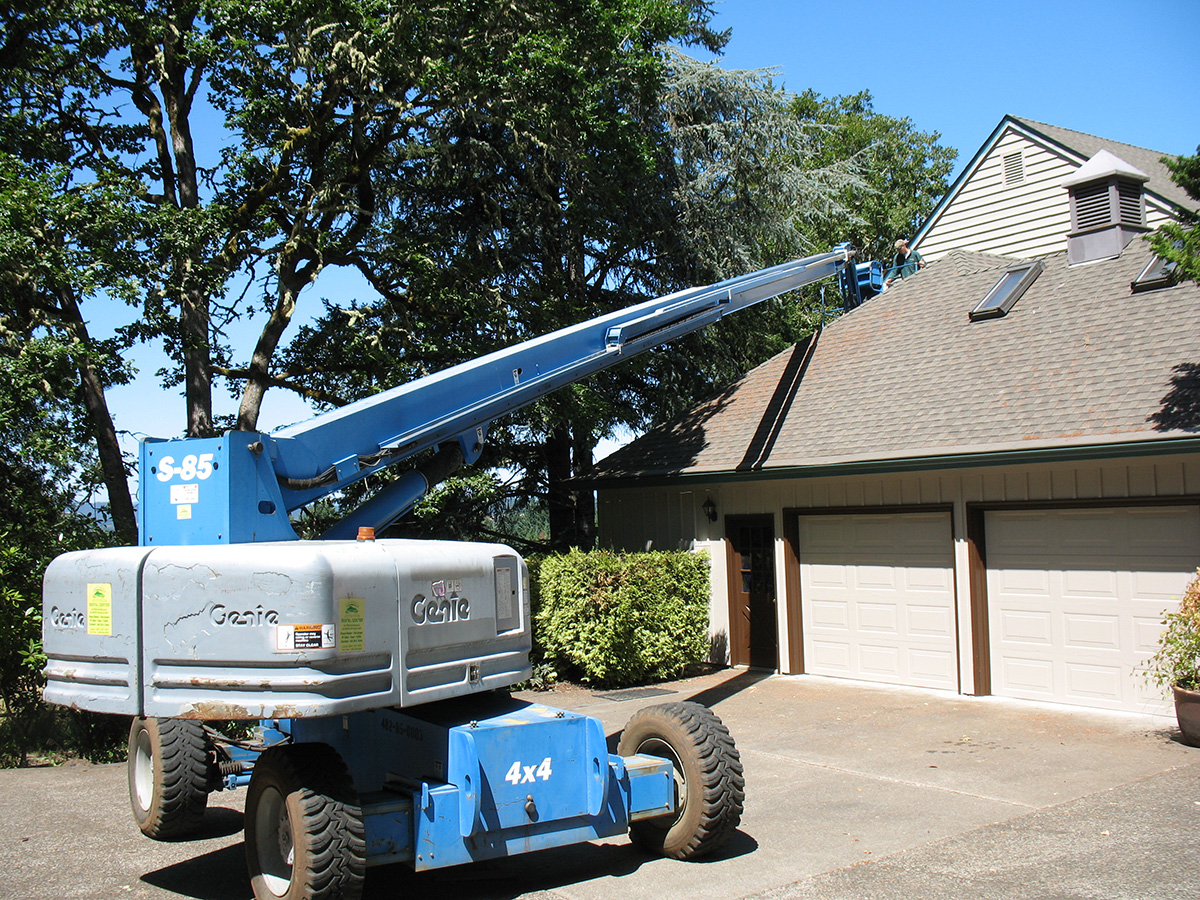
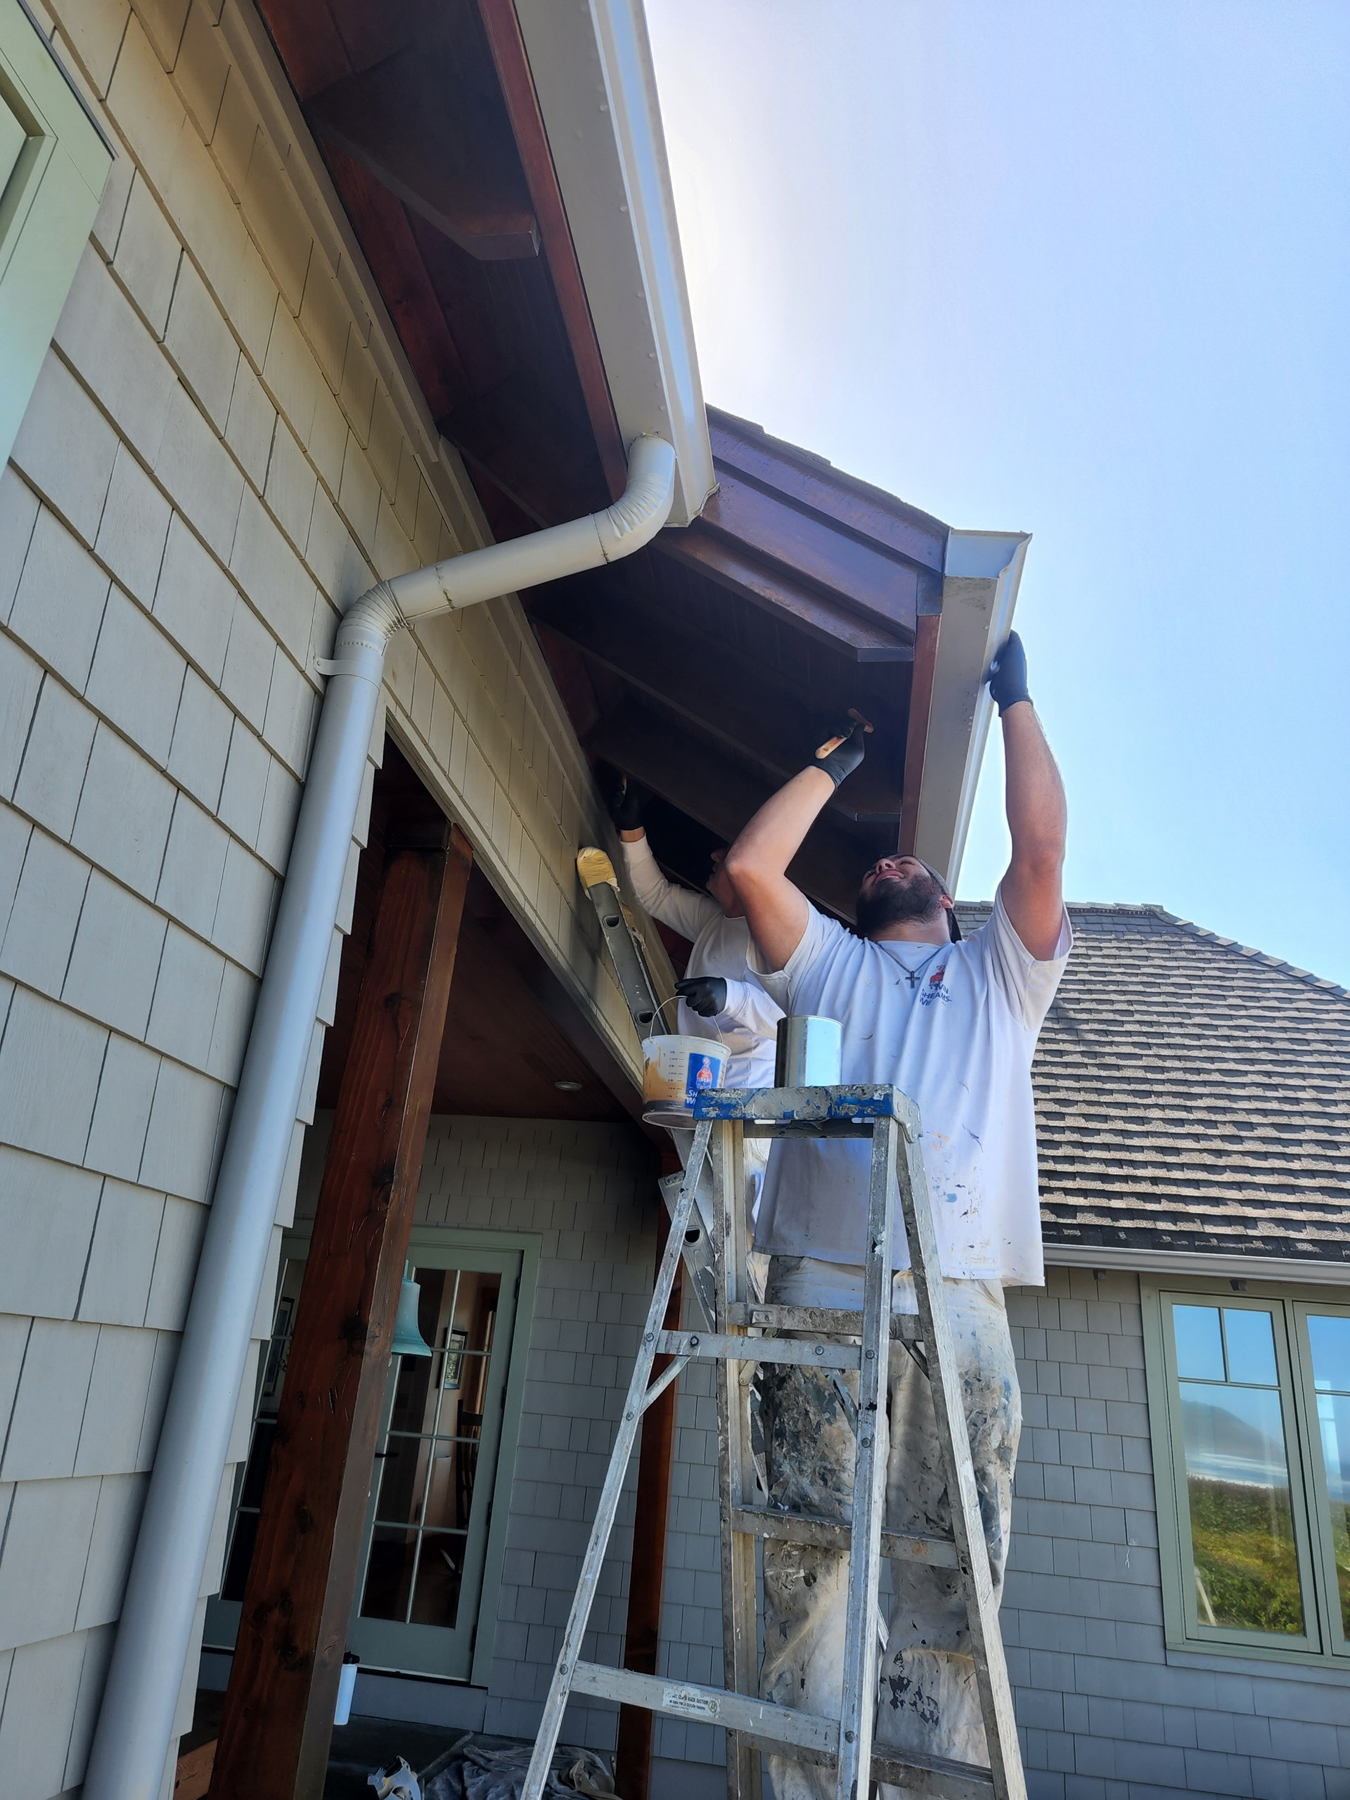
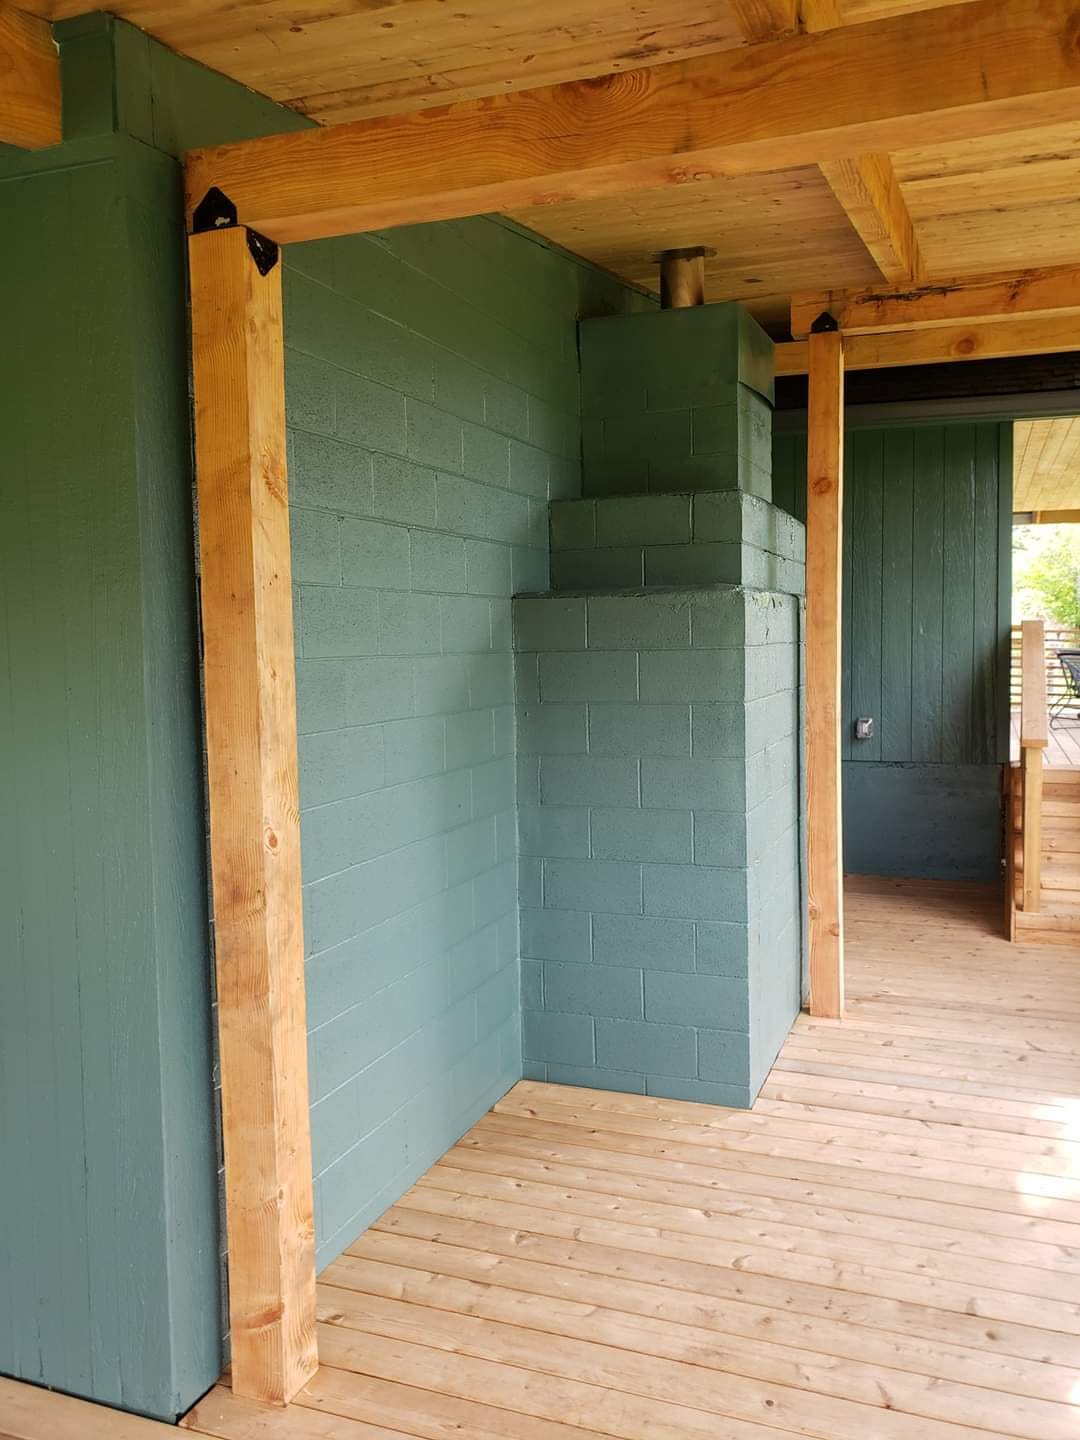
You might be surprised at just what it takes to get a painter in position to update and protect your home’s exterior, but whatever it takes, the Paint Doctor’s Painting Service will get there. It could take scaffolding, ladders, power lifts, cherry pickers, zip lines or catwalks – but they will get it done safely and thoroughly. Call Mike at 541-497-3804 and save your death defying adrenaline feats for your vacation adventures.