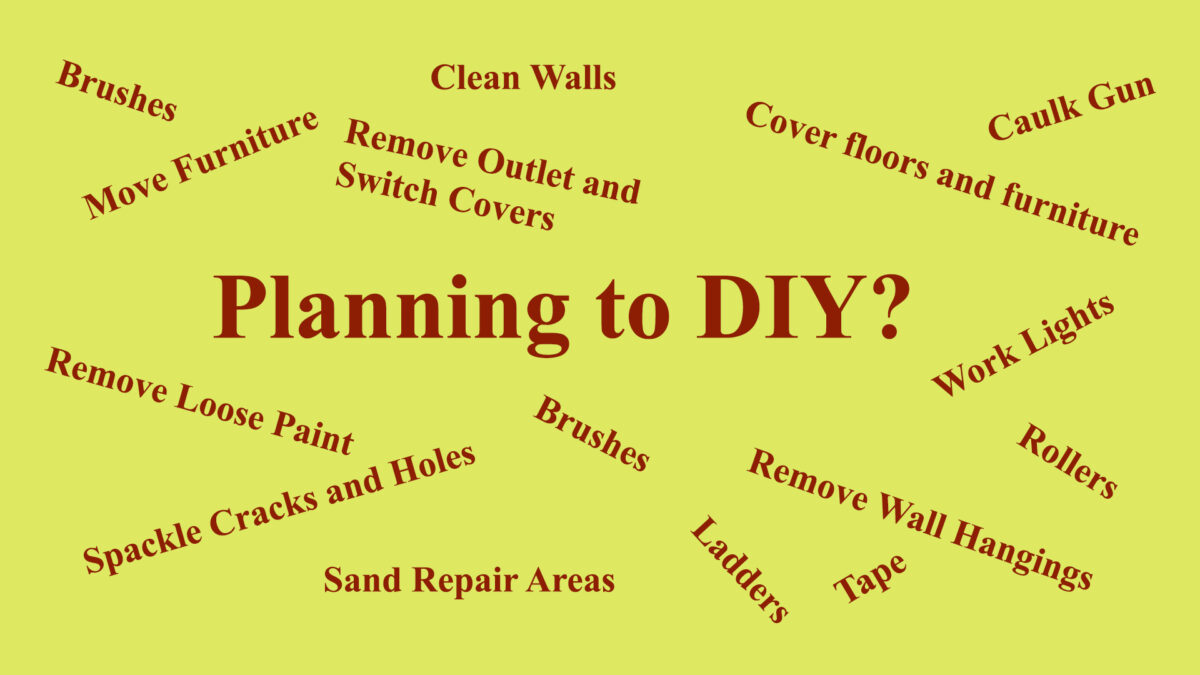
As experienced professional painters, our standard operating procedures help us avoid these common mistakes often experienced by DIYers. Check out these common painting mistakes:
- Skipping the Prep Work
Mistake: Not cleaning or repairing surfaces before painting.
Solution: Always clean, sand, and repair surfaces to ensure the paint adheres properly and looks smooth.
- Using the Wrong Tools
Mistake: Choosing the wrong brushes or rollers for the job.
Solution: Select high-quality brushes for detailed work and rollers for large, flat surfaces. Use the appropriate nap length for the texture of the surface.
- Ignoring Primer
Mistake: Skipping the primer coat.
Solution: Use a primer to create a smooth base, especially on new or repaired surfaces, or when changing from a dark to a light color.
- Overloading the Brush or Roller
Mistake: Applying too much paint at once.
Solution: Dip the brush or roller lightly and tap off excess paint. Apply thin, even coats for a smoother finish.
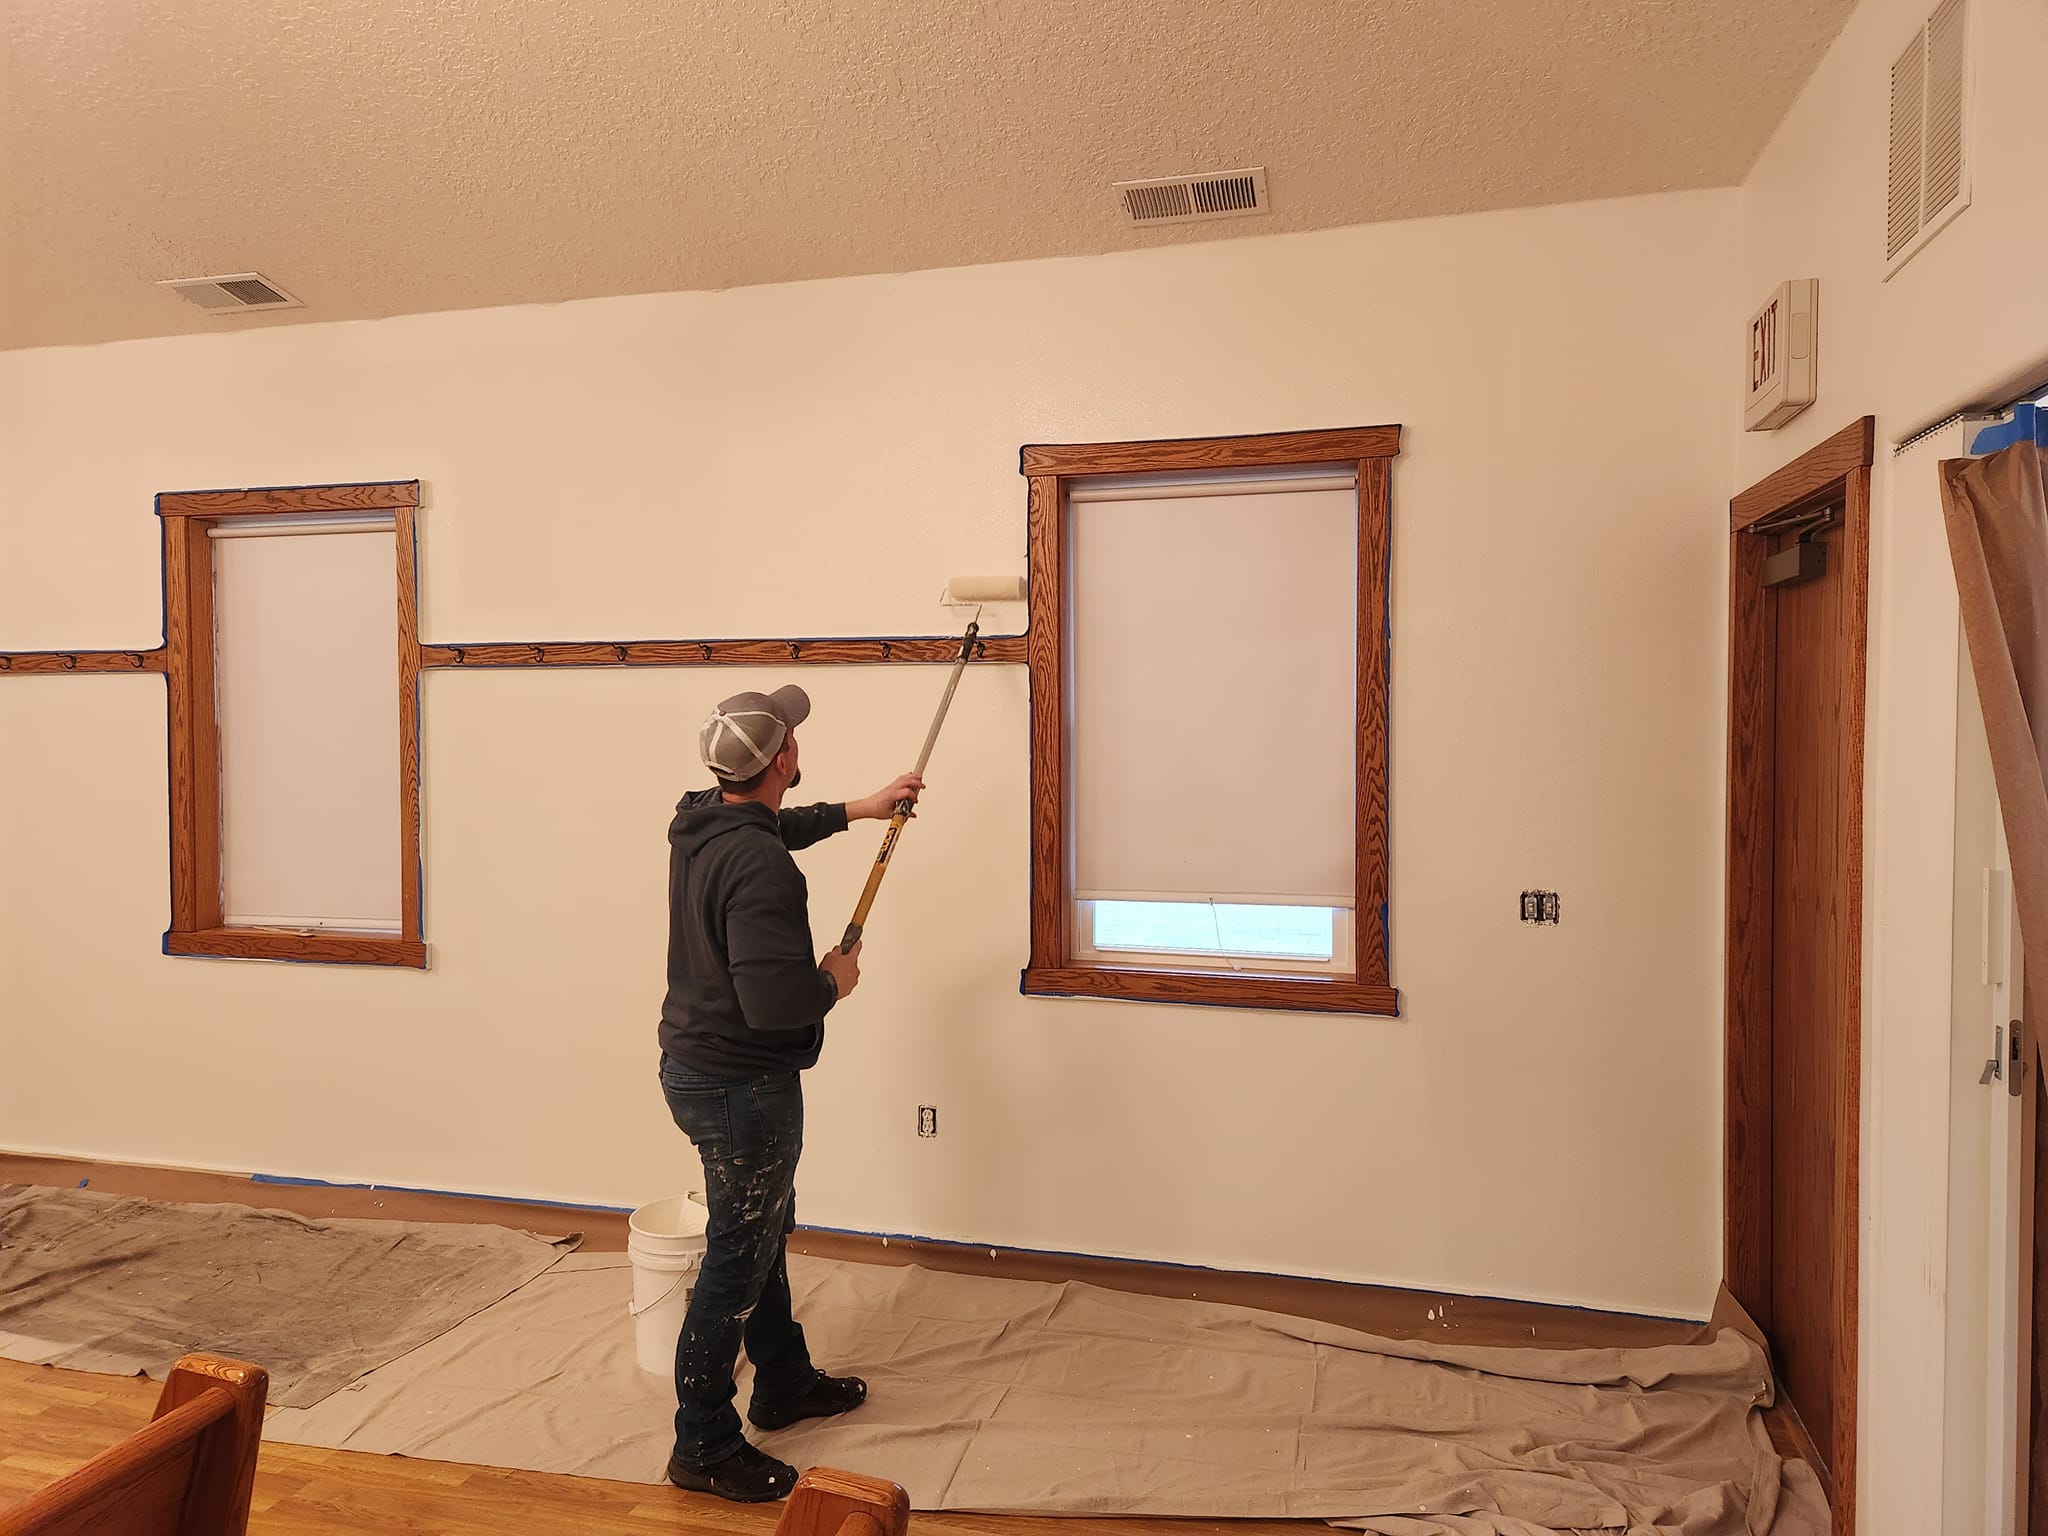
- Not Using Painter’s Tape Properly
Mistake: Applying painter’s tape incorrectly, leading to uneven lines.
Solution: Press the tape down firmly to avoid paint seeping under it. Remove the tape while the paint is still slightly wet to prevent peeling.
- Painting in Poor Lighting
Mistake: Painting in dim or uneven lighting.
Solution: Ensure good lighting to spot any missed areas or uneven coverage.
- Rushing the Job
Mistake: Painting too quickly, resulting in drips and streaks.
Solution: Take your time and use steady, even strokes. Allow each coat to dry fully before applying the next one.
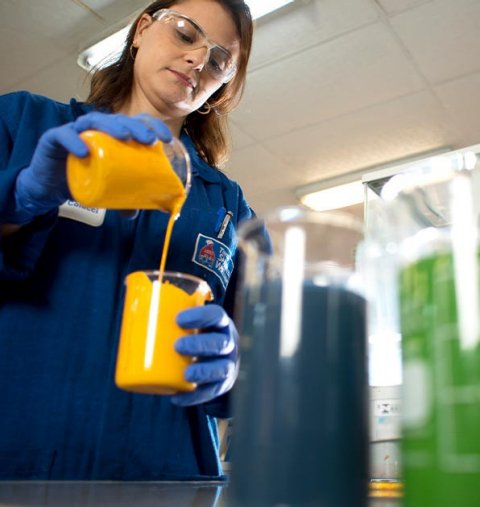
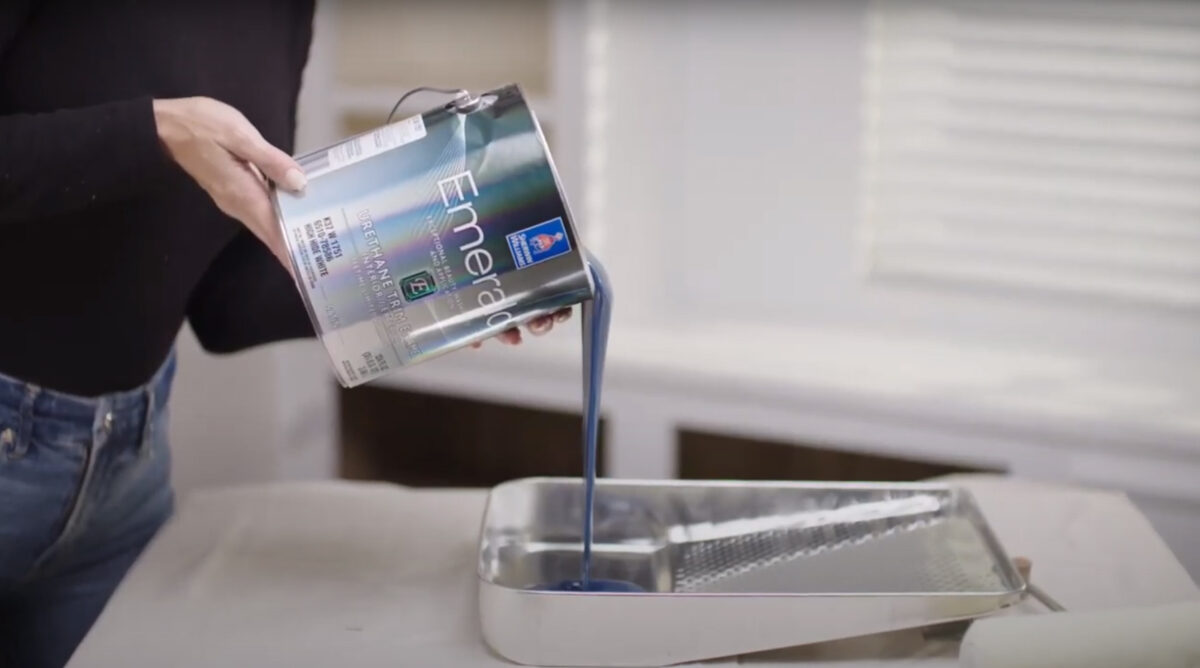
- Not Mixing Paint Properly
Mistake: Failing to mix the paint thoroughly.
Solution: Stir the paint well before and during use to keep the color and consistency uniform.
- Painting in Unfavorable Conditions
Mistake: Painting in extreme temperatures or humidity.
Solution: Follow the paint manufacturer’s recommendations for optimal conditions to ensure proper drying and adhesion.
- Neglecting to Clean Up
Mistake: Leaving paint trays, brushes, and rollers uncleaned.
Solution: Clean your tools immediately after use to prolong their lifespan and maintain their performance.
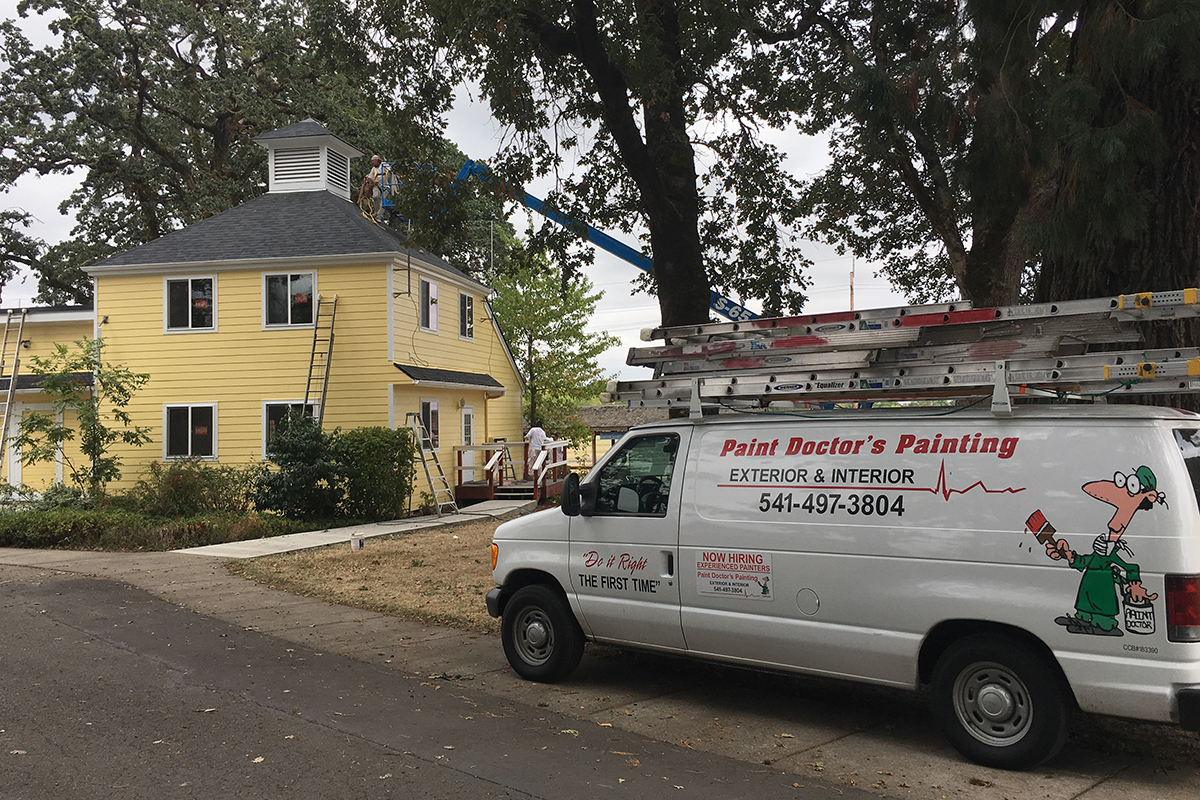
Perhaps the biggest mistake of all? Not knowing when to call the Paint Doctor, 541-497-3804