Must-Have DIY Painting Supplies

Paint – Choose the right type and finish for your project.

Paint Rollers & Brushes – Rollers for large surfaces, brushes for detailed work.

Painter’s Tape – Helps create clean edges and protects trim.

Drop Cloths or Plastic Sheets – Keeps floors and furniture paint-free.

Paint Tray – Holds paint for easy roller loading.

Sandpaper or Sanding Block – Preps surfaces for a smooth finish.

Stir Sticks – Ensures even color consistency.

Putty & Putty Knife – Repairs holes and imperfections before painting.

Primer – Helps paint adhere better and last longer.

Gloves & Mask – Protects hands and lungs during the job.

Of course, you don’t need any of this stuff if you give us a call: 541-497-3804

Paint Rollers

When you think about painting, the first tool that comes to mind might be the trusty brush, but let’s take a moment to appreciate the real workhorse of the painting world—the paint roller. If you’re tackling a large surface, nothing beats the efficiency, coverage, and smooth finish that a well-chosen roller can provide.

The Paint Doctor describes the benefits of using a paint roller
Some DIY projects require brushes and rollers.

Why Paint Rollers Matter

Paint rollers are designed to hold and distribute paint evenly, making them the perfect tool for painting walls, ceilings, and other broad surfaces. They reduce streaks, help you work faster, and can even add texture when used creatively.

Choosing the Right Roller

Not all rollers are created equal. Here’s a quick guide to help you pick the perfect one:

  • Foam Rollers – Ideal for ultra-smooth surfaces and glossy finishes.
  • Nap Rollers – Available in different thicknesses (or “nap” sizes). A thicker nap (like ¾”) is great for textured walls, while a thinner nap (like ¼”) works best on smooth surfaces.
  • Microfiber Rollers – Perfect for minimal splatter and maximum coverage, making them a favorite for DIY painters.

Pro Tips for Using a Paint Roller

  1. Load Properly – Roll it in the tray and make sure it’s evenly coated but not dripping.
  2. Use the “W” Technique – Start by rolling in a “W” shape to distribute the paint, then fill in the gaps.
  3. Avoid Over-Rolling – Too many strokes over the same spot can leave unwanted texture or uneven coverage.
  4. Keep It Clean – Rinse your roller after use and store it properly for future projects.

Elevate Your Painting Game

A great roller can make all the difference in your painting experience. Whether you’re revamping a room or tackling a big project, choosing the right roller ensures a smooth, professional-looking finish with minimal effort.

So next time you’re gearing up for a paint job, don’t underestimate this unsung hero—your walls will thank you!

Of course, you can avoid all of the hassles of rollers, brushes and sprayers by giving us a call, 541-497-3804

Applying Urethane

Why Choose Urethane?

Urethane coatings are known for their excellent resistance to abrasions, chemicals, and UV exposure, making them ideal for both indoor and outdoor applications. They come in different finishes—glossy, satin, or matte—giving you versatility in achieving your desired aesthetic.

Preparation Is Everything

Before dipping your brush or sprayer into urethane, take time to prepare the surface:

  • Clean Thoroughly: Remove dirt, grease, and old finishes to ensure proper adhesion.
  • Sand Smoothly: Lightly sand the surface for better grip and wipe away dust with a tack cloth.
  • Prime If Necessary: Depending on the material, a primer may enhance adhesion and uniformity.

Application Techniques

Applying urethane requires patience and precision:

  • Use the Right Tools: A high-quality brush or foam applicator works well for smaller projects, while a spray gun ensures even coverage for larger areas.
  • Thin, Even Coats: Apply multiple thin layers rather than one thick coat to avoid drips and uneven drying.
  • Watch the Dry Time: Allow each coat to cure properly before adding another—this prevents bubbling or tackiness.
  • Ventilate the Area: Urethane contains strong solvents, so good airflow helps prevent inhalation hazards and speeds up drying.

Troubleshooting Common Issues

  • Bubbles in the Finish? Apply slowly, avoid excessive shaking of the product, and ensure a dust-free environment.
  • Sticky Surface? Check humidity levels and allow additional drying time between coats.
  • Uneven Coverage? Use light sanding between coats and maintain consistent application strokes.

Protecting Your Work

Once fully cured, urethane forms a tough, resilient barrier—but it still benefits from proper maintenance. Clean gently with non-abrasive cleaners and avoid harsh scrubbing that may dull the finish over time.

A well-applied urethane coating transforms surfaces with durability and elegance. With the right preparation and technique, your project will look professionally finished and stand the test of time.

Sheen

You’ve finally narrowed down your paint colors, and now you must make another decision – it’s time to choose a sheen.


A non-reflective sheen that helps hide surface imperfections, making walls appear smooth. Visually this finish smooths walls that are dented or rough. However, it can be harder to clean. Best for:

Adult bedrooms
Formal Living Rooms
Ceilings
Uneven or textured walls
This flat finish is great for hiding surface imperfections, while its angular shine helps make walls smooth and washable. Use this sheen for:

Living rooms
Dining rooms
Exterior siding
With a slight shine, Satin and Eg-Shel finishes offer a richer look. Washability makes these sheens ideal for high-traffic areas most likely to attract nicks and scuff marks such as:

Hallways
Woodwork
Children’s bedrooms
Family rooms
Exterior surfaces
This moderately reflective, durable finish is perfect for areas that get cleaned frequently, such as:

Kitchens
Bathrooms
Utility area
Closet doors
Trim
Gloss sheens have higher light-reflective characteristics. This shiny, durable finish works great for any element of a room you would like to highlight such as:
Wood trim
Cabinets
Doors
Furniture

If you have questions about choosing the sheen of paint to use for interior or exterior finishes, give us a call at 541-497-3804.

Naturally

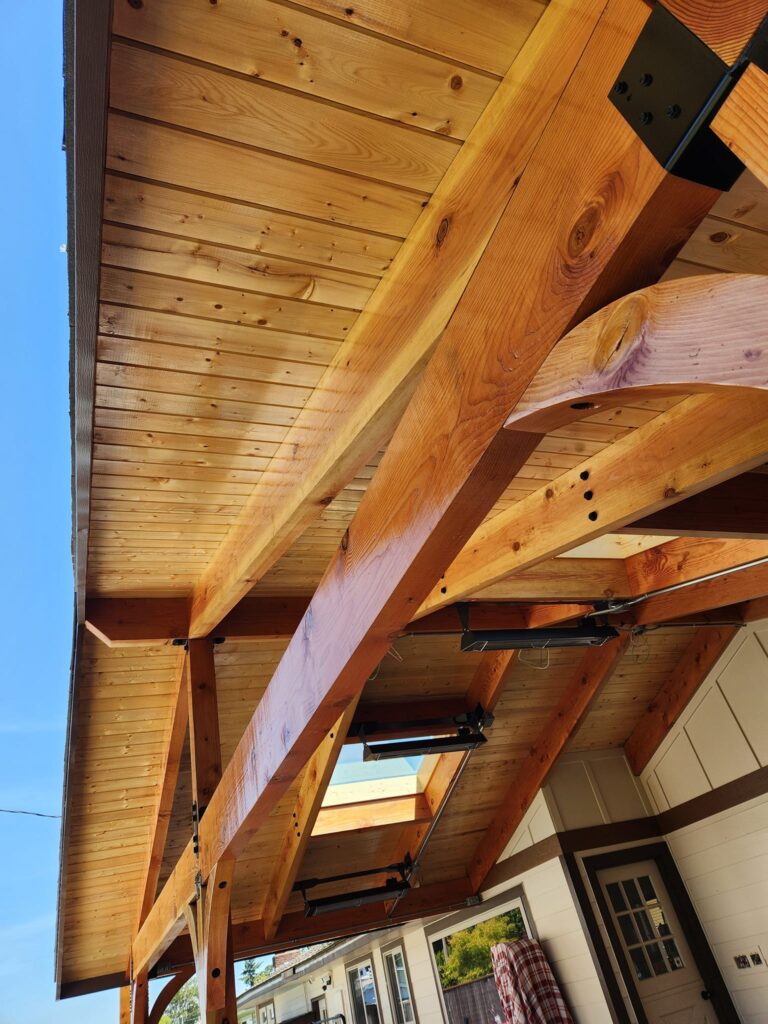
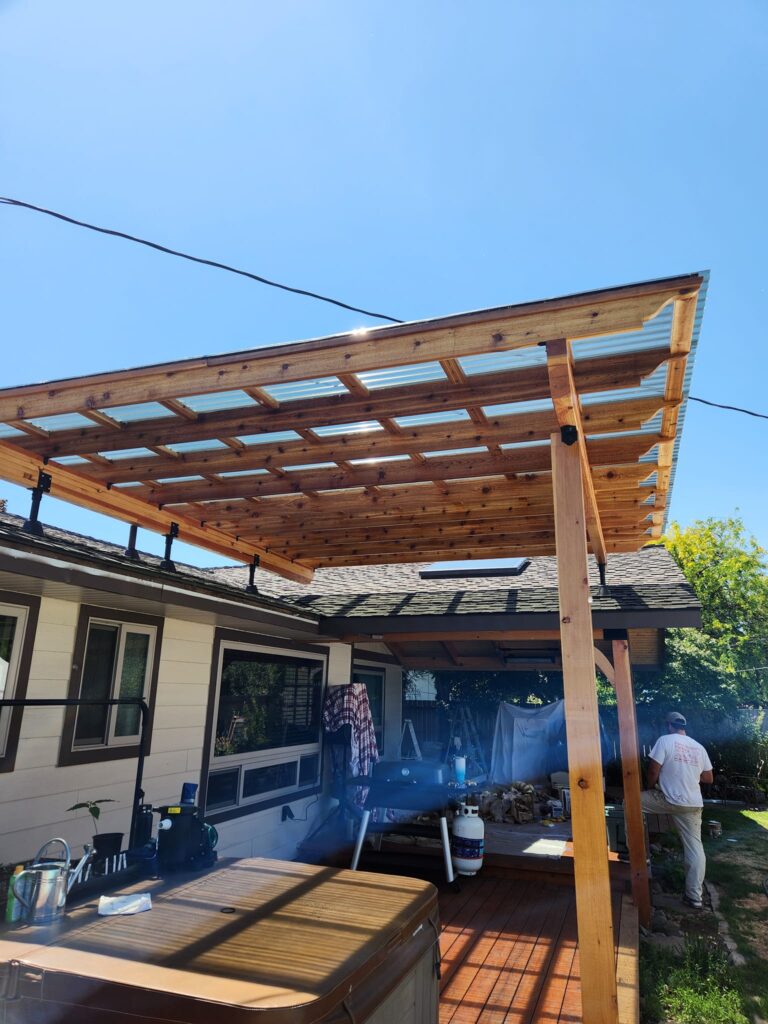
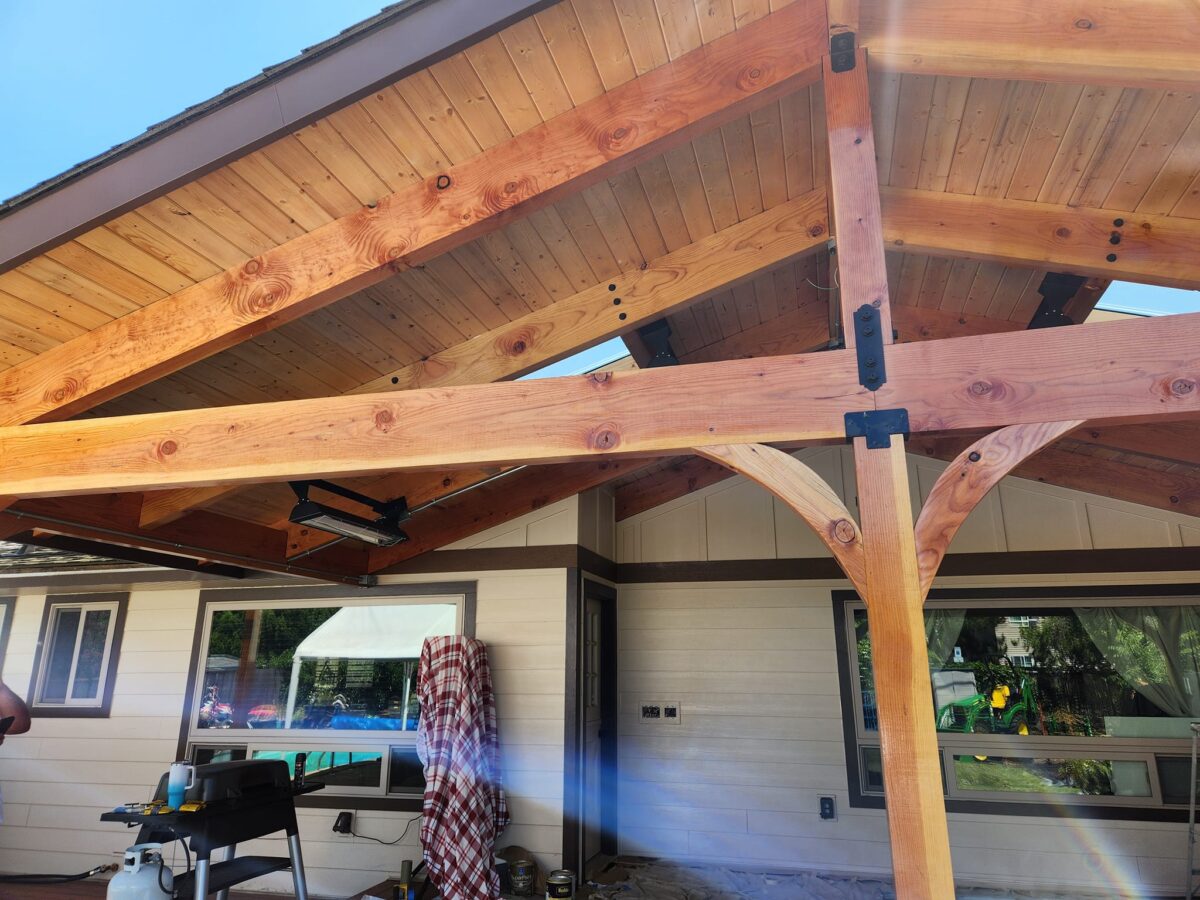
We often use the term natural wood, which is the look we’re going for but in reality these projects need lots of professional care and product application to keep them looking natural for a long time.

Just like our painted finishes, a natural wood look needs UV protection to maintain the original color and it needs a seal coat to keep water and insect penetration from damaging the looks and the structural integrity. The type of seal coat for outdoor applications is critical. You have a lot invested in your natural wood project. Call the Paint Doctor to make sure it is properly protected, 541-497-3804.
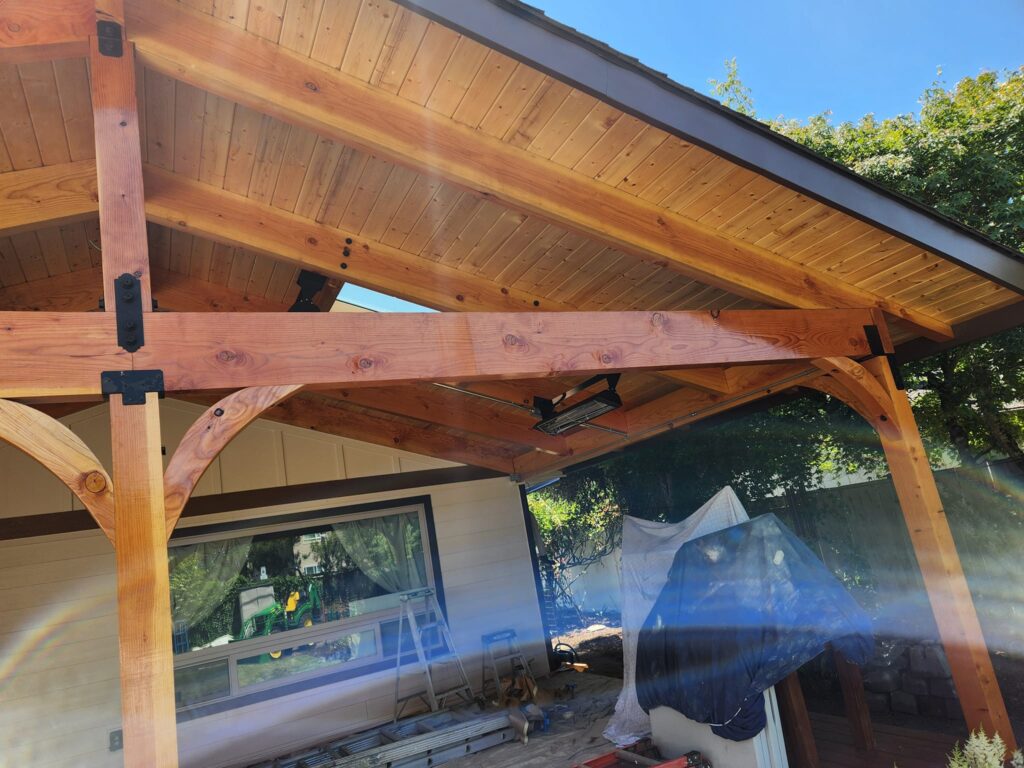
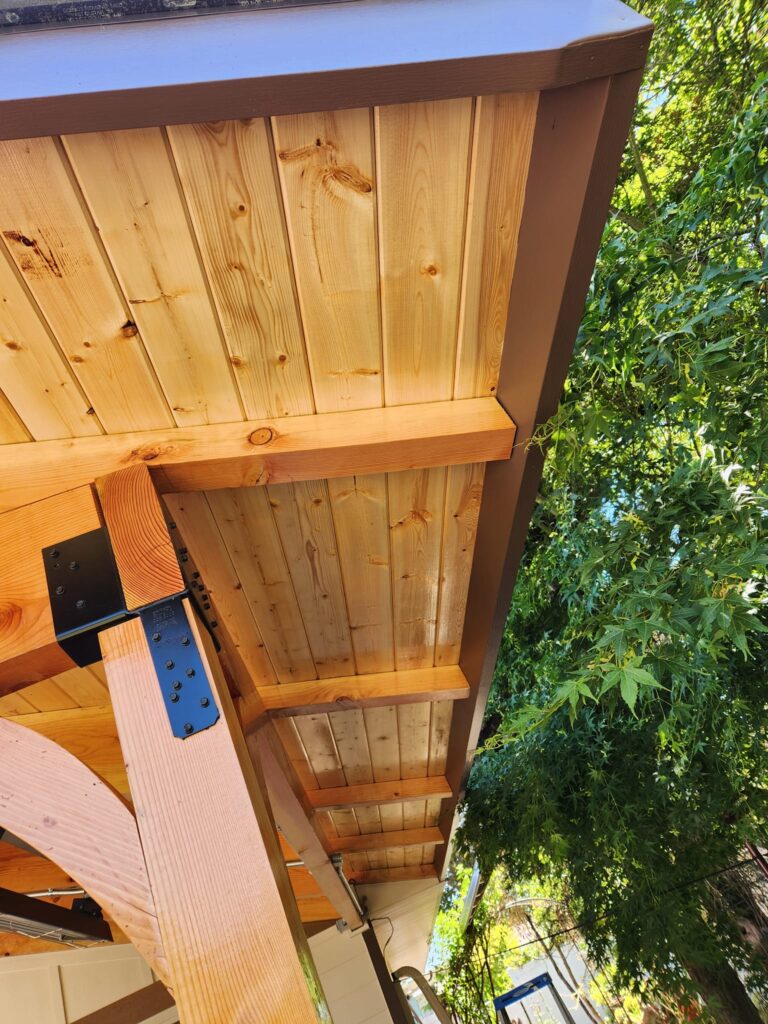
Natural wood deck cover.

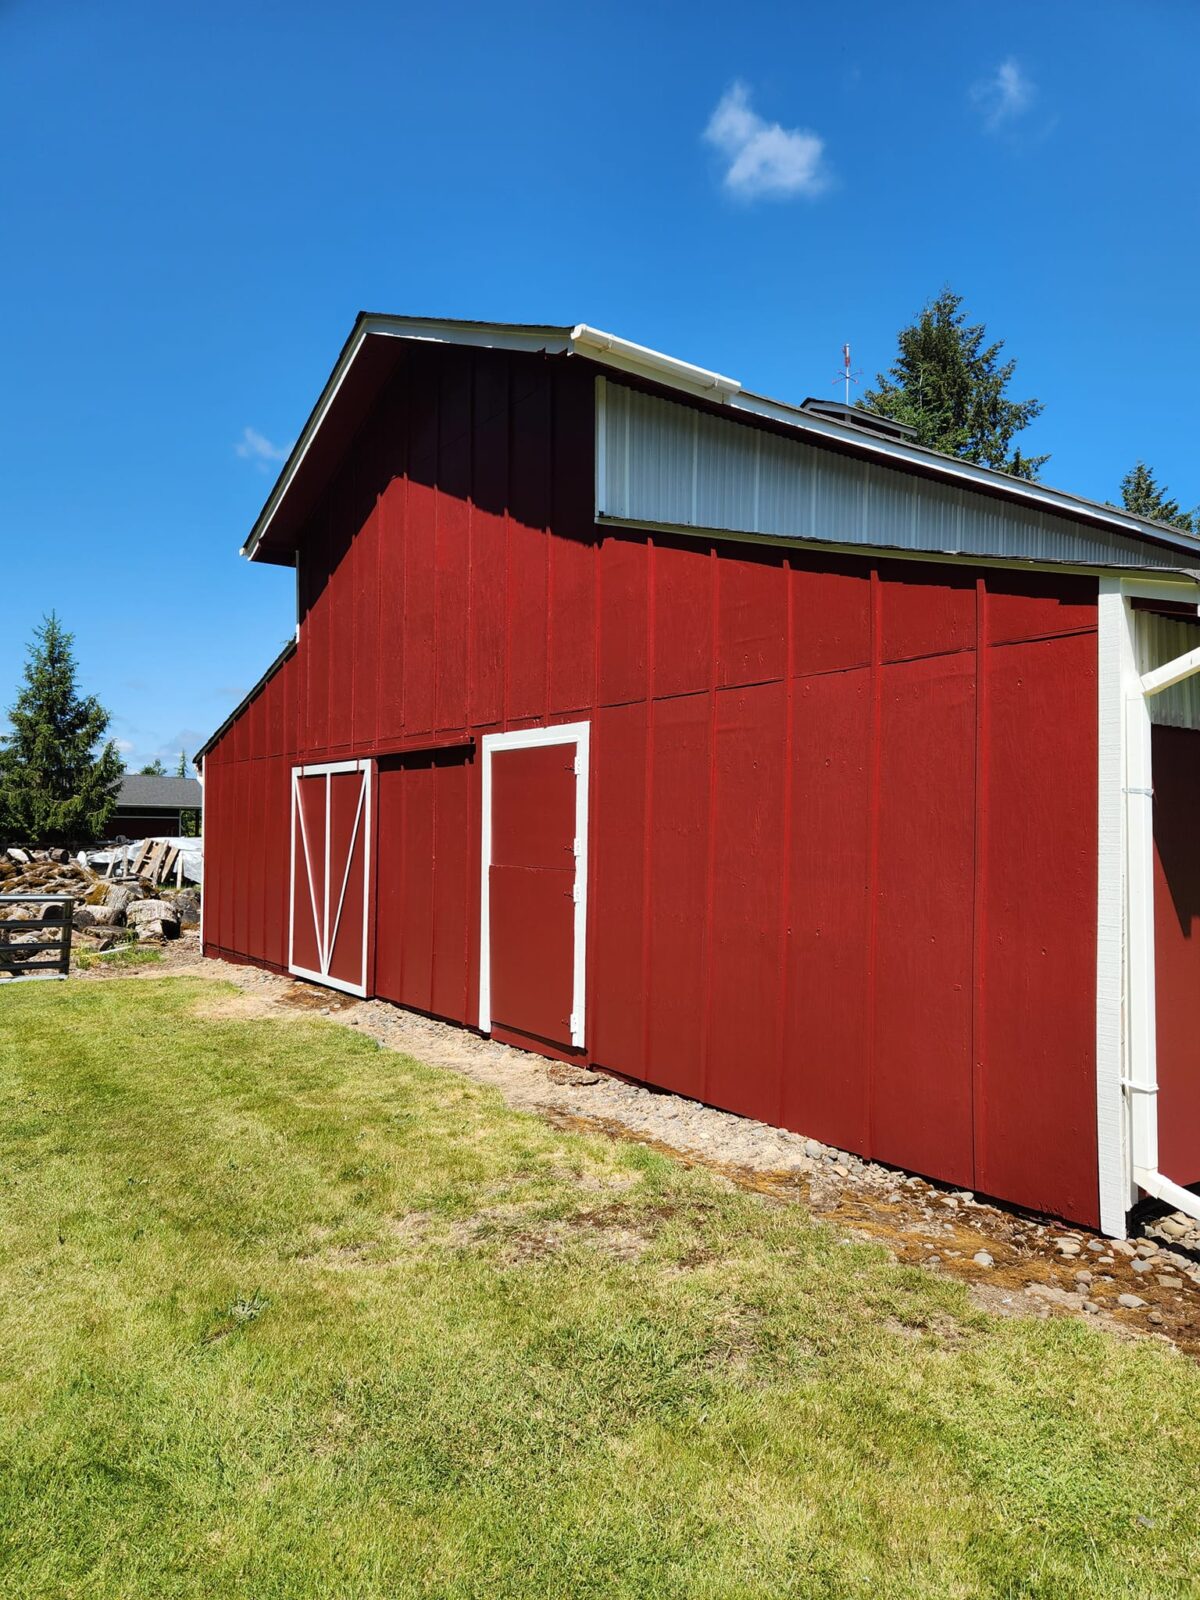
Barns and Other Out Buildings

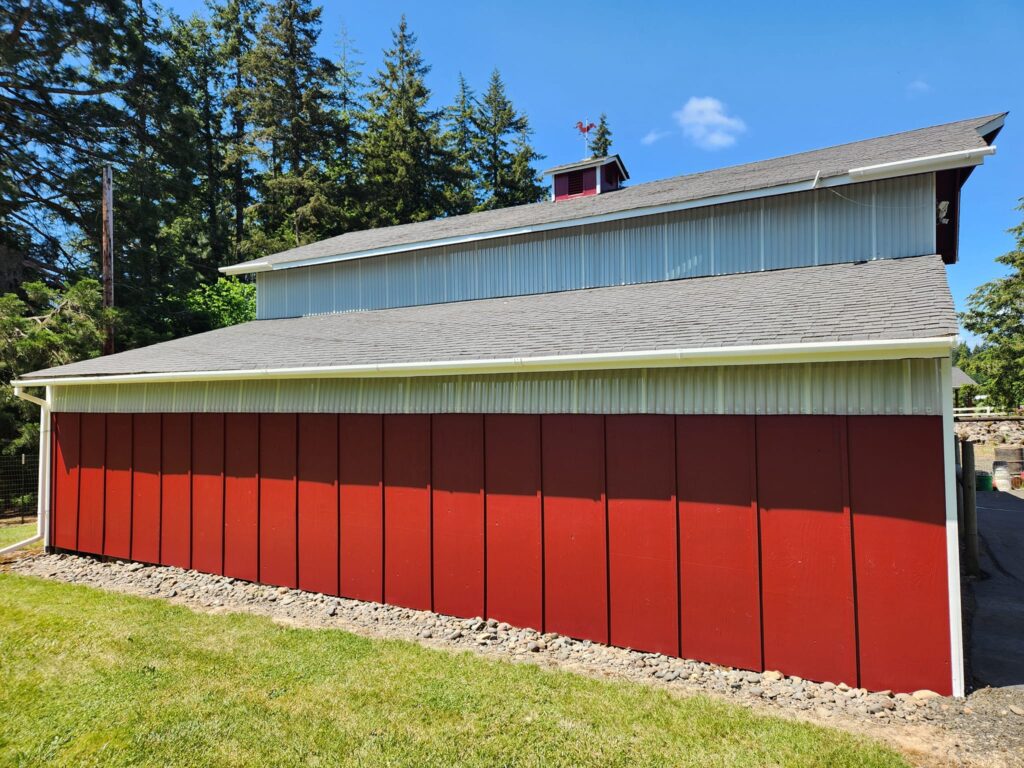
All of the things we say about protecting the investment of your home applies to the protective covering for your outbuildings as well. Old, weathered barn wood might be just the thing for décor, but it’s probably not the best idea on the exterior of an actual working barn.

Barns can present unique challenges with hay lofts, hoist beams, lean-tos, breeze ways and attached fencing. We have the experience to handle these challenges . Call Mike for an estimate for your barn or outbuilding 541-497-3804.

Malted Milk

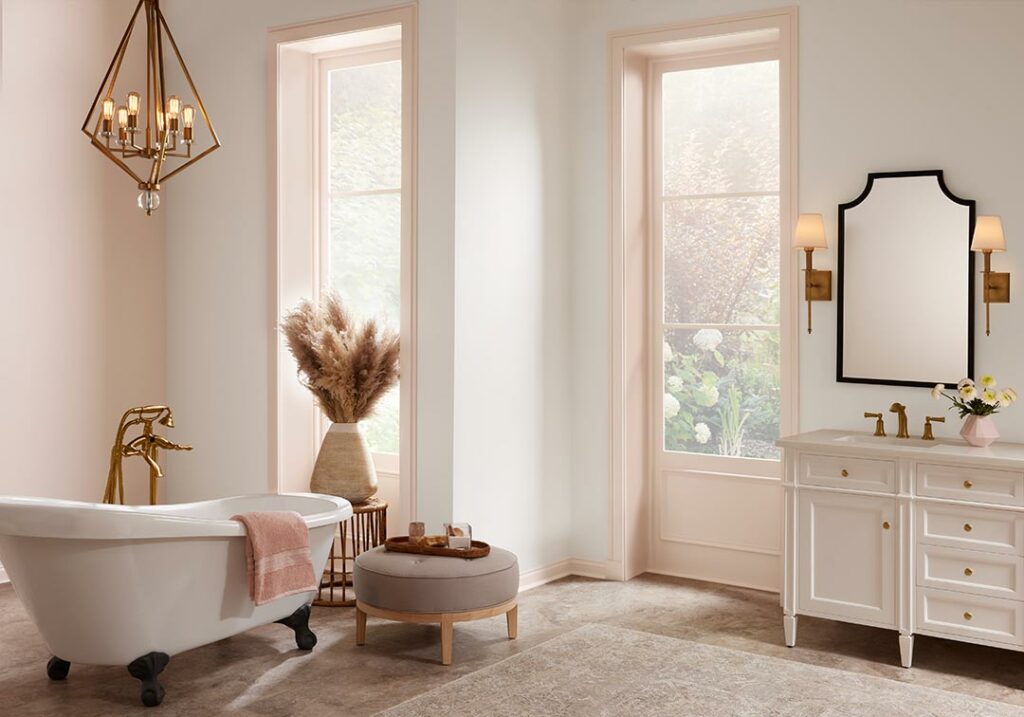
Staying with our spring theme of pastels, here is anther color by Sherwin-Williams, “Malted Milk’s soft shade can turn every day into a sweet escape. Couple this blushing beauty with cottagecore vibes to craft a home where little moments are romanticized.”

Bathroom with claw foot tub and pink trim.
Parlor with green tone fireplace and pink walls
House paint colors that go with pink

Call the Doctor

When you hire the pros at Paint Doctor’s Painting, you get an entire crew doing all of those difficult painting operations at once with the speed and accuracy that comes with doing the job right the first time every time.

Paint Doctor’s Painting would love to transform your interior spaces with the color of your choosing or give some new curb appeal to your exterior. Call Mike at 541-497-3804.
When you consider the amount of time involved in doing your own paint project compared to hiring the Doctor, we think you will agree. Many property owners significantly underestimate what it takes to wash, prep, caulk, fill, sand, scrape, mask, pack, place, climb, spray, roll, brush, move and do it all again.
However, when you hire the pros at Paint Doctor’s Painting, you get an entire crew that is doing all of these operations at once with the speed and accuracy that comes with doing the job right the first time every day. Rather than having your house in that paint-job-in-process mode for weeks, you can have the whole job completed in a day or two.
Consider also the safety factor. We have the equipment and knowledge to do the job safely. When you consider how each time you move a ladder and reset it you have to get it just right and even then you are climbing, reaching and working off that ladder… Better left to the pros.
Call Mike at 541-497-3804.

Mike Nading the Paint Doctor

The very best nicknames are earned and bestowed on a person by their peers. This is definitely the case with the Paint Doctor aka Mike Nading of Albany, Oregon. Mike has worked in the paint industry for over 40 years and has earned a reputation with customers and fellow painters as the go-to guy for answers and advice about painting done right.

Much of Mike’s career in painting has been in the retail business. His paint stores in Roseburg and Albany were always fun places where homeowners felt welcome and where professional painters loved to stop by for supplies and grab a donut and a cup of coffee on the way to the job site.

Now for many years as a painting contractor, Mike has taken his trademark friendly customer service and vast knowledge of paint products, surface preparation and proper application to the places where they are needed most: the job sites and the homes of his customers.

Mike is more than willing to tackle even the toughest jobs, but there is one thing he tries to avoid at all costs: call-backs, which is why his motto “Do it right the first time” is quickly learned by everyone on his crew.

Give Mike Nading, the Paint Doctor, a call about your painting project today! 541-497-3804