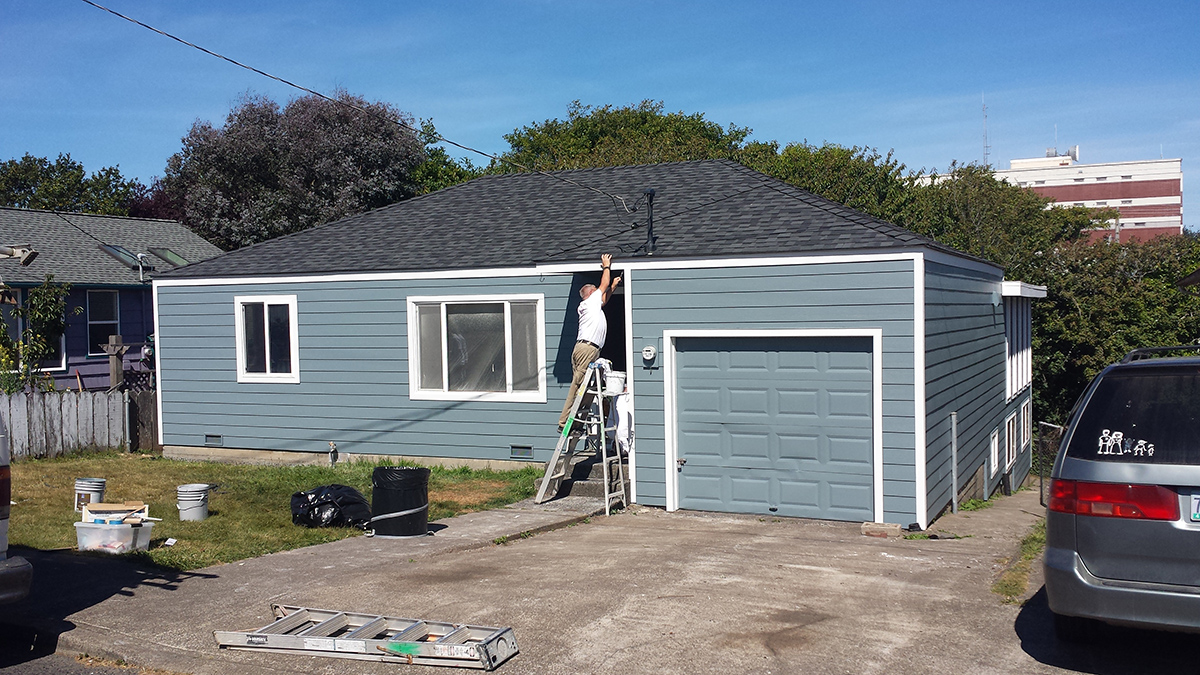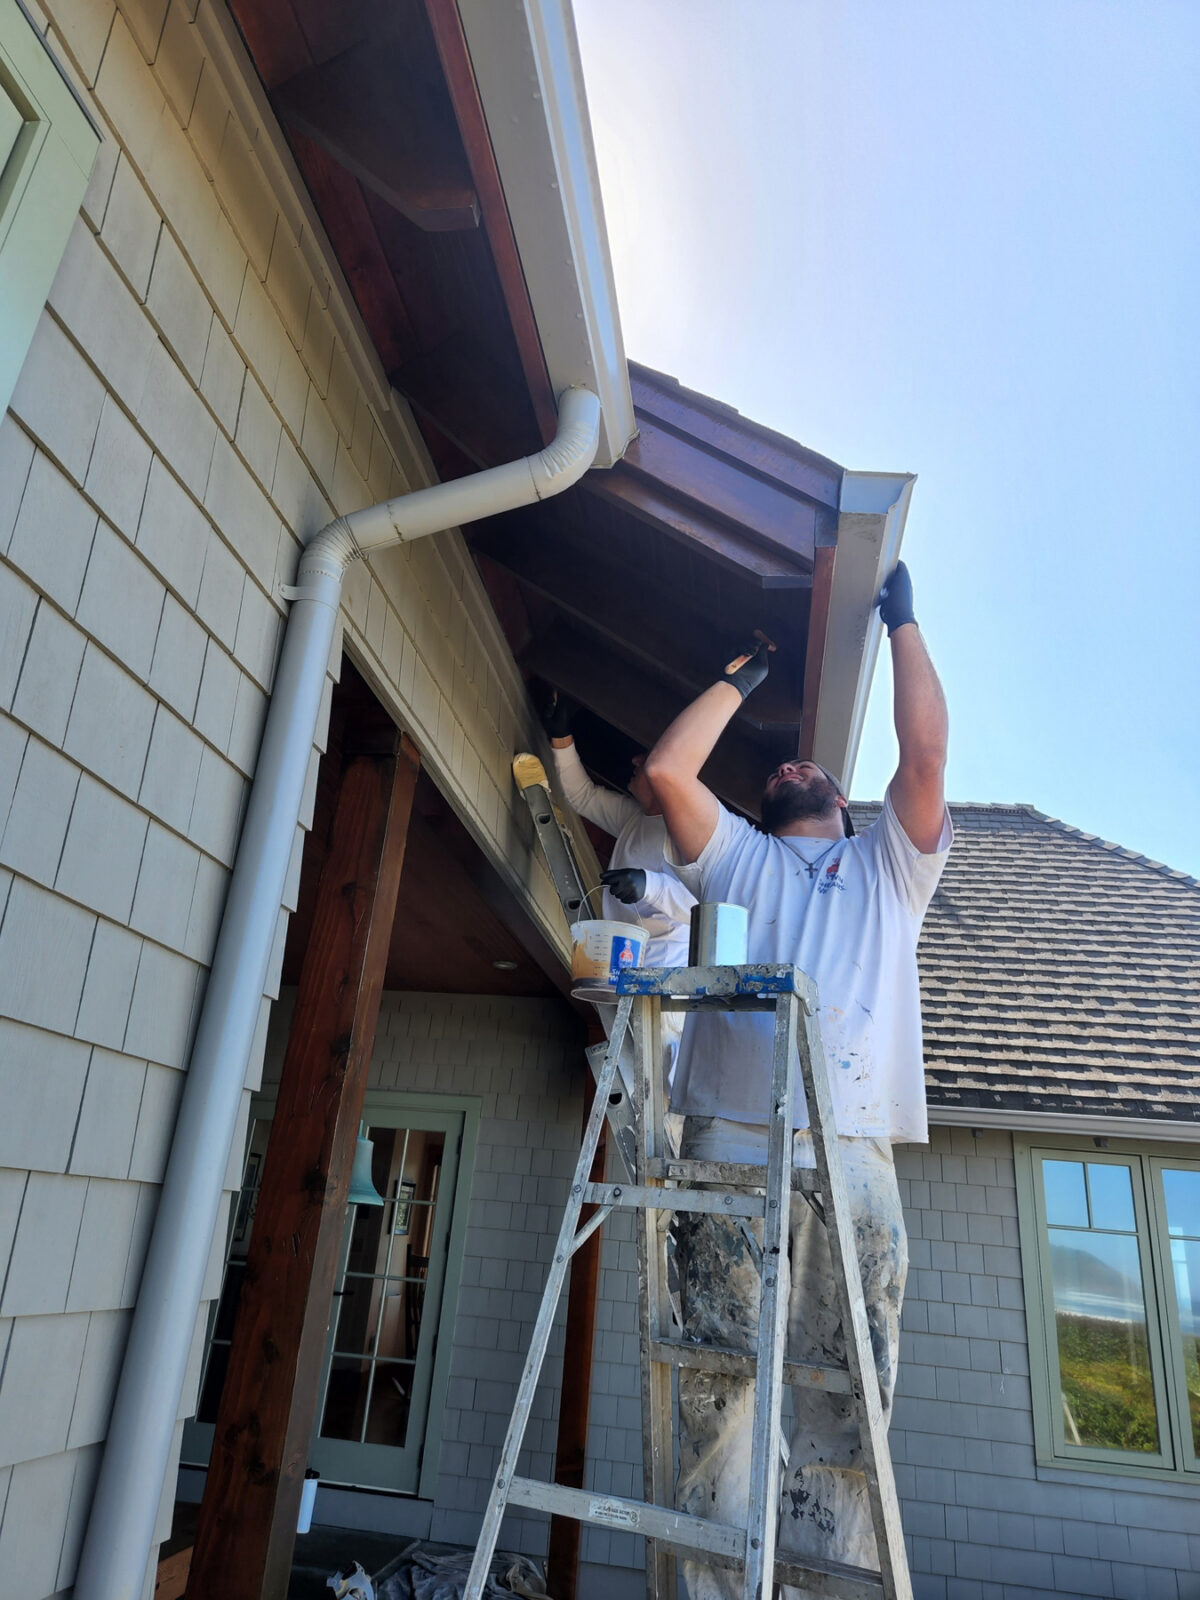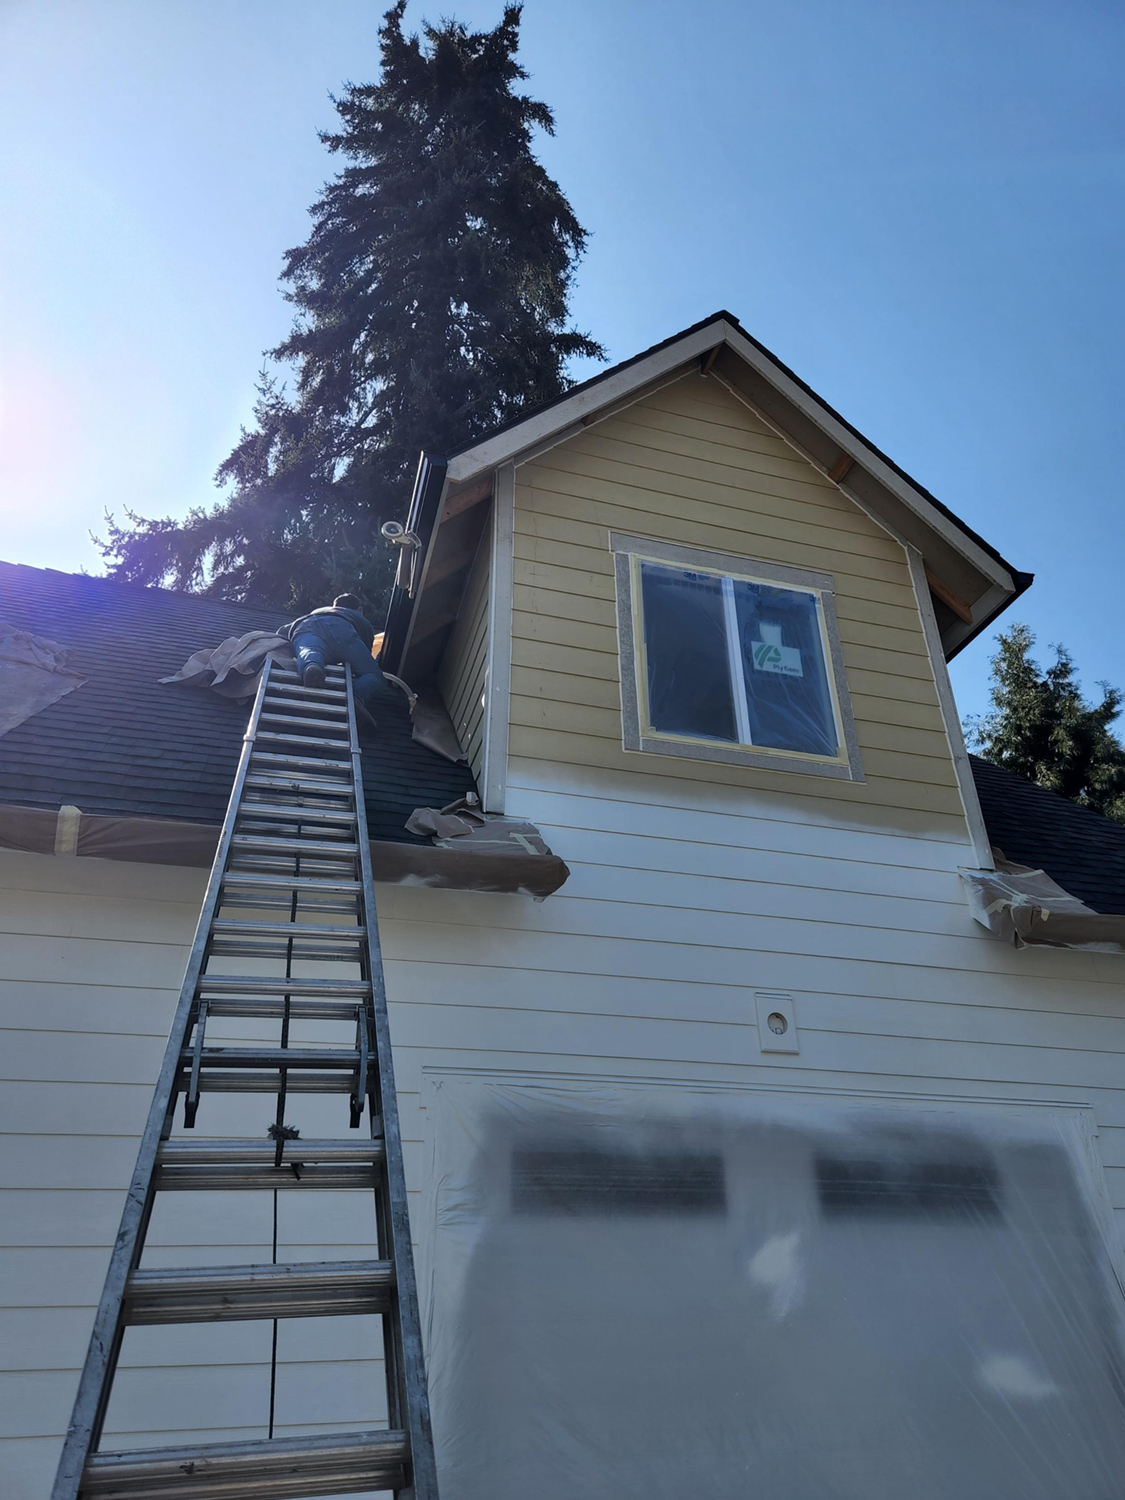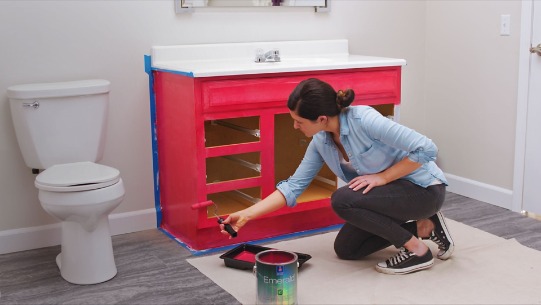
Painting your home can be a rewarding project, but many DIY painters overlook the potential health risks of chemical exposure. Paints, primers, and cleaning solvents contain volatile organic compounds (VOCs) and other hazardous substances that, when inhaled or absorbed, can lead to serious health issues.
Common Chemical Risks in Painting
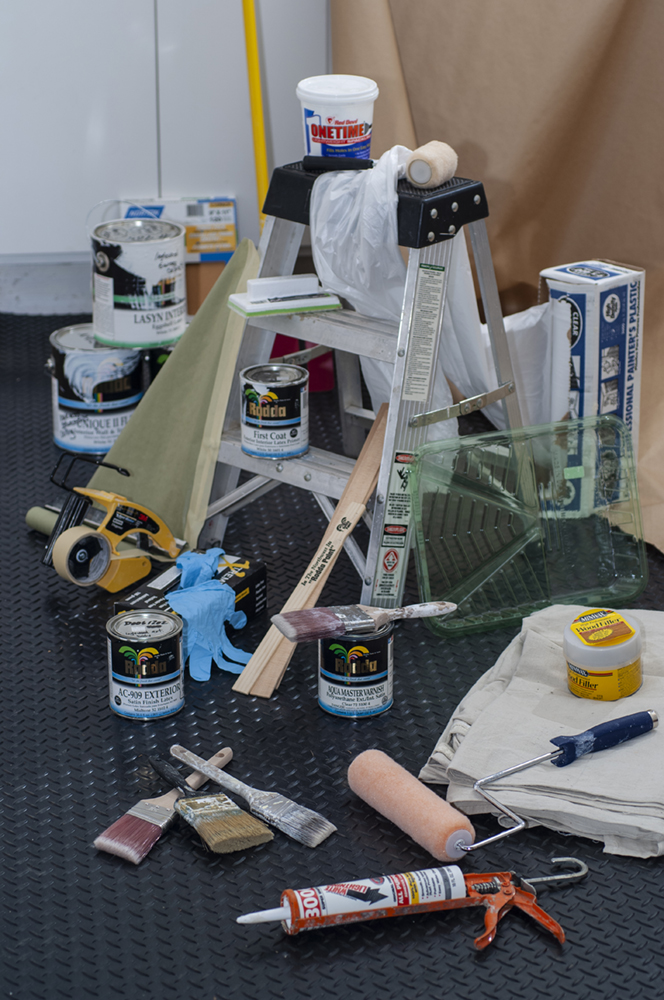
- Volatile Organic Compounds (VOCs) – Found in oil-based paints, primers, and thinners, VOCs can cause headaches, dizziness, and respiratory irritation. Long-term exposure may lead to organ damage.
- Lead-Based Paint – Older homes (built before 1978) may contain lead paint, which can cause neurological damage if sanded or scraped without proper precautions.
- Mold & Mildew Resistant Chemicals – Some paints contain antimicrobial agents that may irritate skin and lungs if not handled properly.
- Solvent-Based Cleaners – Paint removers and degreasers often contain harmful solvents like acetone or methylene chloride, which can affect the nervous system.
How to Stay Safe While Painting
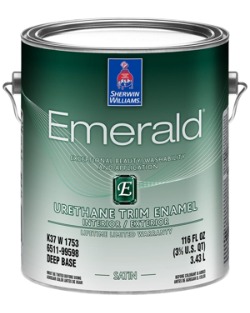
- Choose Low-VOC or Water-Based Paints – These are safer alternatives with fewer harmful fumes.
- Ventilate the Area – Always work in well-ventilated spaces with open windows or fans to disperse fumes.
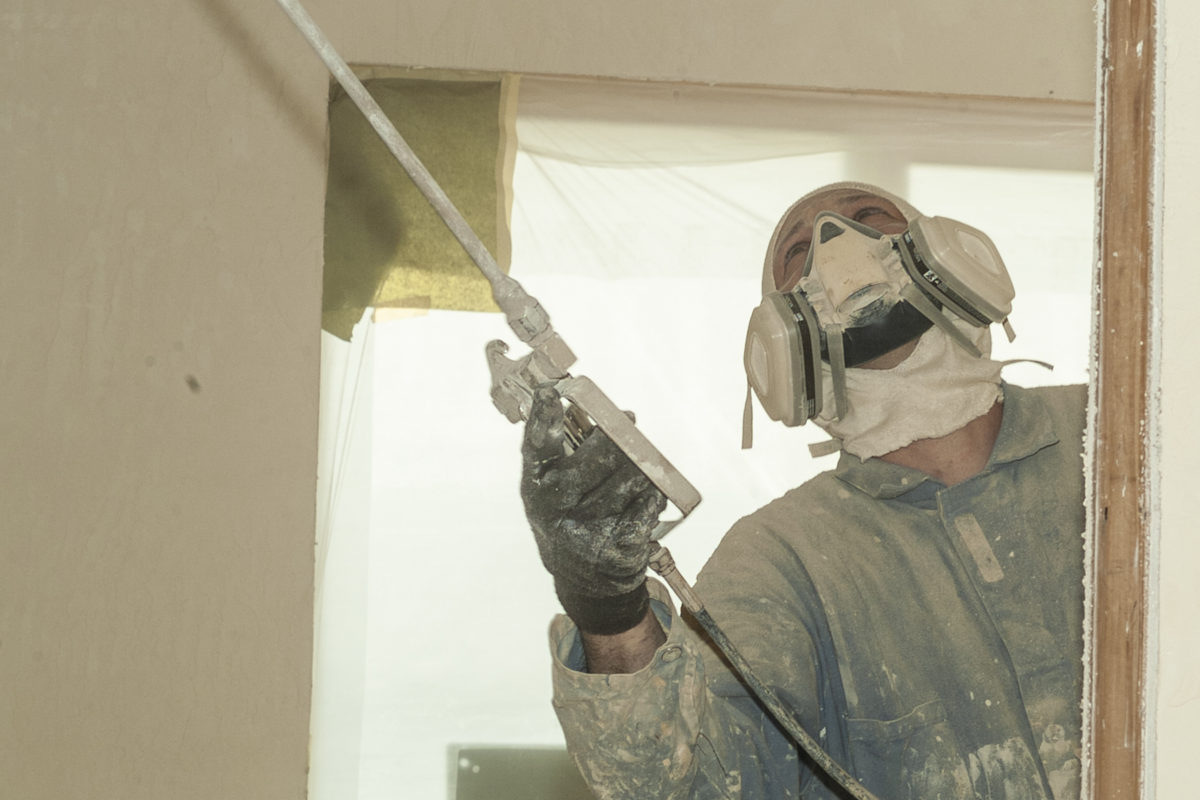
- Wear Protective Gear – Use gloves, masks, and safety goggles to limit skin and inhalation exposure.
- Avoid Eating or Drinking Near Paints – Prevent accidental ingestion of harmful substances.
- Properly Dispose of Paint & Chemicals – Follow local regulations for disposing of hazardous materials responsibly.
Painting is a great DIY project, but safety should always come first. Protect yourself and your home by being mindful of chemical exposure risks. The very best way to avoid hidden chemical exposure is to hire the professionals at Paint Doctor’s Painting Service, 541-497-3804