Painting your home is a major investment, and timing plays a crucial role in achieving a flawless finish that lasts. Choosing the right season, temperature, and weather conditions can make all the difference. Here’s what homeowners should consider when planning their painting project.
Factors That Affect Paint Performance
- Temperature Matters – Paint dries best between 50°F and 85°F (10°C–30°C). Too cold, and the paint won’t adhere properly; too hot, and it may dry too fast, leading to cracks.
- Humidity Levels – High humidity can slow down drying time and cause paint to bubble. A dry climate ensures a smoother application.
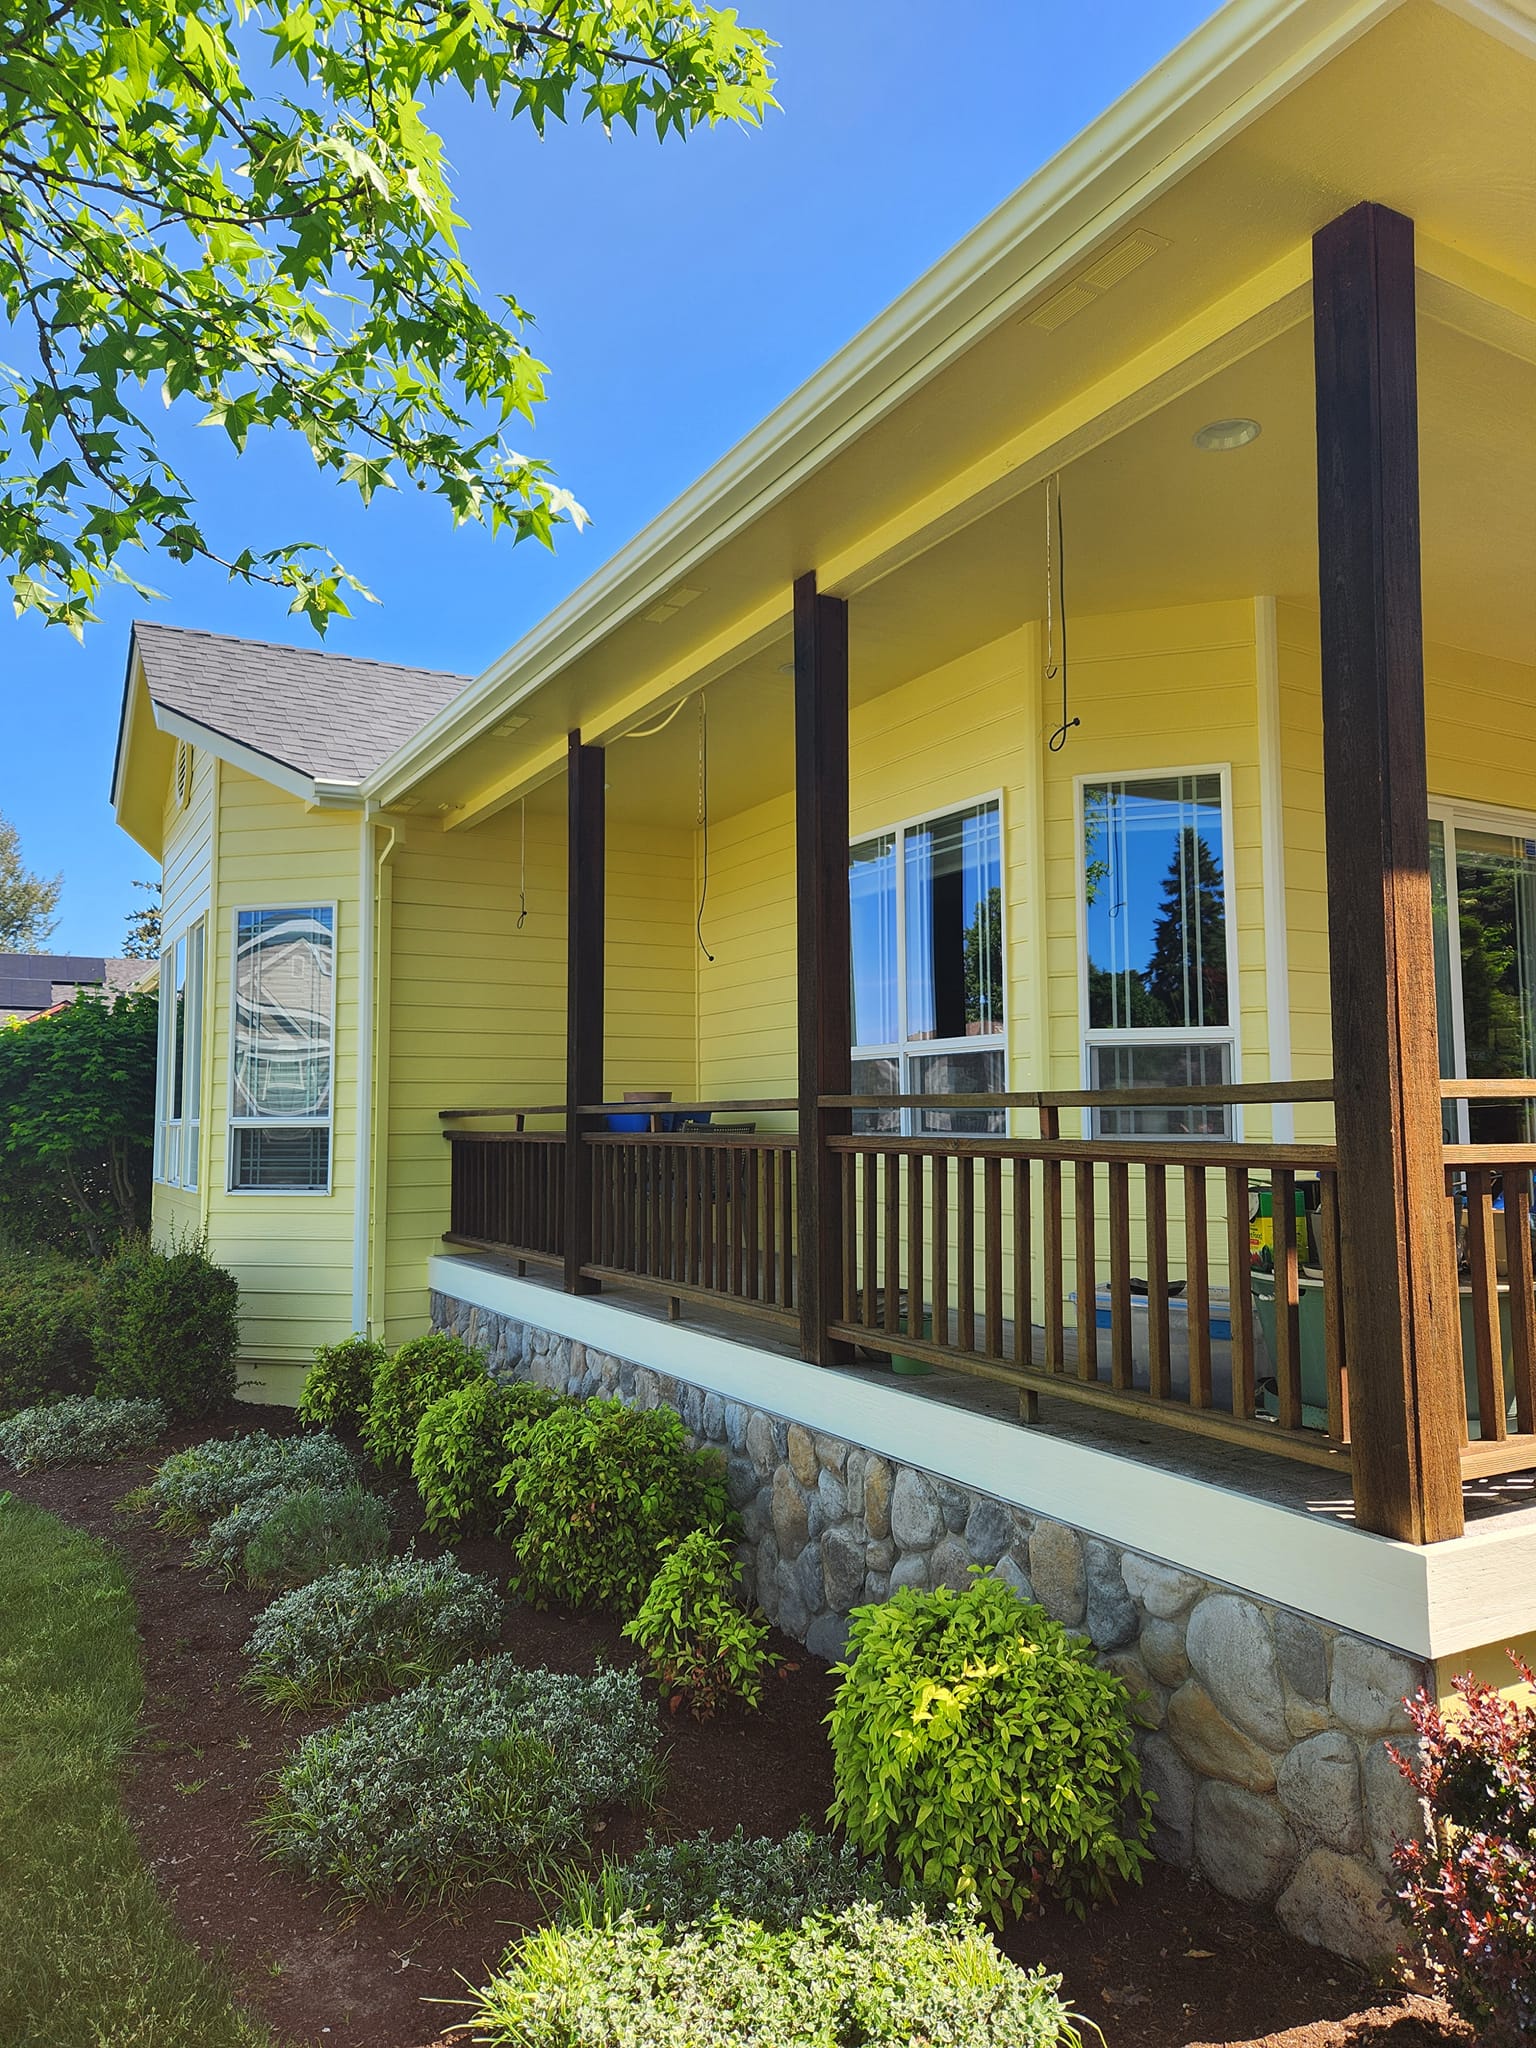
- Sunlight Exposure – Direct sunlight can cause paint to dry unevenly, leading to streaks. It’s best to paint in the shade or during cooler parts of the day.
- Rain Risk – Painting in rainy conditions or right before rainfall can wash away fresh paint. Always check the forecast!
Best Seasons to Paint Your House
- Spring – Our Willamette Valley springs can be very wet so timing exterior paint takes some experience.
- Summer (With Caution) – If temperatures stay within the optimal range, summer can be great. Just avoid extreme heat and direct midday sun.
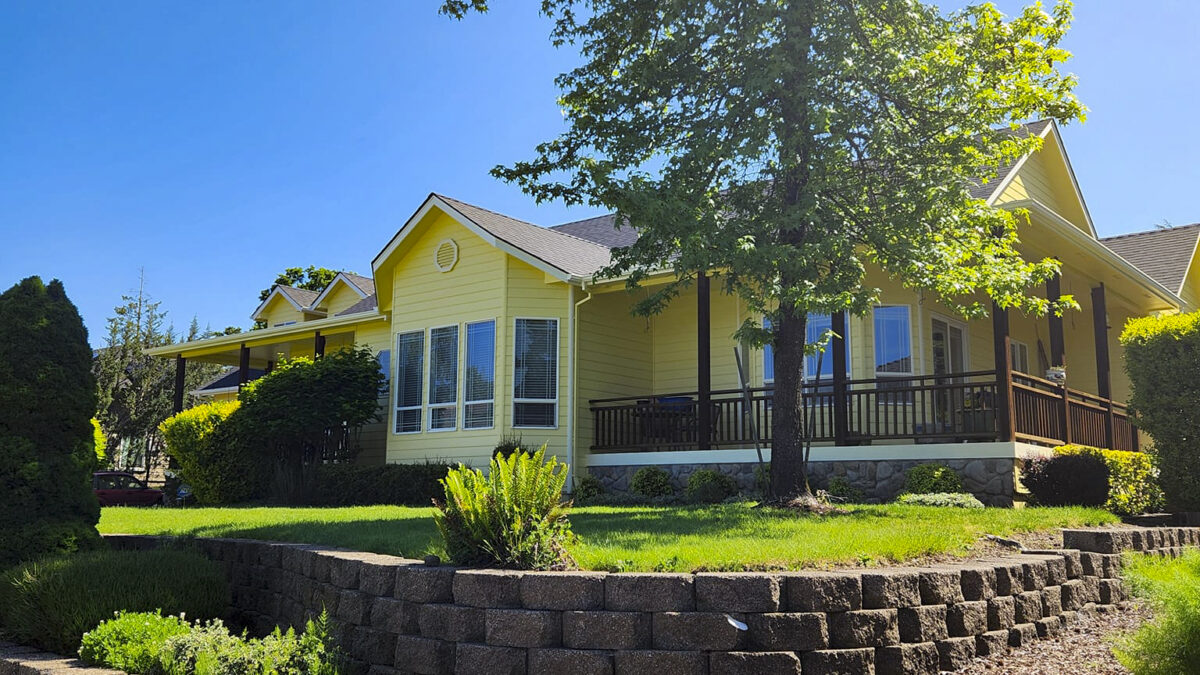
- Early Fall – With moderate temperatures and less humidity, can be ideal for exterior painting.
- Winter (Not Ideal) – Cold temperatures prevent proper drying, so exterior painting is best avoided unless using specialized cold-weather paints.
Final Tips for a Successful Paint Job
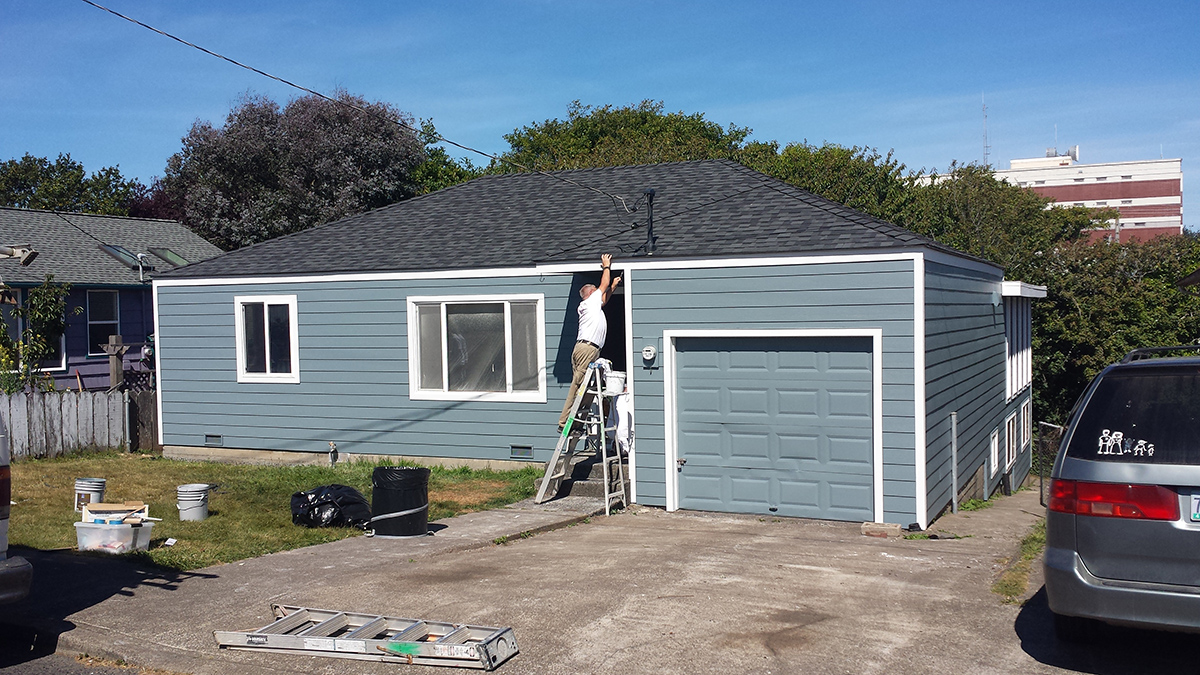
- Choose a wind-free day to prevent debris from sticking to wet paint.
- Start early in the morning or late afternoon to avoid peak heat.
- Ensure at least 24 hours of dry weather after painting for the best results.
By selecting the right time to paint, homeowners can achieve a durable, long-lasting finish.
Of course, when you hire the Paint Doctor’s Painting Service, we take care of all of these details. 541-497-3804