So you’ve decided to tackle a painting project yourself? Excellent! DIY painting can be incredibly rewarding, transforming your space with a fresh look and injecting new life into your home. However, to achieve that professional-looking finish you dream of, it’s essential to avoid some common pitfalls that can derail even the most enthusiastic DIY painter.
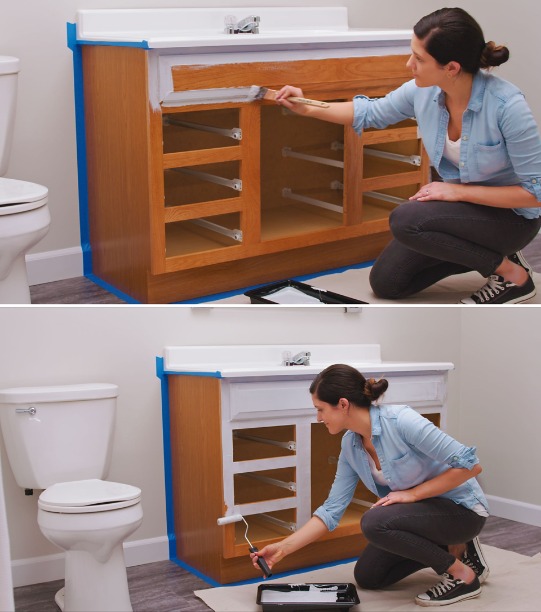
1. Skipping surface preparation
This is a common and damaging mistake. Even with the perfect color and paint, the paint won’t adhere properly if the surface isn’t ready, leading to peeling, cracking, or an uneven finish.
How to avoid it:
- Clean thoroughly to remove dust, dirt, grease, and grime. A mild detergent or sugar soap solution works well.
- Repair imperfections by filling in any holes, cracks, or dents with spackle or filler. Sand smooth once dry.
- Sand glossy surfaces lightly to create a better grip for the paint, and sand patched areas smooth.
- Prime where necessary. Always use a primer, especially over dark colors, bare wood, new drywall, or patched areas. Primer helps with adhesion, provides a uniform base, and ensures the true color shines through. Products such as Kilz 2 All-Purpose Primer, a water-based, multi-surface primer, sealer, and stain blocker with excellent adhesion and mildew resistance, are ideal for covering stains and enhancing hiding, which potentially reduces the number of topcoats needed. Alternatively, the Zinsser Cover Stain Primer, an oil-based option, offers premium hiding power for both interiors and exteriors.
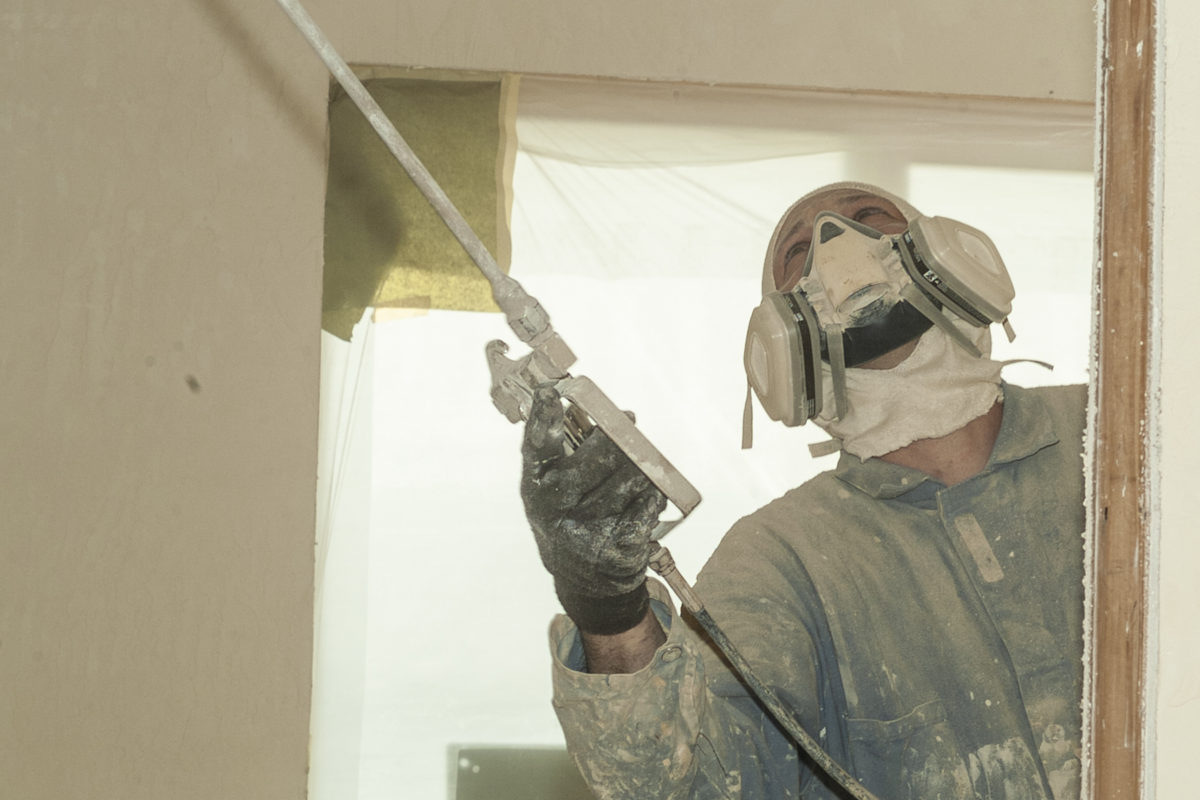
2. Using the wrong tools or paint
Using cheap or unsuitable brushes and rollers can lead to an uneven application, streaks, visible roller marks, or bristles shedding into the paint. Similarly, choosing the wrong type of paint for the surface or area can lead to a less than ideal finish or durability issues.
How to avoid it:
- Invest in quality tools. Good quality brushes and rollers distribute paint evenly and create a smoother finish. Different brushes are designed for different types of paint and surfaces.
- Choose the right roller nap. A short nap roller is ideal for smooth walls, while a longer nap works best on textured surfaces.
- Select appropriate paint. Consider the surface (interior/exterior), the room’s function (e.g., high-traffic areas may need a durable finish like semi-gloss), and the existing paint type (oil-based vs. water-based).
- Don’t skimp on paint quality. High-quality paints offer better coverage, richer color, and longer-lasting results.
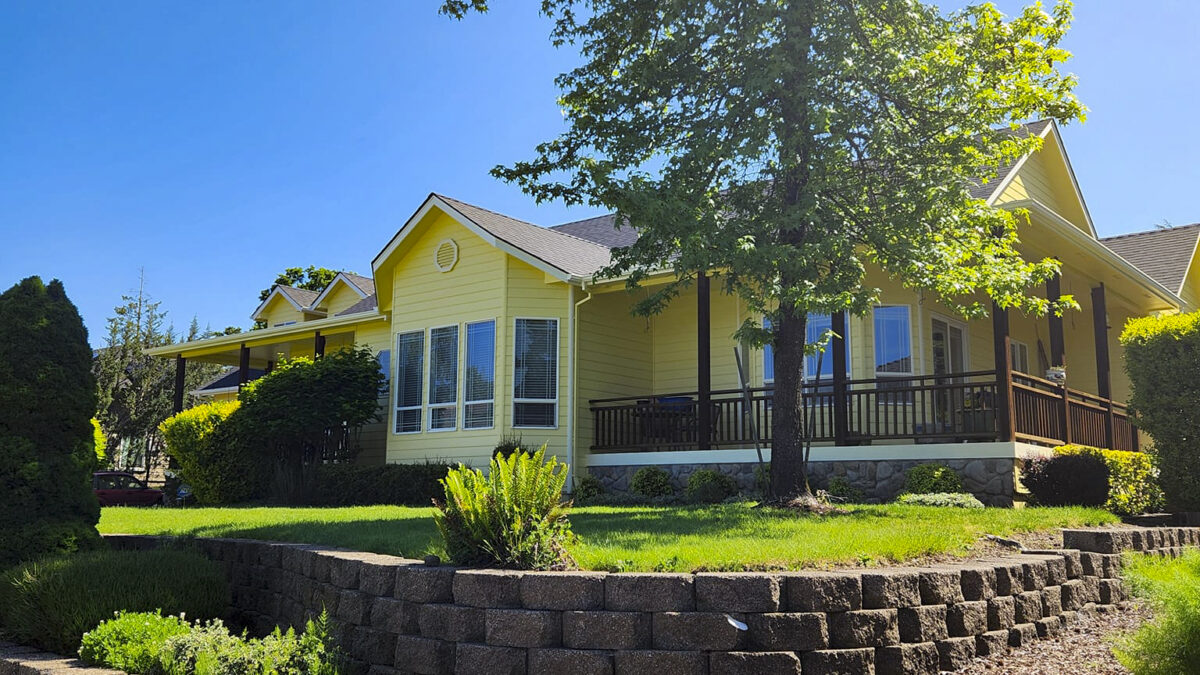
3. Not testing colors and sheens
A small paint chip in a store can look vastly different on a wall under varying lighting conditions. Choosing the wrong color or sheen can significantly impact the room’s overall ambiance.
How to avoid it:
- Sample, sample, sample. Always test small swatches of your chosen colors and finishes on your wall. Observe them at different times of the day and under various lighting conditions to see how they truly appear.
- Consider the sheen. Glossy finishes are easier to clean but highlight imperfections, while matte finishes conceal flaws but are more susceptible to damage.
4. Improper application techniques
Rushing the painting process, using too much or too little paint, or using incorrect brush and roller techniques can lead to drips, runs, streaks, and uneven coverage.
How to avoid it:
- Don’t overload the brush or roller. Dip brushes about one-third of the way into the paint and roll off excess from rollers.
- Work in sections, maintain a wet edge. Apply paint with a roller in a “W” or “M” pattern, overlapping strokes and filling in the gaps to ensure even distribution.
- Use thin, even coats. Avoid thick coats, as they take longer to dry and can cause drips.
- Allow adequate drying time. Follow the manufacturer’s instructions for drying time between coats.
- Remove painter’s tape carefully. Remove painter’s tape at a 45-degree angle while the paint is still slightly wet to prevent peeling.
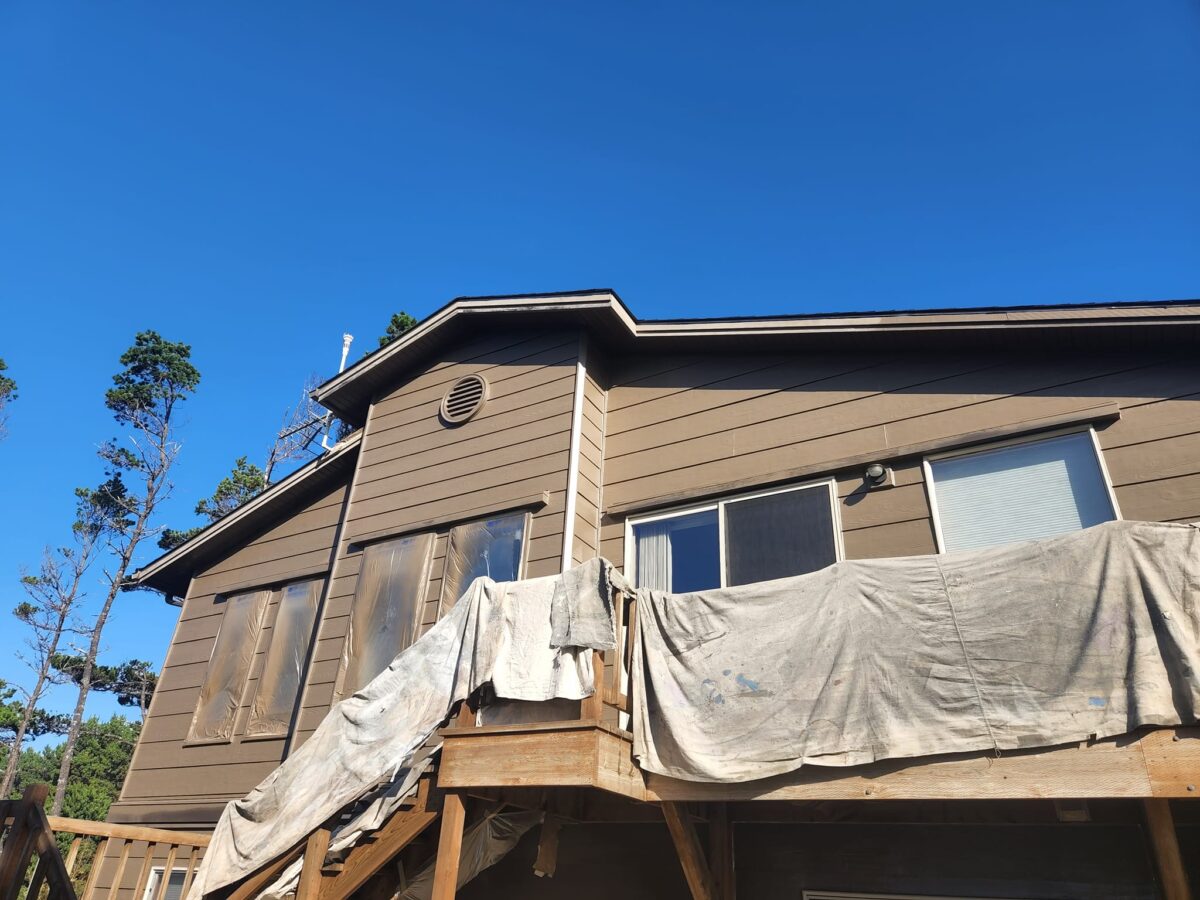
5. Ignoring environmental conditions
Painting in extreme temperatures or high humidity can significantly affect paint drying and adhesion, leading to defects like blistering, cracking, or uneven drying.
How to avoid it:
- Paint in mild conditions. Aim for days with mild temperatures and low humidity, especially for exterior projects.
- Ensure good ventilation. Open windows or use fans when painting indoors to promote even drying and prevent moisture buildup.
The best way to avoid making these mistakes is to call the Paint Doctor 541-497-3804.