The Hidden Hazards of DIY Ladder Use in Home Painting

Painting a home is a satisfying DIY project, but when ladders come into play, the risks quickly multiply. Many homeowners underestimate the dangers, assuming a sturdy ladder and steady hands are enough. Unfortunately, falls from ladders are one of the leading causes of home improvement injuries.

Why Ladders Can Be Dangerous for DIY Painters

  1. Lack of Experience – Professionals train extensively in ladder safety, but homeowners often lack the knowledge needed to use them correctly.
  2. Improper Setup – A ladder that isn’t on stable ground or secured properly can tip over in an instant.
  3. Overreaching – Leaning too far to the side while painting can cause the ladder to lose balance. It’s always safer to move the ladder instead.
  4. Slippery Surfaces – Paint spills or wet conditions can make ladder steps slick, increasing the likelihood of slipping.
  5. Fatigue & Distraction – Painting is physically demanding. A tired or distracted homeowner is far more likely to lose focus and make a dangerous misstep.

Safe Alternatives for Home Painting

  • Use an Extension Pole – Instead of climbing high, consider using an extendable roller for hard-to-reach areas.
  • Consider Scaffolding – For exterior projects, renting scaffolding provides a much more stable platform.
  • Hire a Professional – If a project requires significant ladder use, it may be best left to experienced contractors who know how to navigate ladder safety. Give us a call 541-497-3804.

Home improvement is rewarding, but safety must always come first. If you’re considering a DIY painting project that involves a ladder, think twice about the risks—and take every precaution to protect yourself and your home.

Stay safe, and happy painting!

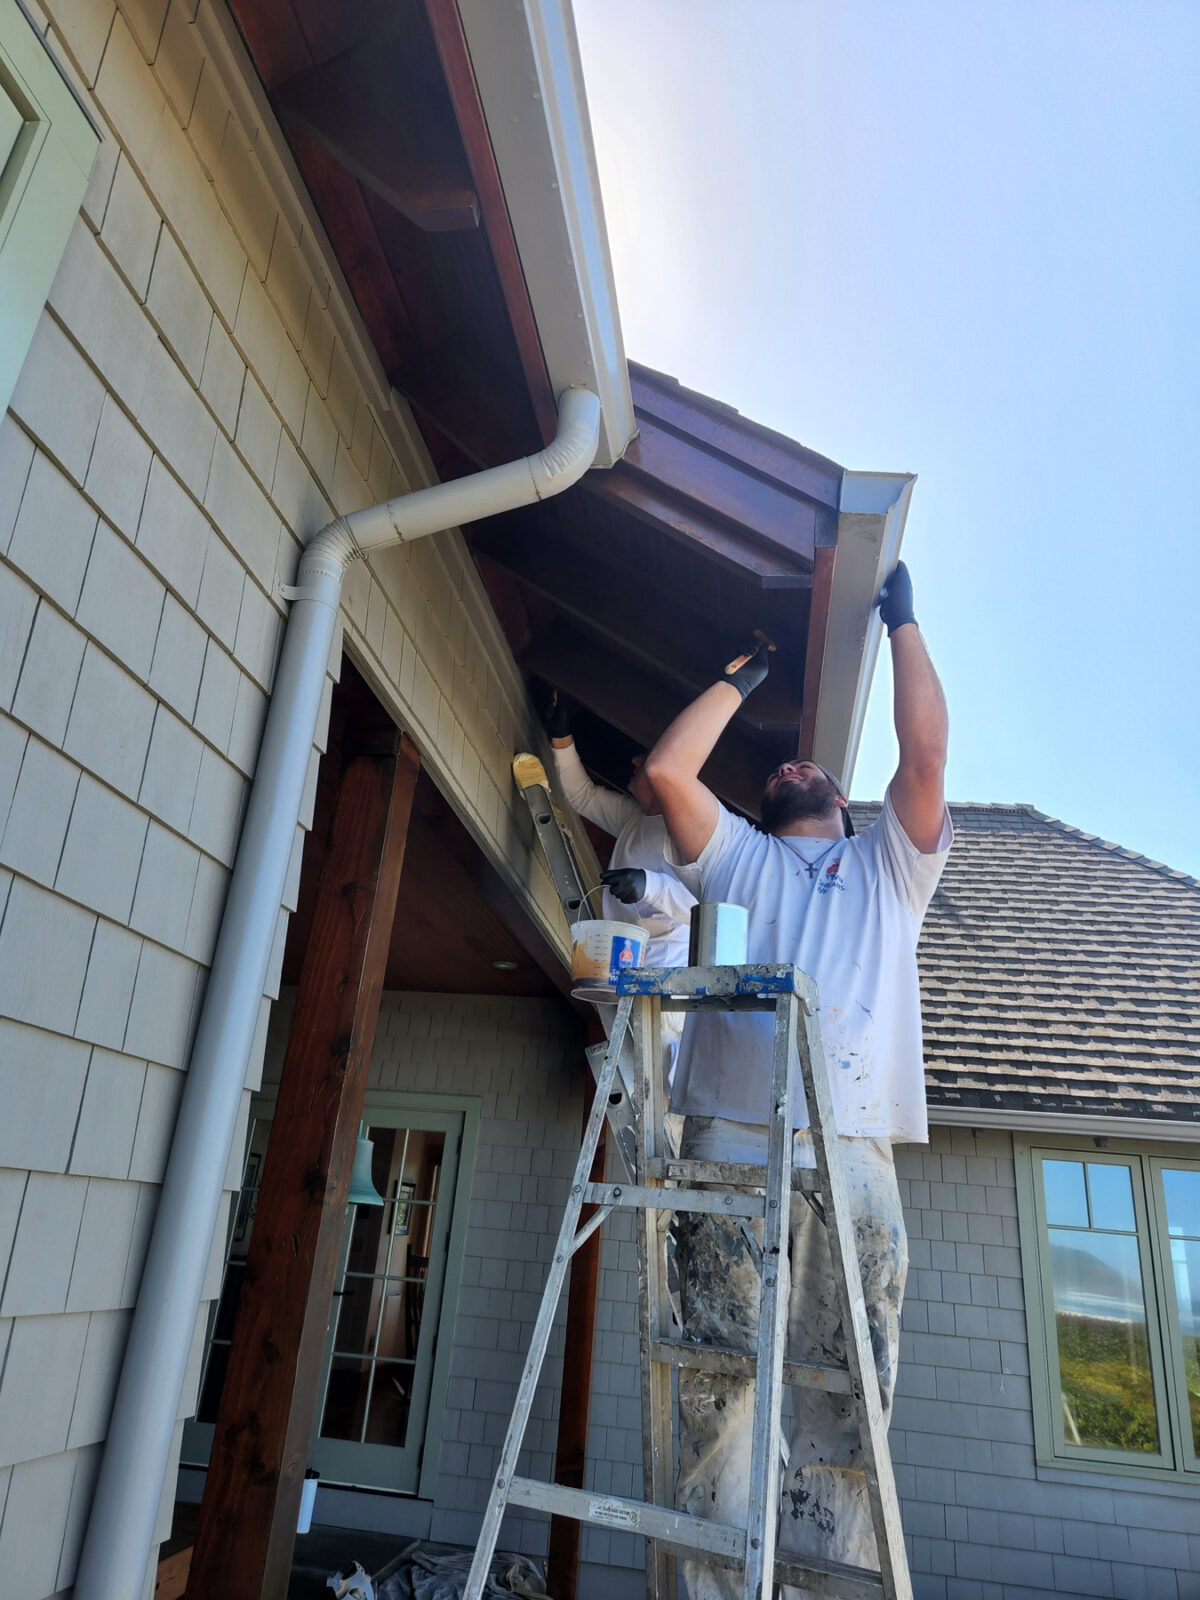
ladder work at the Oregon coast
ladder work during house painting

The Curb Appeal of Fresh Paint

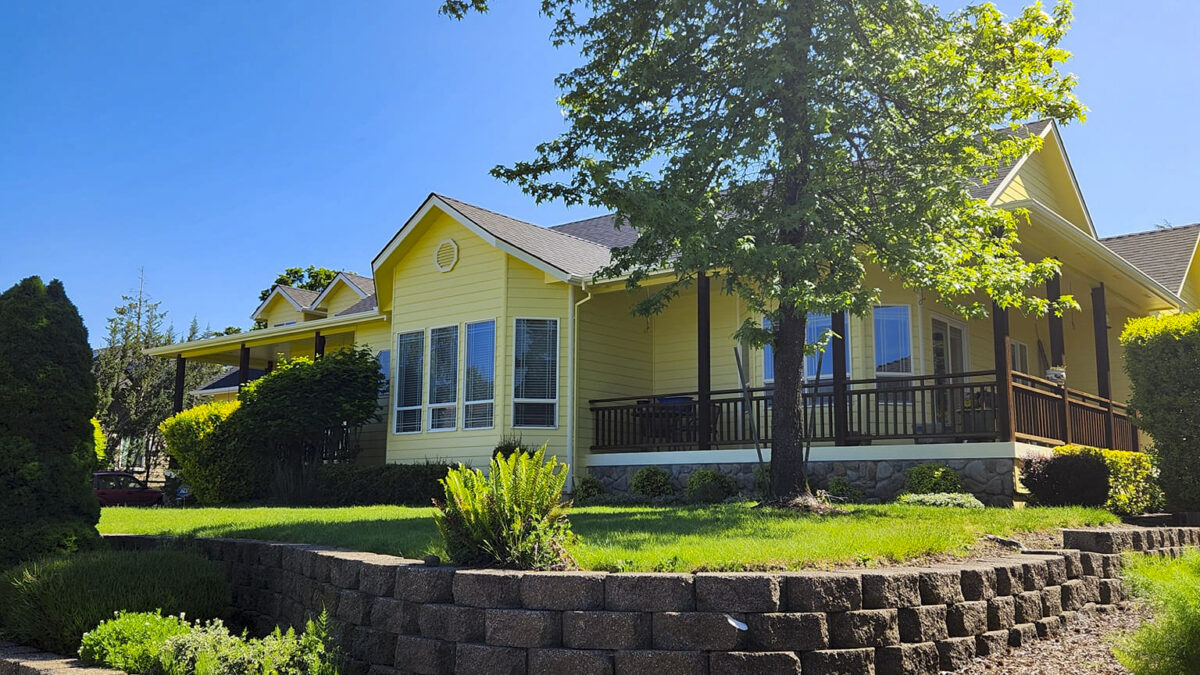
First impressions matter—especially when it comes to your home’s curb appeal. Whether you’re looking to increase property value, attract potential buyers, or simply take pride in your residence, a fresh exterior paint job can completely transform the way your home is perceived.

The Power of a Fresh Coat

Over time, exposure to the elements can make exterior paint fade, crack, or peel. A new paint job instantly revitalizes your home, giving it a clean, polished look that makes it stand out in the neighborhood.

Benefits of a Well-Painted Exterior:

  • Boosts Property Value – Homes with updated exteriors tend to sell faster and at higher prices.
  • Enhances Visual Appeal – A fresh color scheme can modernize your home and complement its architecture.
  • Protects Against the Elements – High-quality paint acts as a barrier against moisture, UV rays, and other environmental factors that can cause damage.

Choosing the Right Color

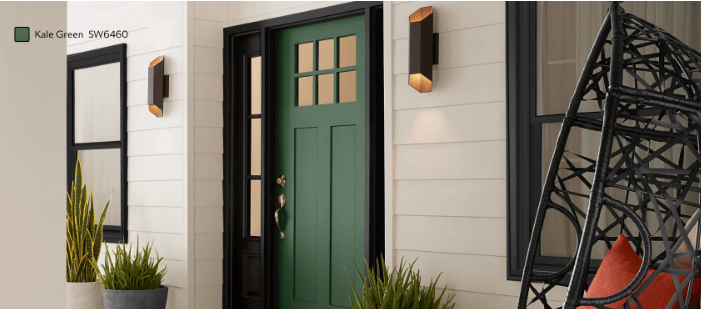
Selecting the perfect exterior color is key to maximizing curb appeal. Neutral tones like greys, beiges, and whites provide timeless elegance, while deeper hues like navy or forest green add sophistication. Want a pop of personality? A bold front door can make a memorable statement.

A Small Investment with Big Results

Refreshing your home’s exterior paint is one of the most cost-effective ways to enhance curb appeal. It’s a project that makes an immediate impact while protecting your home for years to come.

If your home’s exterior is looking tired, a fresh coat of paint could be the perfect solution. Ready to transform your curb appeal?

The Power of Paint

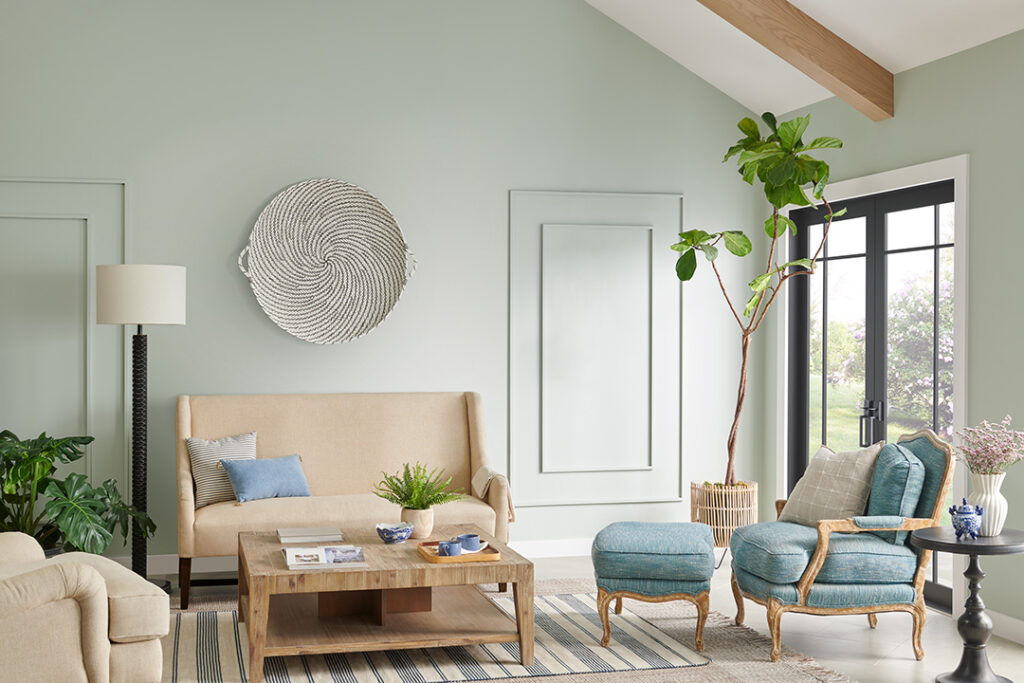
Ever walked into a freshly painted room and felt an instant mood boost? That’s no coincidence—color has a profound impact on our emotions, energy, and overall well-being. A fresh coat of paint isn’t just about aesthetics; it’s about creating a space that supports mental clarity, relaxation, and productivity.

Color Psychology: The Secret to a Happier Home

Different colors evoke different emotional responses, making your choice of paint more important than you might realize. For example:

  • Blues and Greens – These hues promote calmness and relaxation, perfect for bedrooms or home offices.
  • Yellows and Oranges – Energetic and cheerful, warm tones bring vitality to kitchens and living spaces.
  • Neutrals – Whites, grays, and beiges provide a sense of balance and sophistication, creating a clean slate for creativity.

The Refresh Effect

Beyond color selection, the simple act of repainting can refresh your environment and mindset. Dull, fading walls can subconsciously drag down your mood, while a crisp new layer of paint can make your space feel brighter, cleaner, and more inviting.

A Productivity Boost

Working from home? Studies show that an intentional use of color can increase focus and efficiency. Soft blues and greens enhance concentration, while subtle pops of energizing colors can keep motivation high.

Transform Your Space, Transform Your Mind

A fresh paint job is more than just an upgrade—it’s an investment in your mental well-being. Whether you’re repainting an entire home or adding an accent wall, the right colors can inspire positivity, relaxation, and creativity. Ready to breathe new life into your space? Call Mike at 541-497-3804

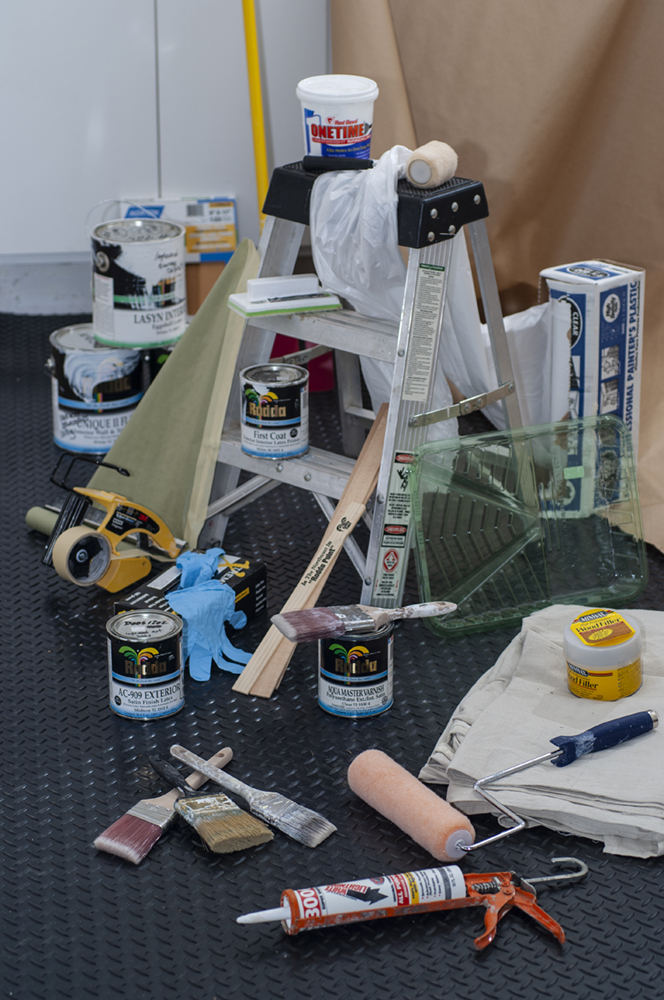
Must-Have DIY Painting Supplies

Paint – Choose the right type and finish for your project.

Paint Rollers & Brushes – Rollers for large surfaces, brushes for detailed work.

Painter’s Tape – Helps create clean edges and protects trim.

Drop Cloths or Plastic Sheets – Keeps floors and furniture paint-free.

Paint Tray – Holds paint for easy roller loading.

Sandpaper or Sanding Block – Preps surfaces for a smooth finish.

Stir Sticks – Ensures even color consistency.

Putty & Putty Knife – Repairs holes and imperfections before painting.

Primer – Helps paint adhere better and last longer.

Gloves & Mask – Protects hands and lungs during the job.

Of course, you don’t need any of this stuff if you give us a call: 541-497-3804

Paint Rollers

When you think about painting, the first tool that comes to mind might be the trusty brush, but let’s take a moment to appreciate the real workhorse of the painting world—the paint roller. If you’re tackling a large surface, nothing beats the efficiency, coverage, and smooth finish that a well-chosen roller can provide.

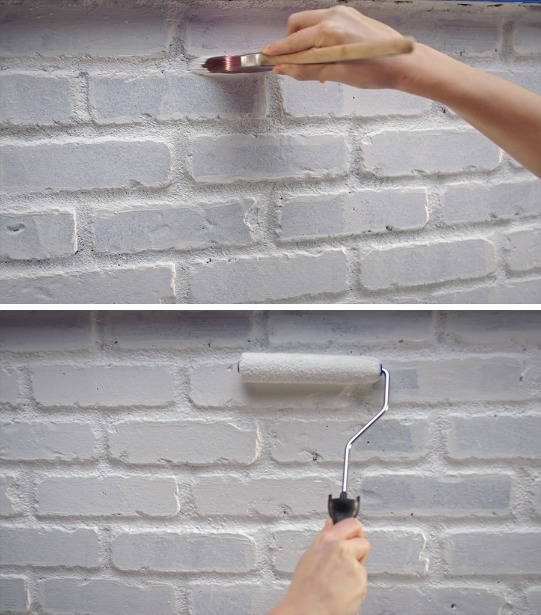
The Paint Doctor describes the benefits of using a paint roller
Some DIY projects require brushes and rollers.

Why Paint Rollers Matter

Paint rollers are designed to hold and distribute paint evenly, making them the perfect tool for painting walls, ceilings, and other broad surfaces. They reduce streaks, help you work faster, and can even add texture when used creatively.

Choosing the Right Roller

Not all rollers are created equal. Here’s a quick guide to help you pick the perfect one:

  • Foam Rollers – Ideal for ultra-smooth surfaces and glossy finishes.
  • Nap Rollers – Available in different thicknesses (or “nap” sizes). A thicker nap (like ¾”) is great for textured walls, while a thinner nap (like ¼”) works best on smooth surfaces.
  • Microfiber Rollers – Perfect for minimal splatter and maximum coverage, making them a favorite for DIY painters.

Pro Tips for Using a Paint Roller

  1. Load Properly – Roll it in the tray and make sure it’s evenly coated but not dripping.
  2. Use the “W” Technique – Start by rolling in a “W” shape to distribute the paint, then fill in the gaps.
  3. Avoid Over-Rolling – Too many strokes over the same spot can leave unwanted texture or uneven coverage.
  4. Keep It Clean – Rinse your roller after use and store it properly for future projects.

Elevate Your Painting Game

A great roller can make all the difference in your painting experience. Whether you’re revamping a room or tackling a big project, choosing the right roller ensures a smooth, professional-looking finish with minimal effort.

So next time you’re gearing up for a paint job, don’t underestimate this unsung hero—your walls will thank you!

Of course, you can avoid all of the hassles of rollers, brushes and sprayers by giving us a call, 541-497-3804

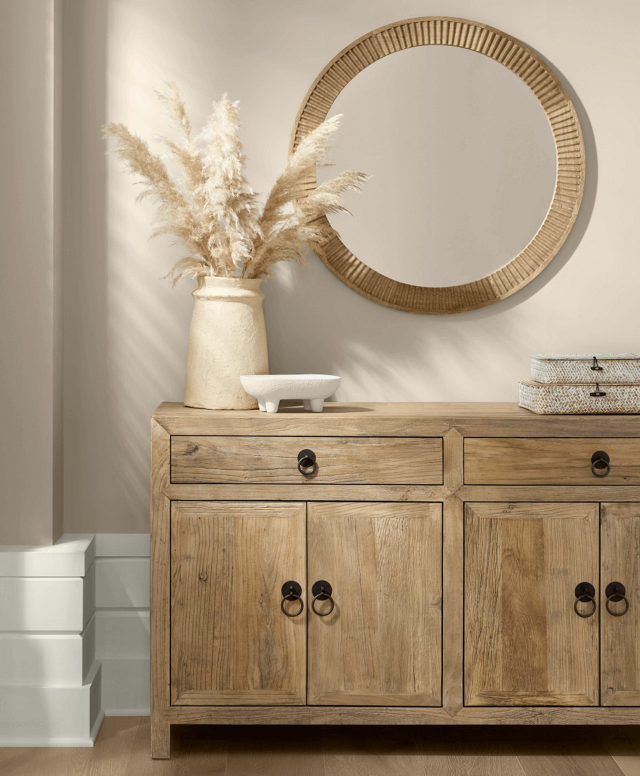
Shiitake, May 2025 Color of the Month

Add a touch of cozy elegance with Shiitake, Sherwin-Williams’ May 2025 Color of the Month.

An adaptable stone gray, Shiitake strikes a balance between composed and casual.

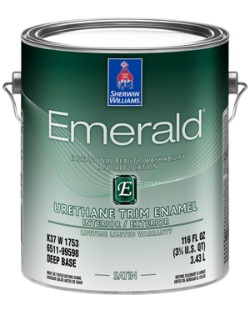
Applying Urethane

Why Choose Urethane?

Urethane coatings are known for their excellent resistance to abrasions, chemicals, and UV exposure, making them ideal for both indoor and outdoor applications. They come in different finishes—glossy, satin, or matte—giving you versatility in achieving your desired aesthetic.

Preparation Is Everything

Before dipping your brush or sprayer into urethane, take time to prepare the surface:

  • Clean Thoroughly: Remove dirt, grease, and old finishes to ensure proper adhesion.
  • Sand Smoothly: Lightly sand the surface for better grip and wipe away dust with a tack cloth.
  • Prime If Necessary: Depending on the material, a primer may enhance adhesion and uniformity.

Application Techniques

Applying urethane requires patience and precision:

  • Use the Right Tools: A high-quality brush or foam applicator works well for smaller projects, while a spray gun ensures even coverage for larger areas.
  • Thin, Even Coats: Apply multiple thin layers rather than one thick coat to avoid drips and uneven drying.
  • Watch the Dry Time: Allow each coat to cure properly before adding another—this prevents bubbling or tackiness.
  • Ventilate the Area: Urethane contains strong solvents, so good airflow helps prevent inhalation hazards and speeds up drying.

Troubleshooting Common Issues

  • Bubbles in the Finish? Apply slowly, avoid excessive shaking of the product, and ensure a dust-free environment.
  • Sticky Surface? Check humidity levels and allow additional drying time between coats.
  • Uneven Coverage? Use light sanding between coats and maintain consistent application strokes.

Protecting Your Work

Once fully cured, urethane forms a tough, resilient barrier—but it still benefits from proper maintenance. Clean gently with non-abrasive cleaners and avoid harsh scrubbing that may dull the finish over time.

A well-applied urethane coating transforms surfaces with durability and elegance. With the right preparation and technique, your project will look professionally finished and stand the test of time.

How to Plan Your Next Exterior Paint Project

When it comes to boosting your home’s curb appeal, few things make as big an impact as a fresh coat of exterior paint. But diving into an exterior painting project without proper planning can lead to unnecessary headaches. Whether you’re a seasoned DIYer or enlisting the pros, here’s a roadmap to help you prepare and execute your exterior painting venture with ease.

Step 1: Assess Your Exterior’s Condition

Before picking up a paintbrush, take a good look at your home’s exterior. Is there peeling paint, mold, or mildew? Are there areas that need repair? Address these issues first so you’re working with a clean and solid surface. This is also the time to decide whether power washing is needed to remove dirt, grime, and old paint.

Step 2: Choose the Right Paint

Not all paints are created equal. Exterior paints must withstand weather conditions like rain, sunlight, and temperature changes. Look for high-quality, durable paints made for outdoor use. Consider the following:

  • Paint type: Acrylic paints are popular for their flexibility and durability.
  • Finish: Flat, satin, or gloss—the finish affects appearance and performance.
  • Color: Test color samples and envision how they complement the rest of your home.

Step 3: Gather Supplies

Make a list of everything you’ll need:

  • Brushes and rollers
  • Drop cloths
  • Tape
  • Ladder or scaffolding
  • Primer (if needed) Having all your supplies on hand ensures a smooth workflow, saving time and stress.

Step 4: Prep Your Surfaces

Proper preparation is the cornerstone of a successful paint job. This includes:

  • Scraping off old paint
  • Sanding rough spots
  • Filling cracks or holes with caulk
  • Priming, if necessary, to ensure paint adheres evenly and lasts longer
After making repairs, prime all repaired or raw wood areas.

Step 5: Plan Around Weather

Painting in unfavorable conditions can lead to poor results. Pick a time when the forecast predicts mild weather—cool temperatures and low humidity are ideal. Avoid rainy or excessively hot days.

Step 6: Budget Wisely

Exterior painting can range from affordable to pricey depending on the size of your home and the materials used. If hiring professionals, get several quotes and ensure the price includes labor, materials, and clean-up.

Step 7: Safety First

Painting the exterior often involves heights. Ensure your ladder or scaffolding is stable, and wear appropriate gear. If you’re uncomfortable with this, don’t hesitate to call us for help, 541-497-3804.

Step 8: Take Your Time

Rushing through the process can result in uneven paint or missed areas. Work methodically and give yourself time for drying between coats.

A successful exterior painting project is all about preparation and thoughtful execution. By following these steps, you’ll create a long-lasting finish that enhances your home’s beauty and value. Ready to transform your space one brushstroke at a time? Happy painting!

April 2025 Color of the Month


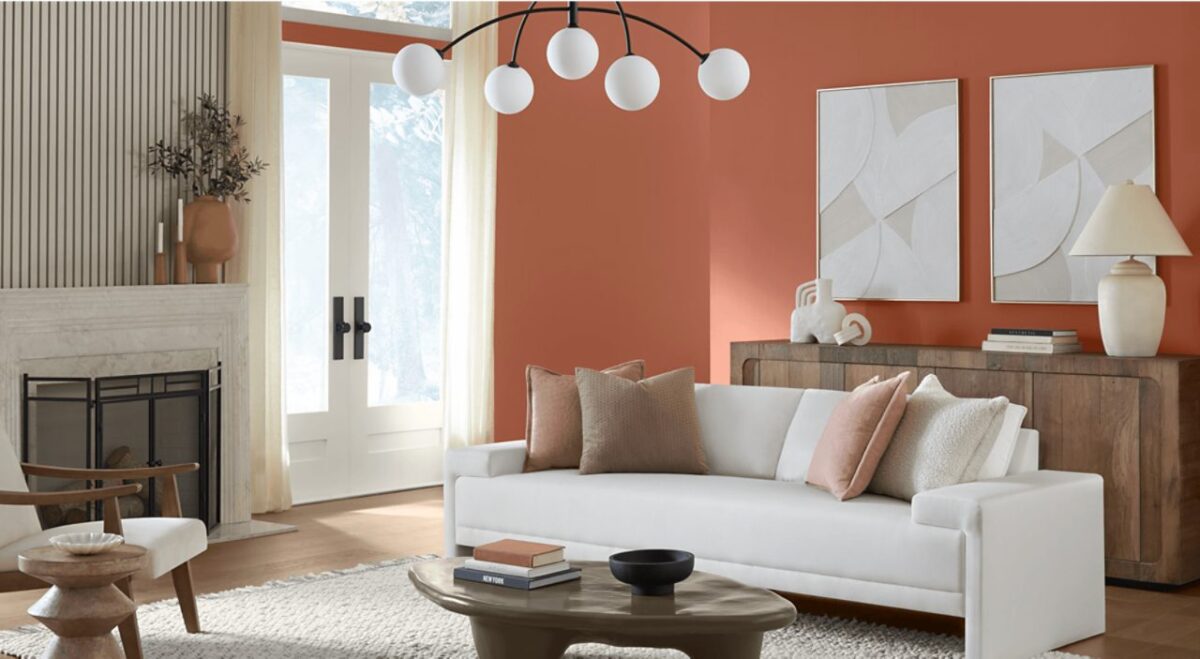
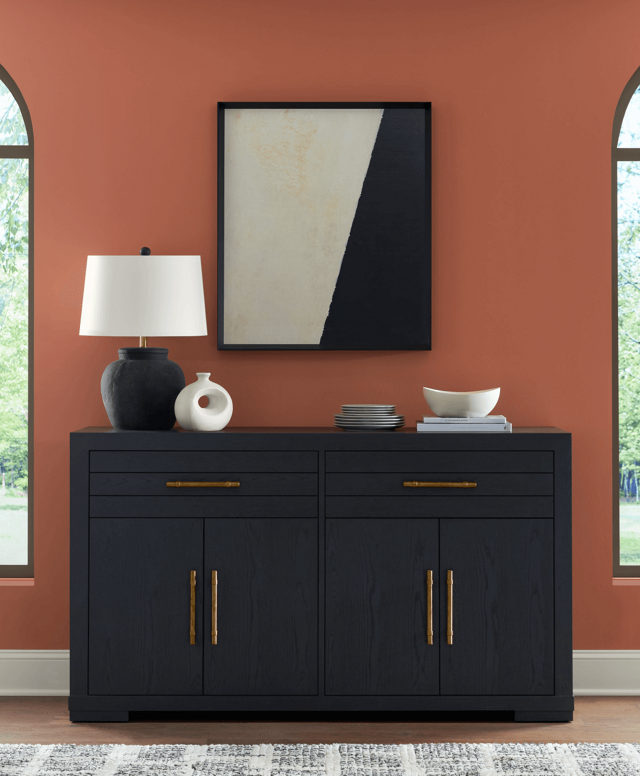
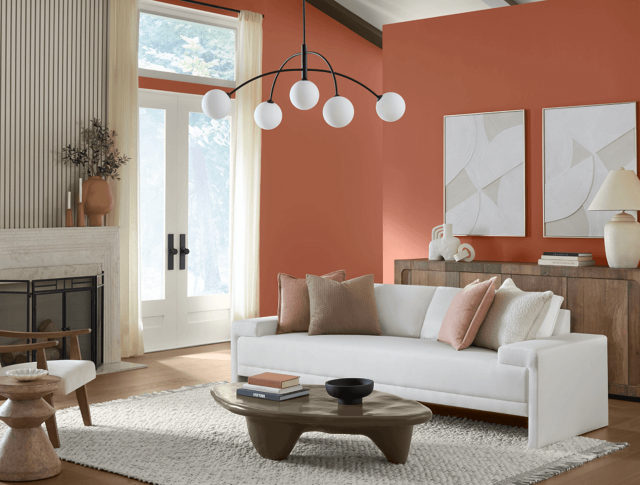
“Equal parts eye-catching and elevated, Caribbean Coral brings out your natural side. This rich and expressive hue instantly adds a dose of character, giving any room the ability to feel relaxed and lived in. Caribbean Coral’s versatility transcends modern and historic spaces alike, adding a sense of warmth to neutral color stories. Style this shade with plants, stone centerpieces, modern furniture and minimalist artwork,” says Sherwin-Williams.

Express yourself with a whole new color scheme. Call Mike 541-497-3804

Sherwin-Williams color of the month for April 2025: Caribbean Coral
Caribbean Coral, Sherwin-Williams color of the month for April 2025
One of the many warm colors available from Sherwin-Williams that can be applied by Paint Doctor's Painting Service in Albany, Oregon.

Harmonizing Your Home: Matching Exterior Body Paint with Trim Colors

Choosing the perfect exterior paint color for your home can feel like a big decision—but it doesn’t stop there! Once you’ve picked the body color, selecting a complementary trim color becomes just as important. The trim acts like the frame of a painting, enhancing and defining your home’s overall appearance. Here’s a guide to help you achieve the perfect match.

1. Start with the Basics: Contrast and Balance

The key to a cohesive exterior design lies in the balance between your body and trim colors. Consider the contrast:

  • Low Contrast: Using shades from the same color family creates a soft, elegant look. For example, pairing a light gray body with slightly darker gray trim.
  • High Contrast: Bold pairings, like a navy blue body with bright white trim, make features like windows and doors pop.

2. Classic Pairings that Always Work

If you’re unsure where to start, tried-and-true combinations are a safe bet:

  • White Body + Black Trim: A timeless duo that exudes sophistication.
  • Earth-Toned Body + Cream or Beige Trim: Perfect for blending into natural surroundings.
  • Dark Body + Light Trim: Navy, charcoal, or forest green paired with crisp white trim creates striking curb appeal.

3. Consider the Architectural Style

Your home’s style plays a significant role in color choices:

  • Modern Homes: Clean lines and minimalist palettes often use neutral body colors with black or metallic trim.
  • Colonial or Victorian Homes: Traditional styles lend themselves to contrasting colors, with bold trim that highlights architectural details.
  • Cottages or Farmhouses: Soft, warm tones like sage green with off-white trim evoke charm and coziness.

4. Work with Your Surroundings

Take a step back and consider how your home fits into its environment:

  • Natural Backdrops: For homes surrounded by trees or mountains, choose earth tones like browns, greens, and taupes to complement the scenery.
  • Urban Settings: Bright or contrasting colors can help your home stand out amidst a sea of neutral-toned buildings.

5. Pay Attention to Material Accents

Does your home feature brick, stone, or other materials? These elements should guide your color palette:

  • Warm Materials: Brick or red stone pairs beautifully with cream or warm beige trim.
  • Cool Materials: Gray or slate accents often look best with cool trim tones like crisp white or pale blue.

6. Test Before You Commit

Paint swatches can look very different in natural sunlight than in-store. Before finalizing your colors:

  • Test small patches on both the body and trim.
  • View the colors at different times of day to ensure they complement each other and look great in varying light conditions.

7. Set the Mood

Your home’s exterior is the first impression visitors and passersby get. Think about the message you want to convey:

  • Warm, Inviting Feel: Use earthy tones with soft, neutral trim.
  • Bold and Unique: Choose contrasting, vibrant colors for a standout look.
  • Clean and Classic: Stick to light neutrals with black or white trim for timeless appeal.

Conclusion

Matching your exterior body paint color with trim color is an art, but it’s also an opportunity to express your personal style while enhancing your home’s curb appeal. With these tips, you’ll create a harmonious, eye-catching look that makes your home the envy of the neighborhood. So grab those paint swatches and start dreaming!